
13. Using Child Business Objects in Forms
As you may notice, the other two objects we added, Employer and Bank Account are not present in the Auto Loan form. In the next steps, we are going to include the Employer Business Object to the Auto Loan form.
- Navigate to Setup → Data Management → Data Models.
- Open the Auto Loan Data Model.
Select the Forms tab and open the Auto Loan form.
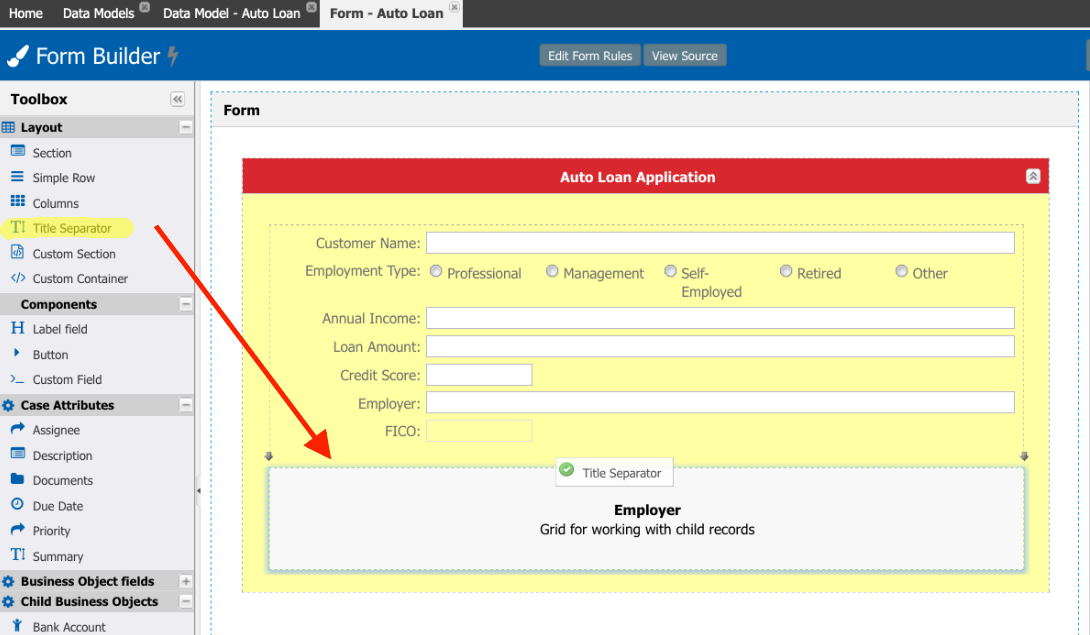
- Expand the Child Business Objects and drag the Employer bo under the FICO field.

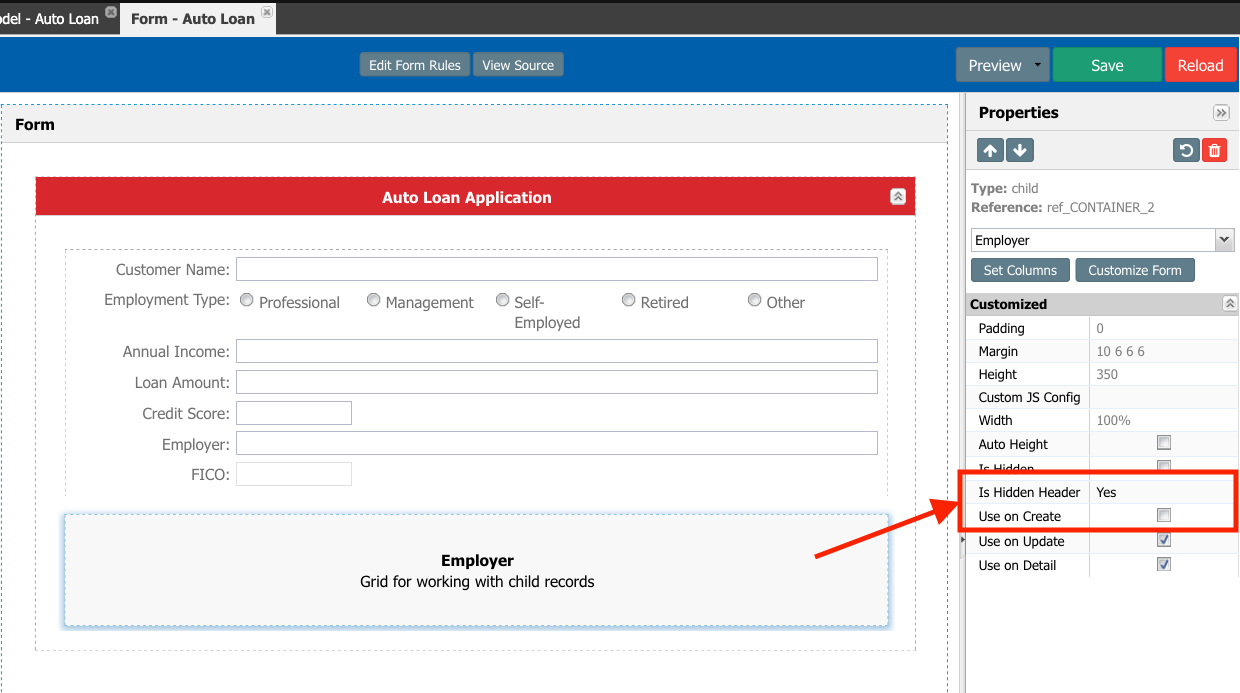
- Select the Employer object in the form and set the property Is Hidden Header to ‘Yes’.
- Uncheck the property Use on Create.
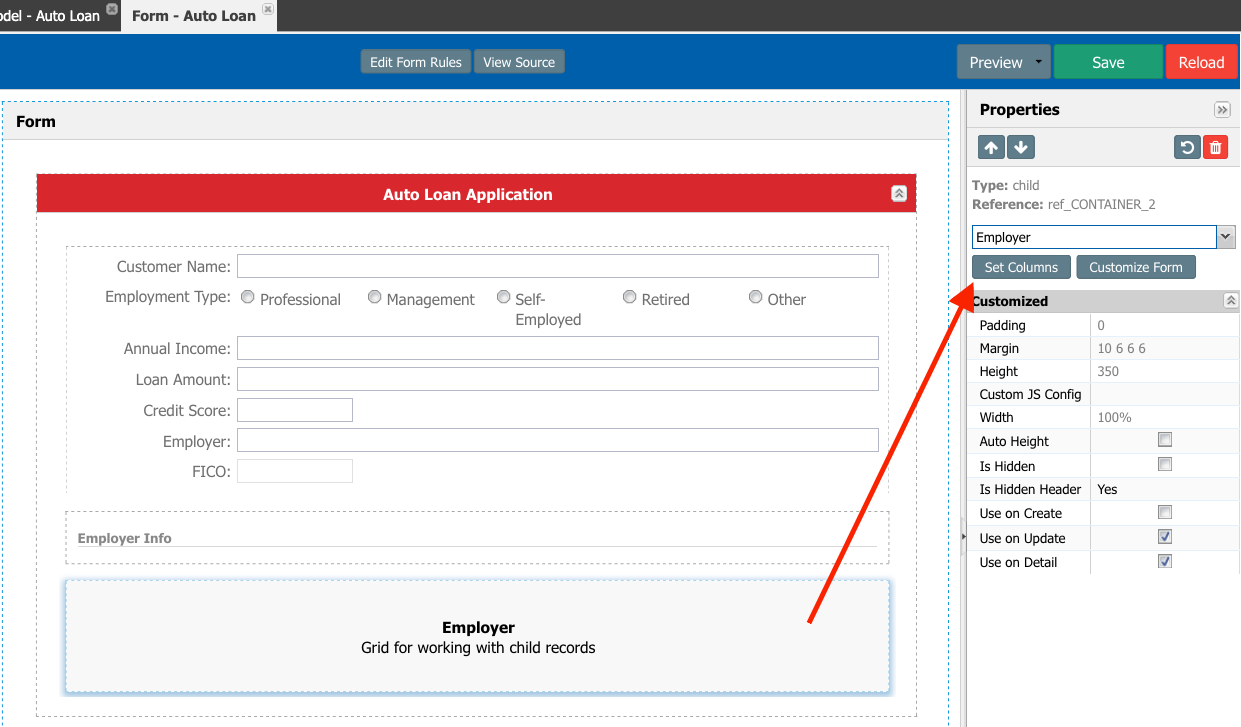
- From the Layout section, drag a Title Separator over the Employer object, and set the Title as ‘Employer Info’.
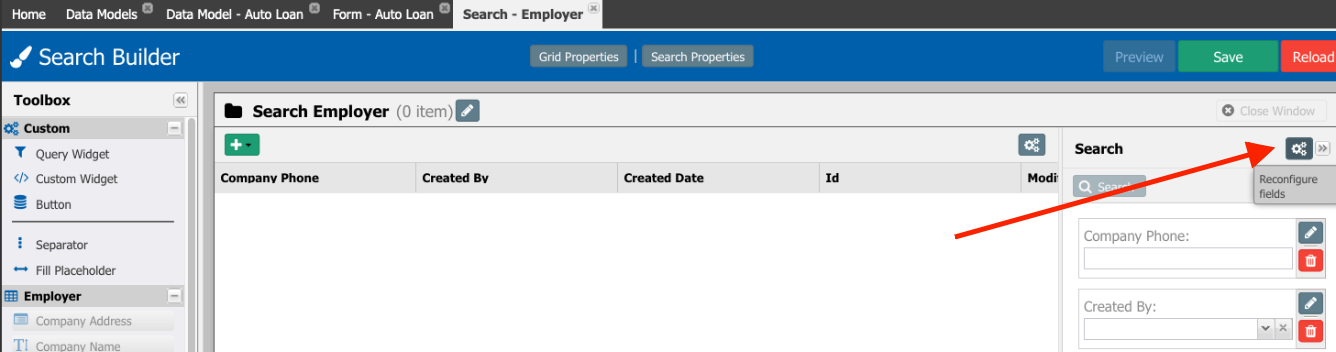
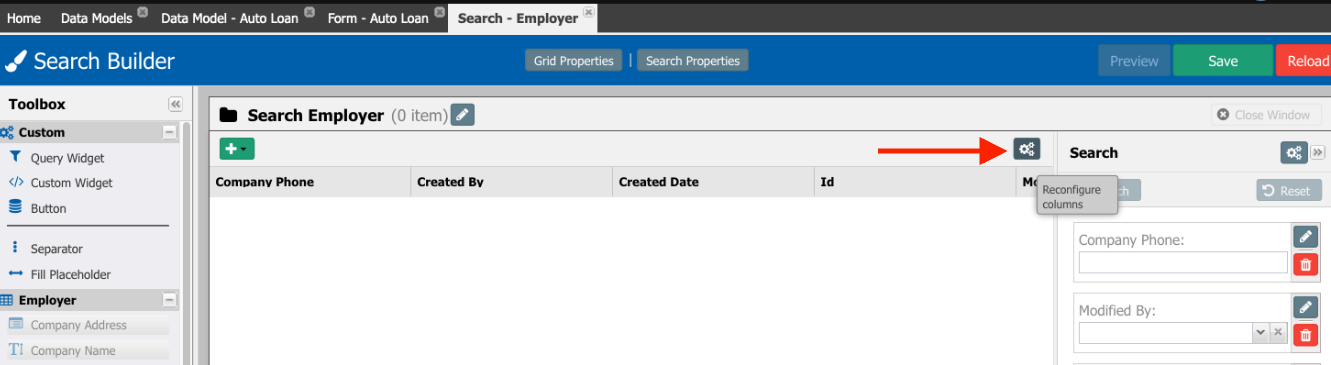
- Select the Employer section and click on the Set Columns button. This action will open a new window for the Search Builder of Employer object.
- Under the Search section, click on the Reconfigure fields button (gray gears) at the top right corner.
- In the pop-up window, select the fields: Created By, Created Date, and Id, then click the Delete button (red trash can).
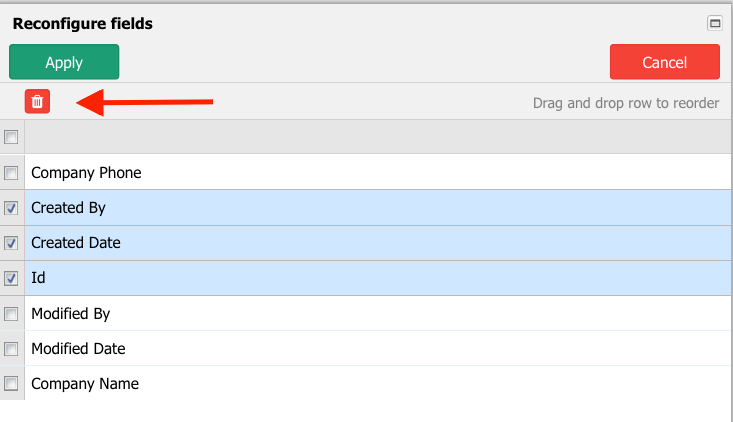
- Click Apply.
- In the columns section, click on the Reconfigure columns button (gray gears) at the top right corner of the section.
- In the pop-up window, select the fields: Created By and Created Date, then click the Delete button (red trash can).
- Modify the order of the columns by dragging and dropping the fields as desired in the list. For example, in the image below, moving the Modified fields to the end of the list.
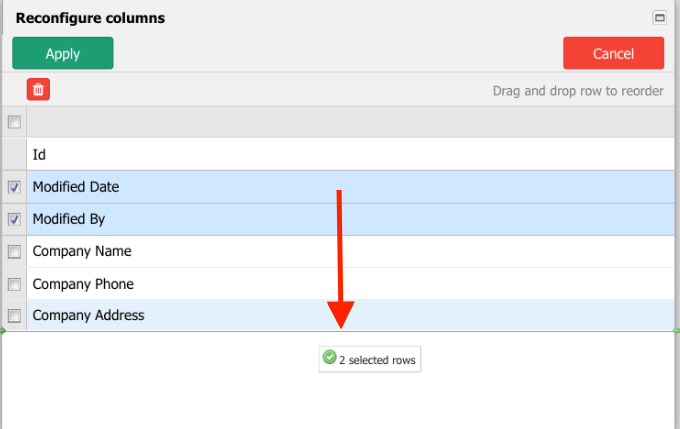
- Apply the changes.
- Save the updated search form for the Employer object.
- Close the Search Builder window.
- Do a Preview, and test that you can see the Employer Info section only on Update and Detail contexts. Also, you can check the Add New (Employer) button (the green plus).

- Close the Form Preview.
- Save the form.