The setup of Registry Categories provides an interface to add new Categories or modify an existing one that can be used in various parts of the solution without the need to add any Business Object. These settings can be exported using DEXP.
Steps
On the top right, navigate to → <<your solution>>
On the left, navigate to → Setup
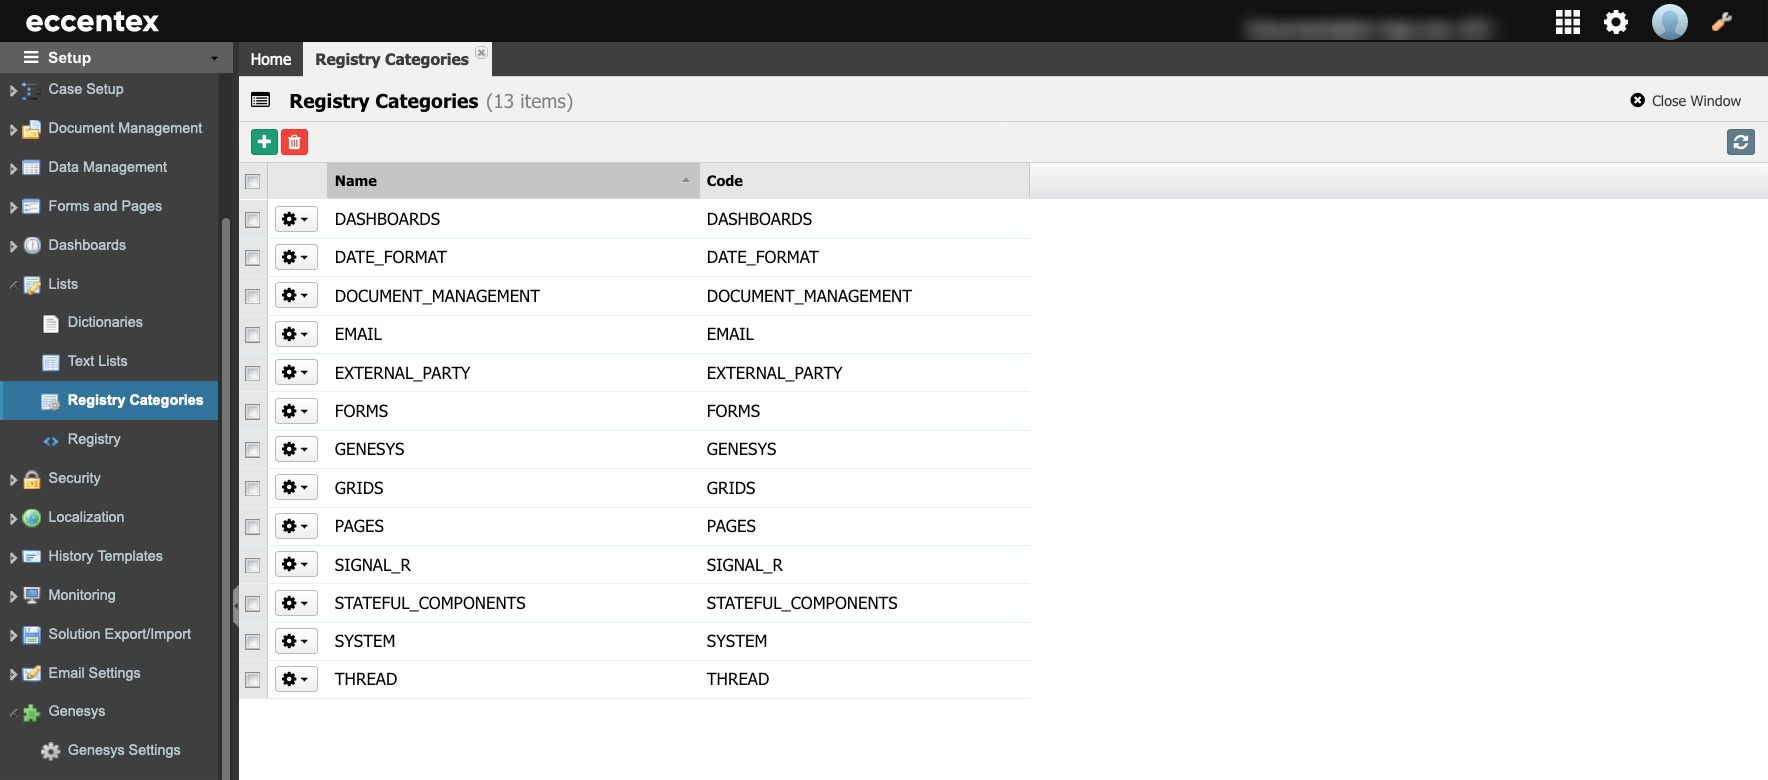
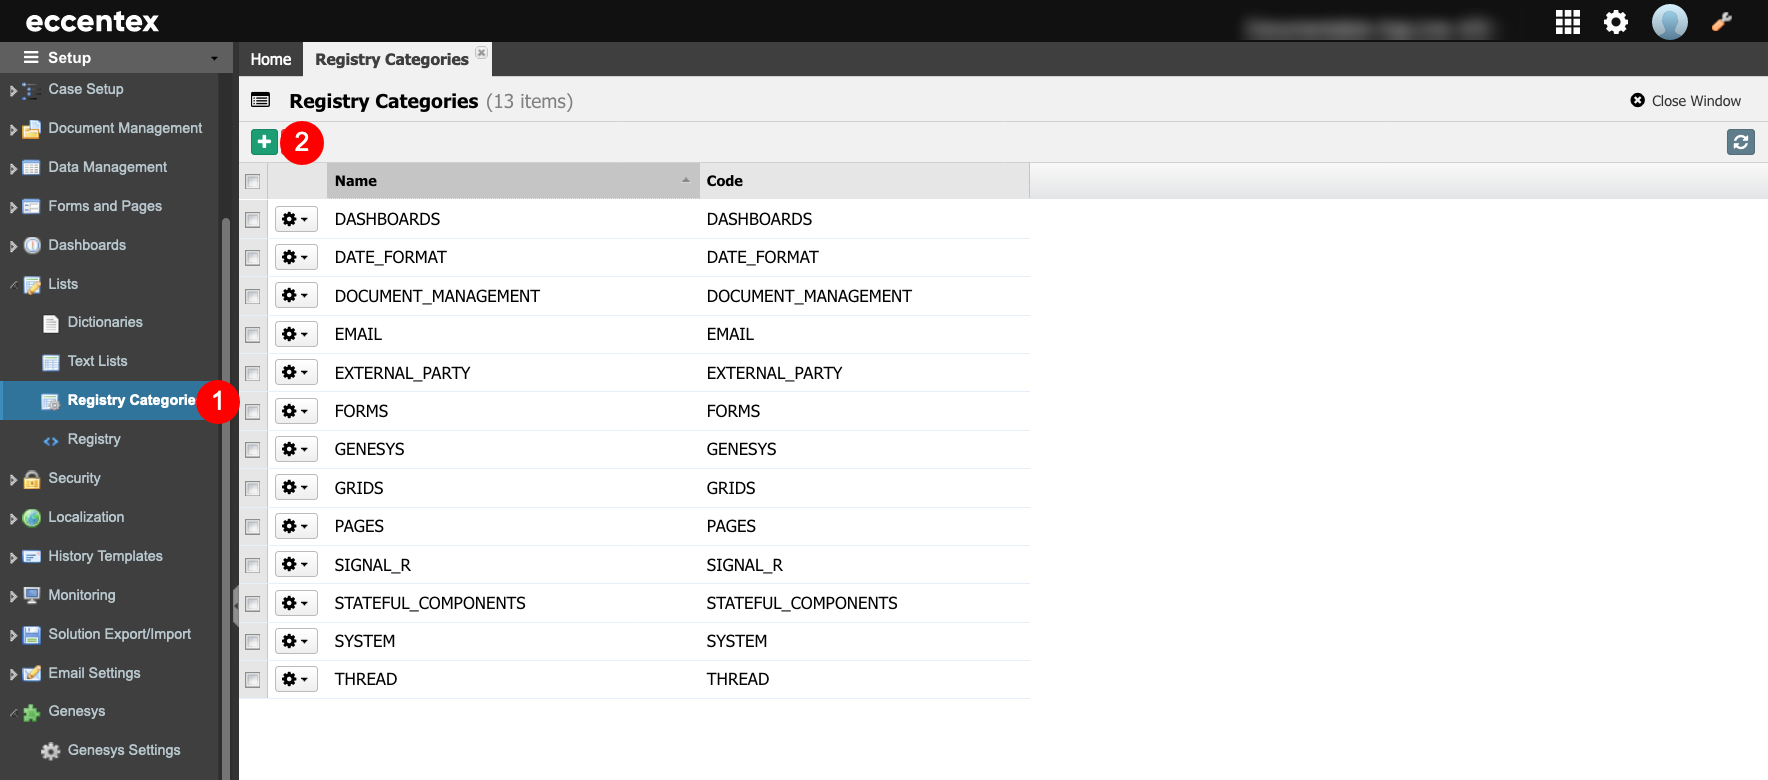
Navigate to Lists →Registry Categories(1).
Click on the green plus button ()toAdd a New Item (2).
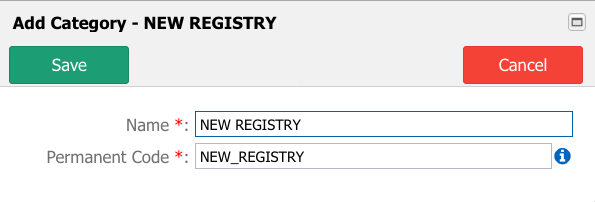
Insert aNamefor the new registry. In our example, ‘NEW REGISTRY.'
For compliance with previous versions of DCM, the Name must be in uppercase.
ThePermanent Code field will be auto-populated using the Name field, subtracting dash (-) and any spaces or special characters; it also changes to uppercase.
You can override Code Value (ensuring no spaces or special characters are used). The code Value cannot be changed after saving.