
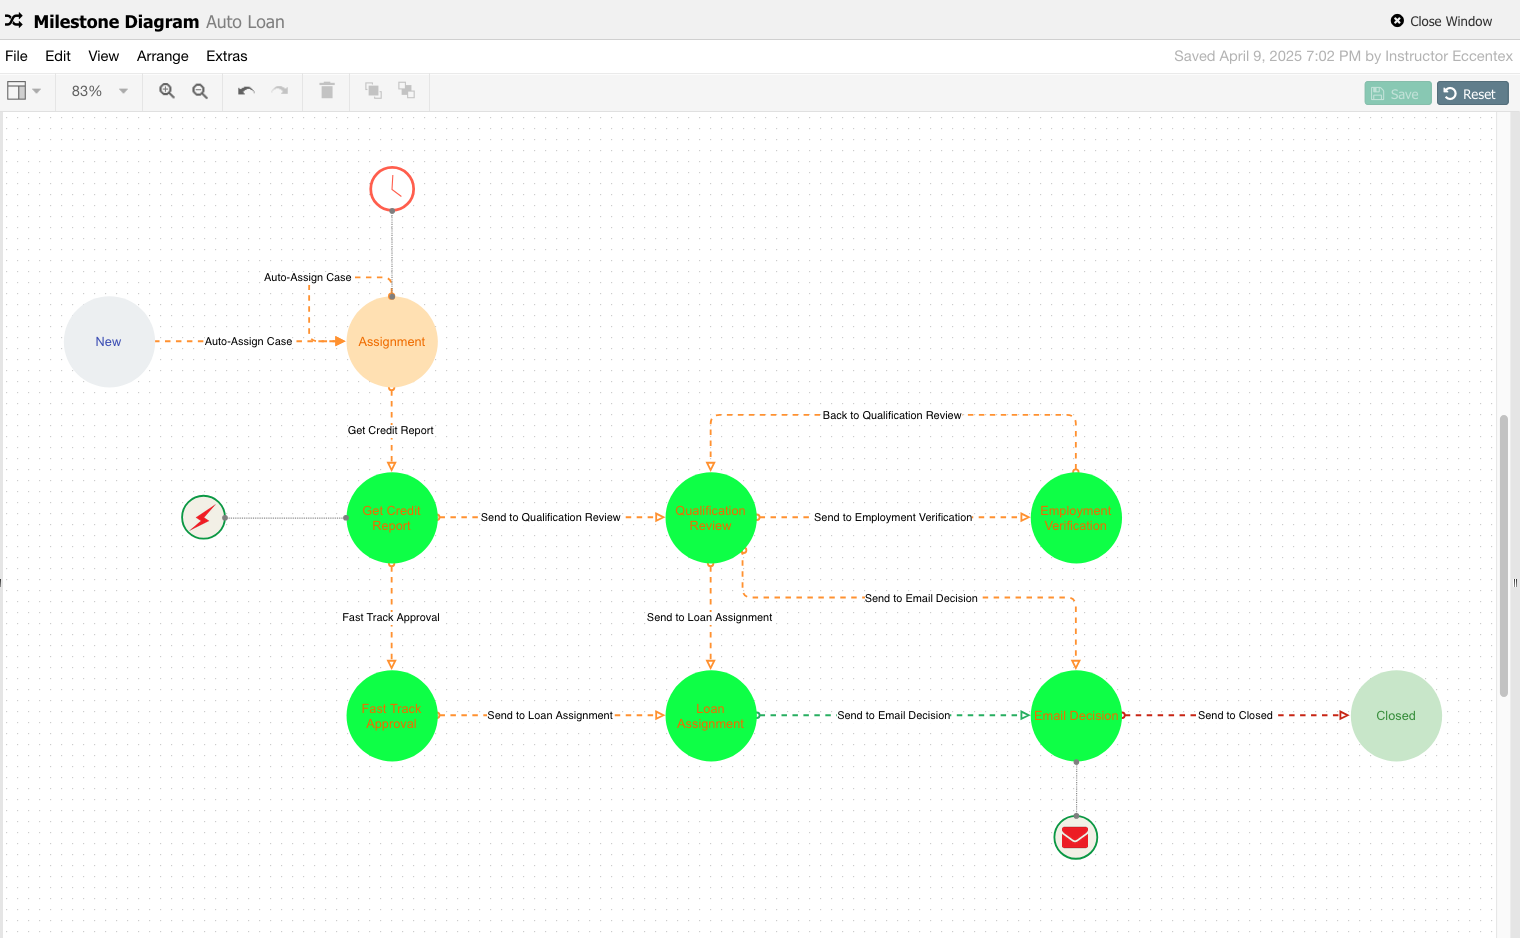
19. Testing the Workflow
In this activity, we will test whether the flow we created works correctly.
Steps
- Navigate to Home → Dashboards.
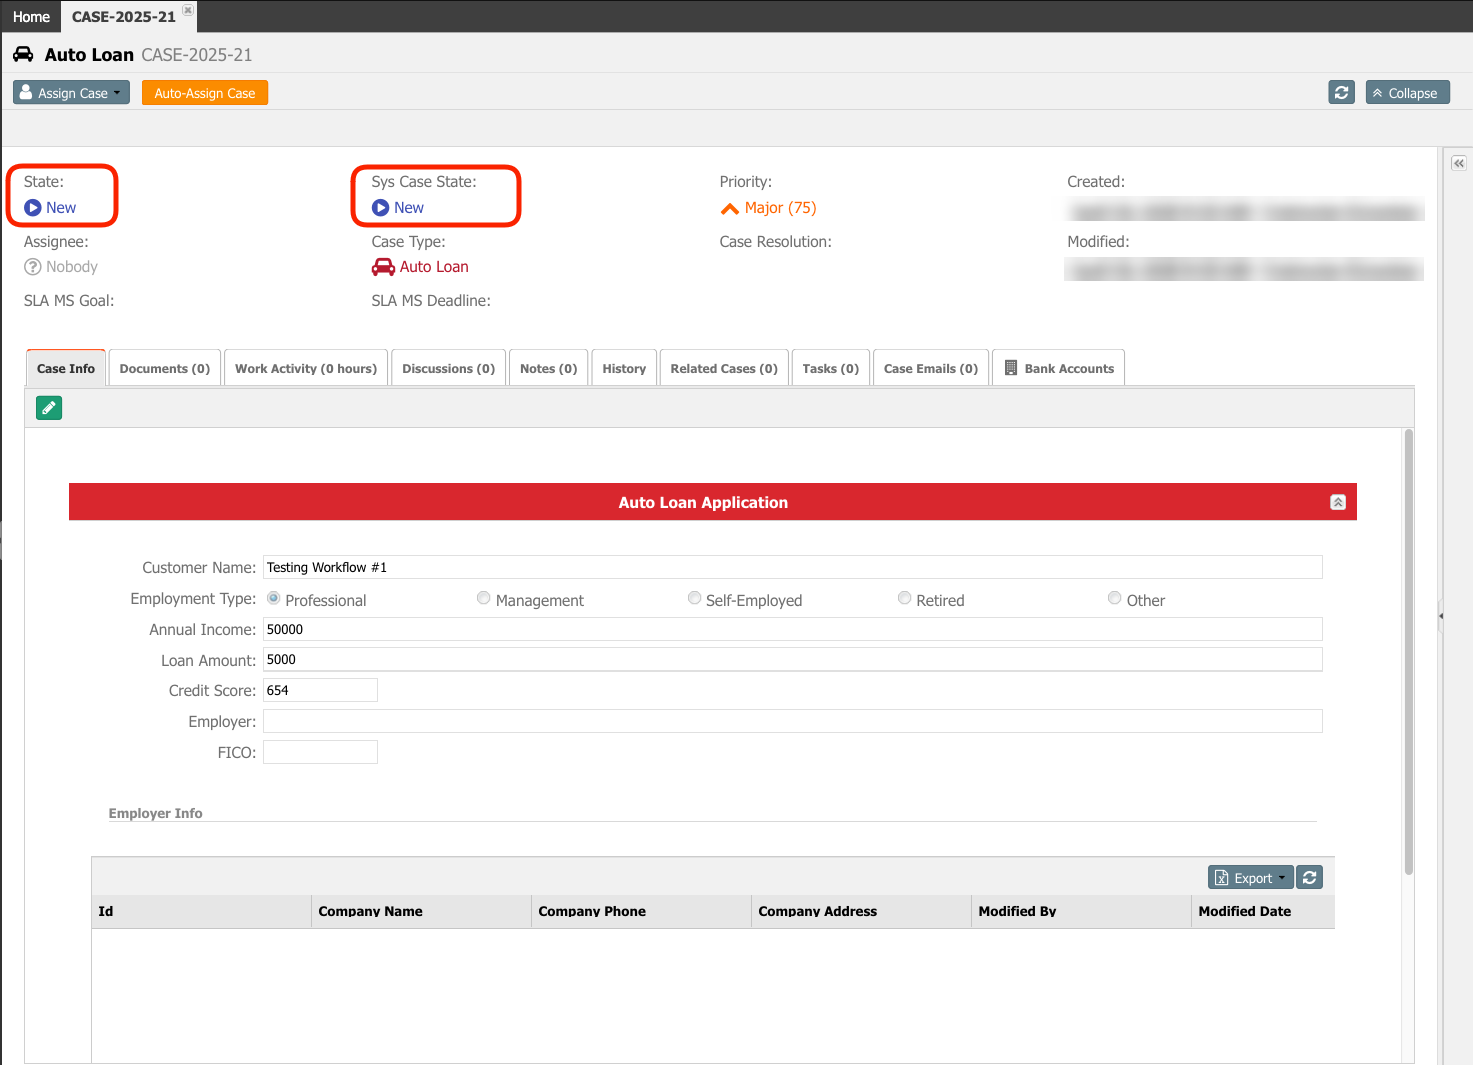
- Create a new Auto Loan case.
- Check that the case is created and is in the state New.
- Click on the Auto-Assign Case button.
- Assign the case to yourself by clicking the Assign To Me hyperlink.
- Click the Save button (You can add notes to this assignment for further reference).
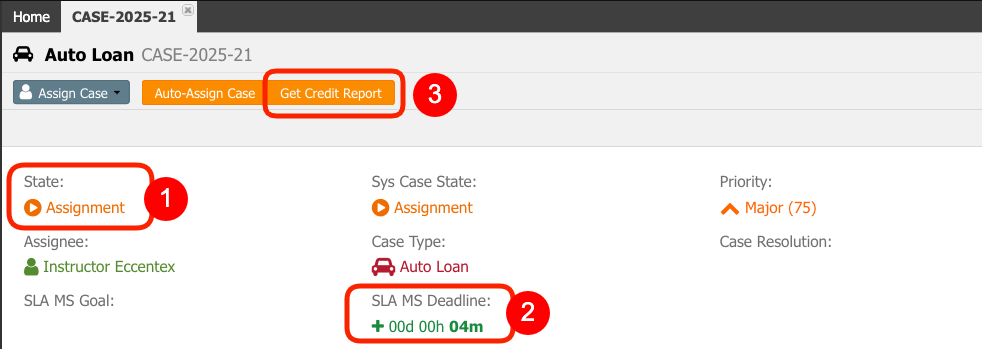
- The flow moves to the Assignment (1).
- Notice the SLA MS Deadline (2) is now counting the remaining time to close the case. When the case remains more than 5 minutes in the state Assignment, the SLA MS Deadline will change to red, indicating the amount of time over the deadline.
- Also, there is a new button: Get Credit Report (3). This button corresponds to the transition defined in the diagram.
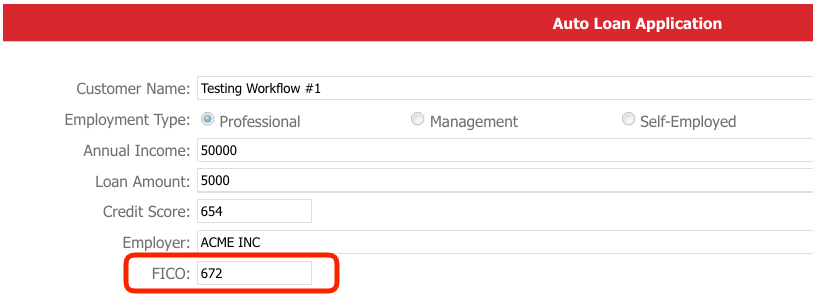
- Click the Get Credit Report button. Click the Save button.
- The milestone state Get Credit Report will also trigger the business rule to generate a FICO score and the value will be inserted in the case. Validate that the State is Get Credit Report and the FICO is updated (The value in your case may differ from the image below).
- Based on the workflow, there are two possible routes: Fast Track Approval or Qualification Review. First, we will test the Qualification Review path by clicking on the Send to Qualification Review button. Click the Save button.
- Click on the Send to Employment Verification button. Click the Save button.
- Click on the Back to Qualification Review button. Click the Save button.
- Let's assume that we have a 'Go' for this loan, then click the Send to Loan Assignment button. Click the Save button. If it is not approved, you should click the Send to Email Decision button, which is supposed to send the non-approval notice by email in this scenario.
- Now move to the Send to Email Decision state (the only option, I know) which is supposed to send the approval notice by email in this scenario.
- This is the last milestone before closing the case; if it is configured correctly, you will receive an email.
The email body will depend on the template we choose.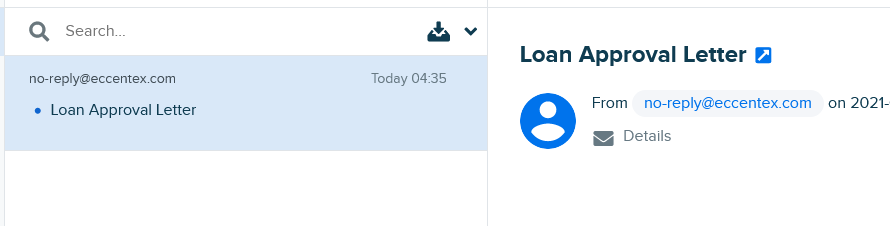
- Before closing the case, check the journal. Go to the History tab and see that all the steps have been recorded.
Note: Your records may differ from the image below.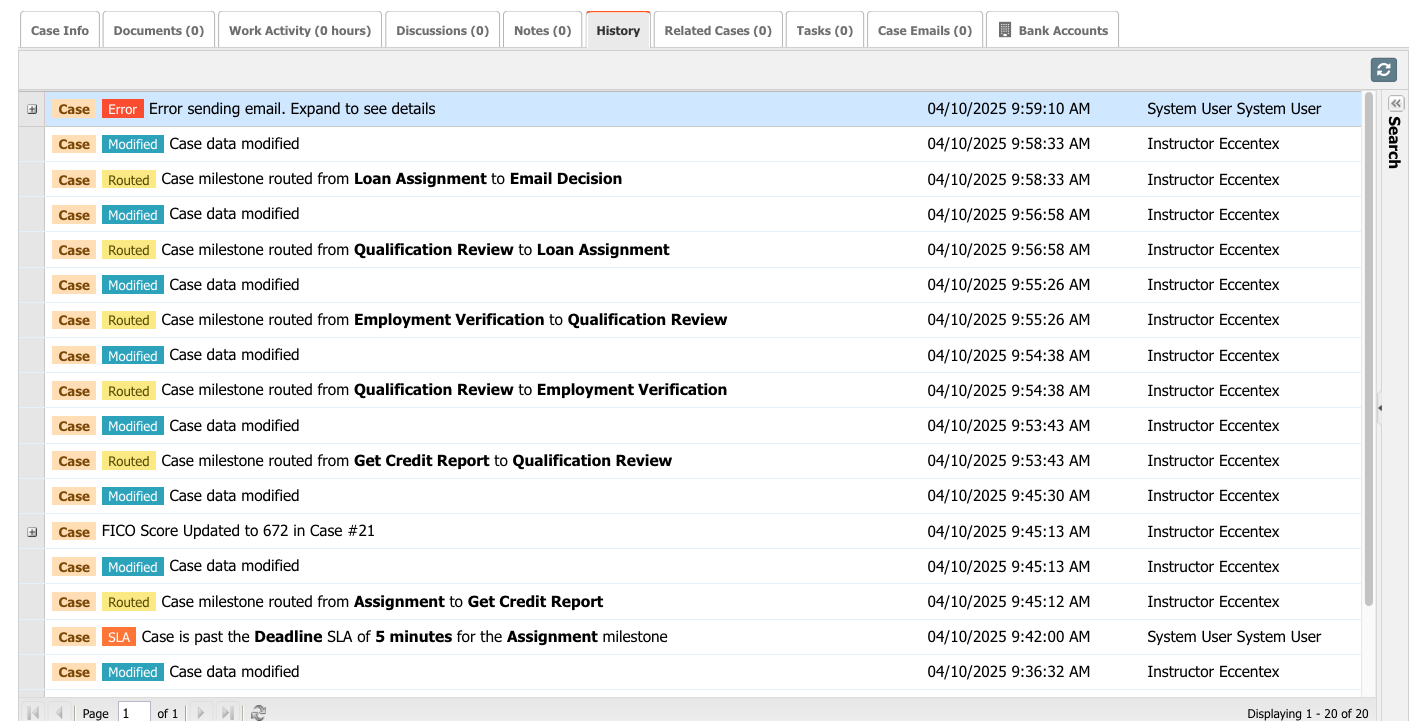
- Close the case by clicking the button Send to Closed.
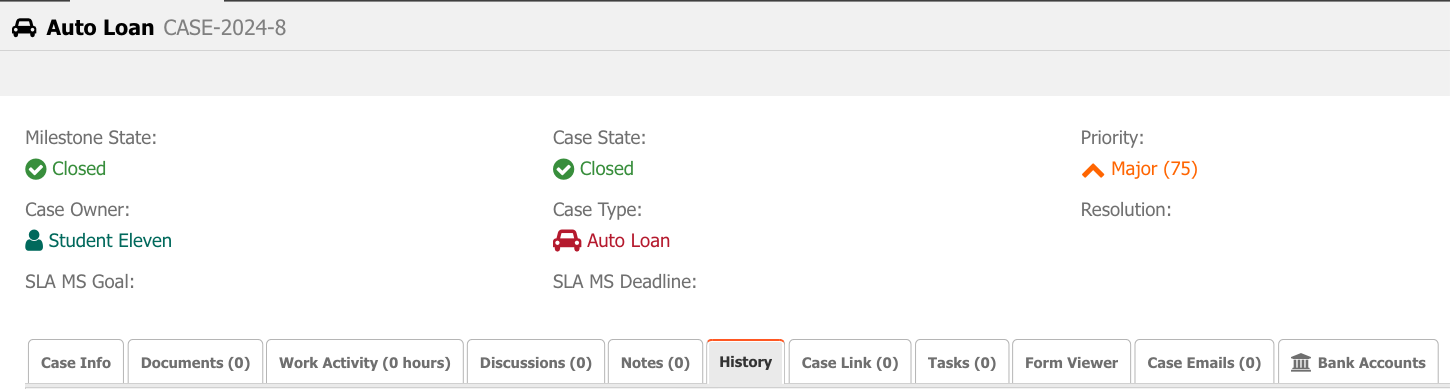
The workflow is completed (Closed), and the bar has no more milestone buttons.
- Create more cases and choose different paths to check that all are working as defined.