A dashboard is a user interface that organizes and presents information in a way that is easy to read. Within the DCM, this concept is a configurable option and, at its heart, a business intelligence dashboard that provides data visualization widgets that display the current status of metrics and key performance indicators (KPIs). Standard dashboard widgets include:
Caseworker's current open cases
Caseworker's current overdue tasks
All Cases
All Tasks
IA Analytics
Creating different dashboards with different information and layouts allows caseworkers to select multiple dashboard layouts. By selecting from a library of standard widgets, charts, and controls, a caseworker can switch between different views of the data contained in the solution.
Steps
Go to → DCM Training
Navigate to → Setup
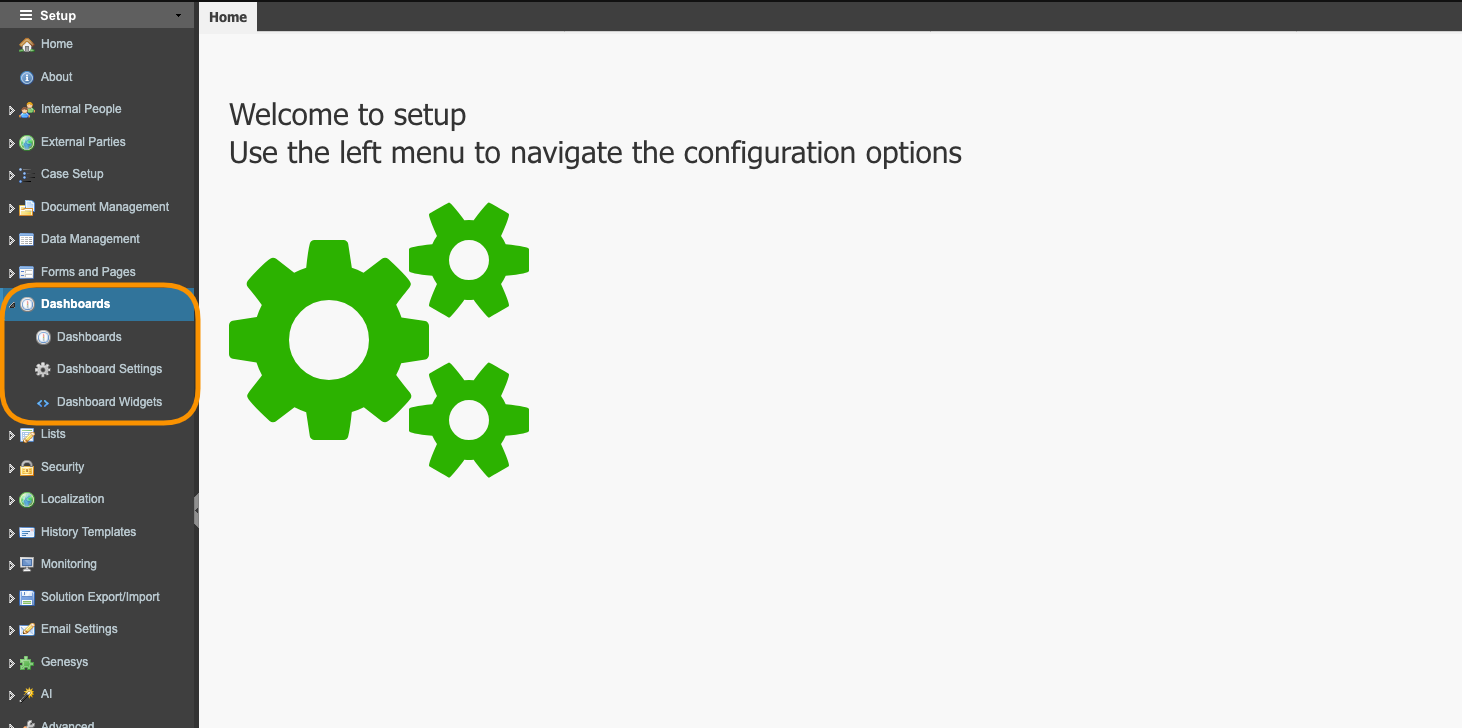
Navigate to Dashboards. Here, you can see three menus to work with dashboards: Dashboards, Dashboard Settings, and Dashboard Widgets.
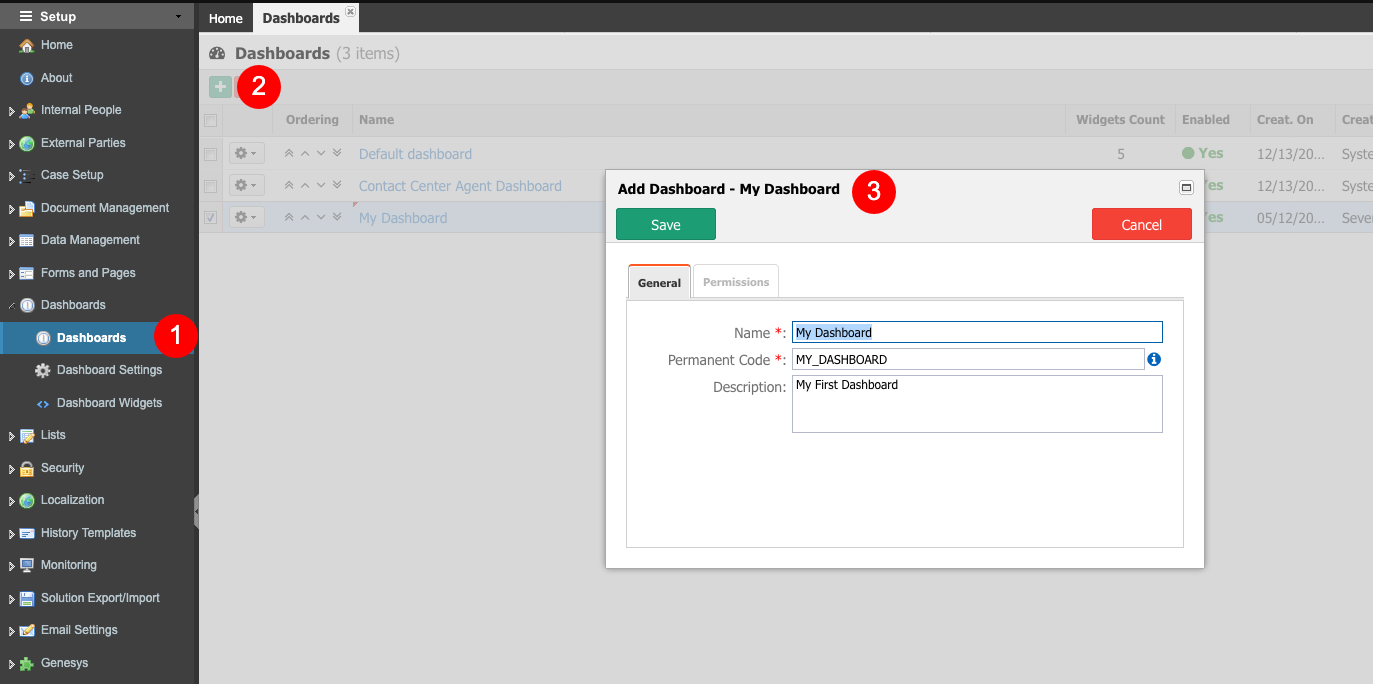
SelectDashboards (1). You will find theDefaultdashboard. We will keep this default dashboard and create a new one from here.
Click the plus sign icon (2) to create a new customized dashboard.
EnterMy Dashboardfor theNameof the dashboard. The Code field will be auto-populated based on the name you entered (but you can override this if you like, ensuring that there are no special characters or whitespaces used)
As a Description, insert 'My First Dashboard'.
Saveyour new dashboard.
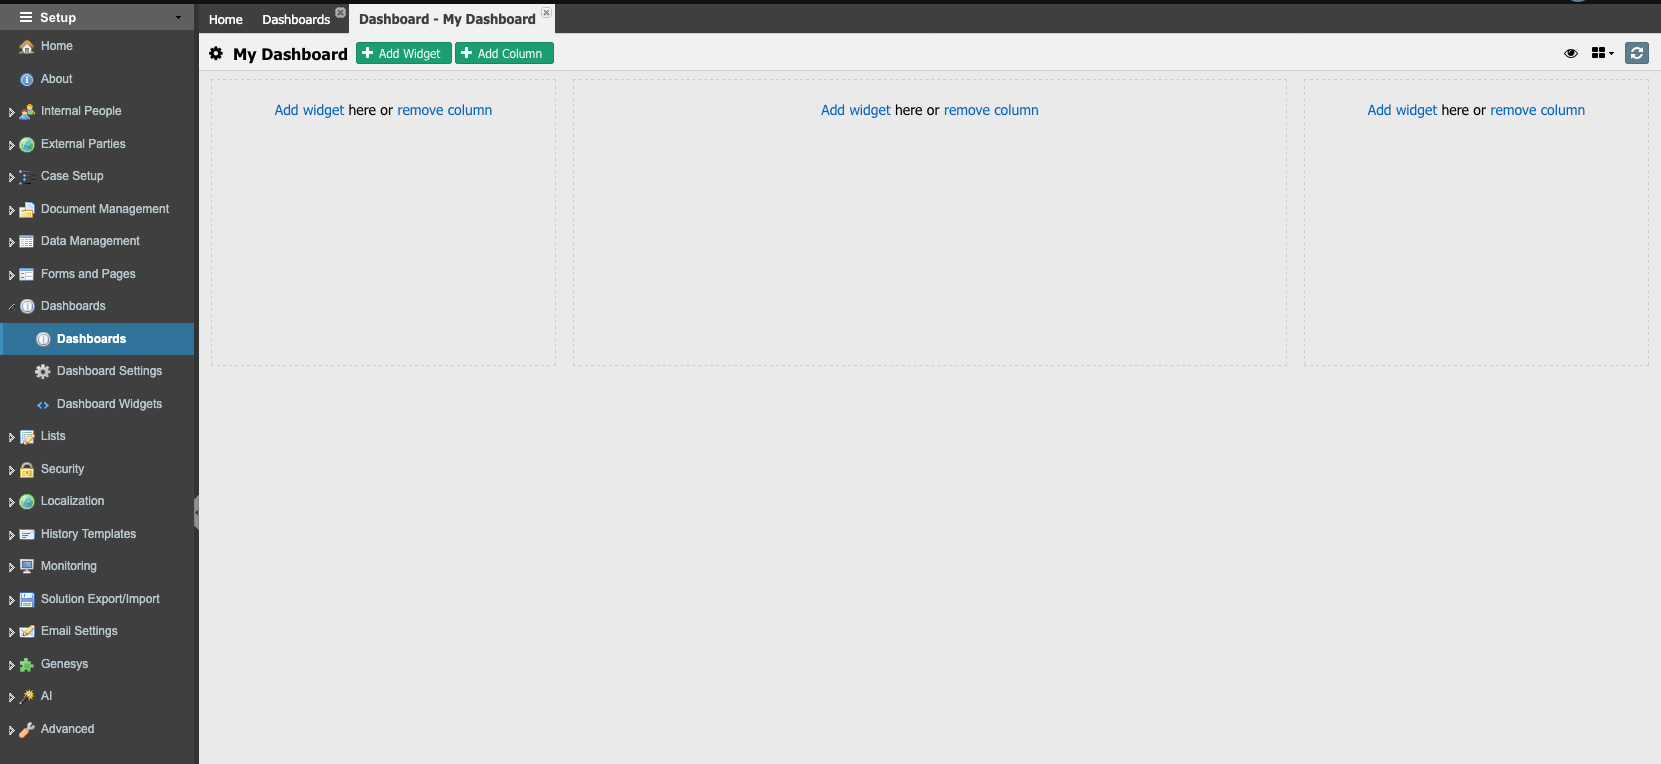
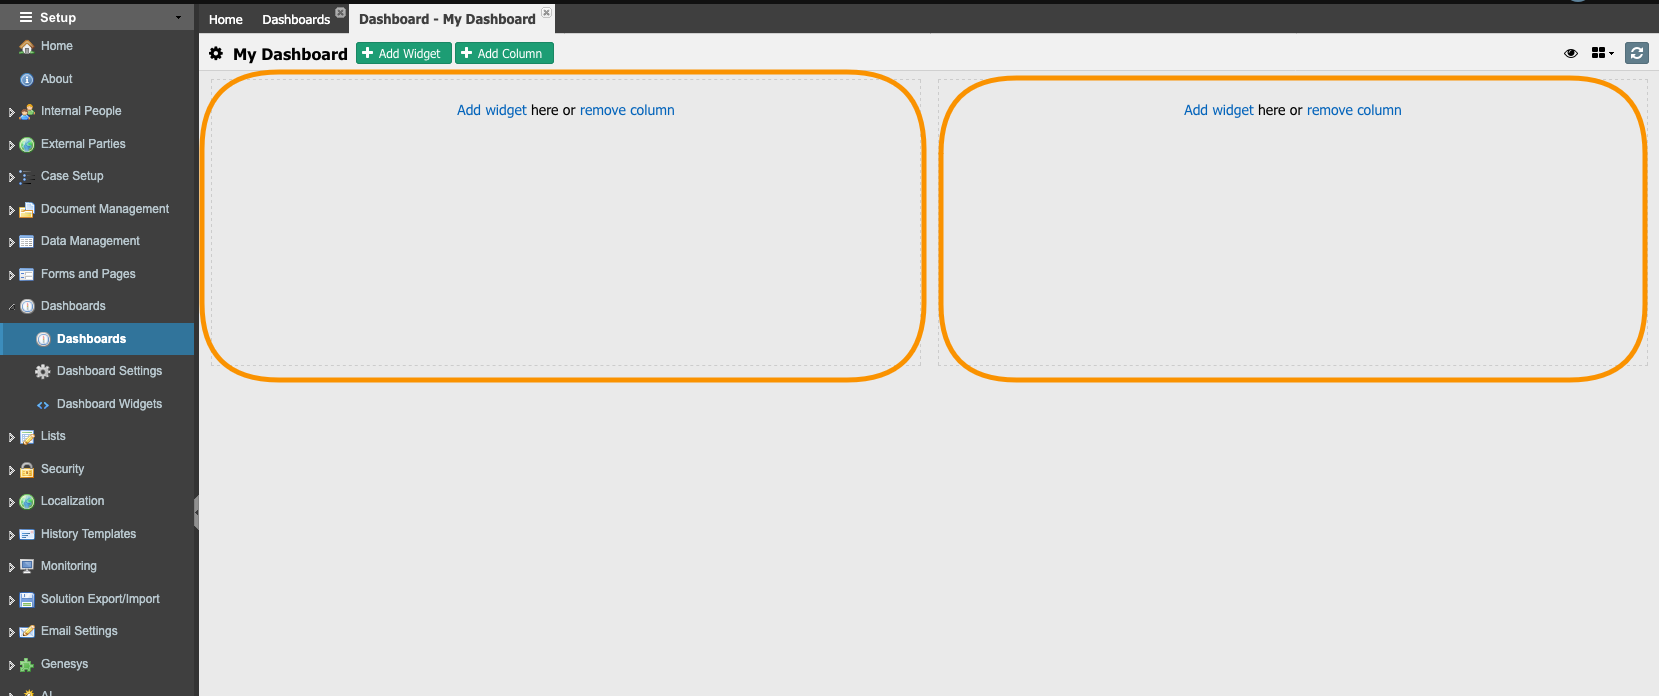
Click on the hyperlink of your new dashboard to open it. You will find an empty area with a predefined layout of three columns. You can add predefined widgets to each one of these columns.
Remove one column and re-size the other two to have the same width.
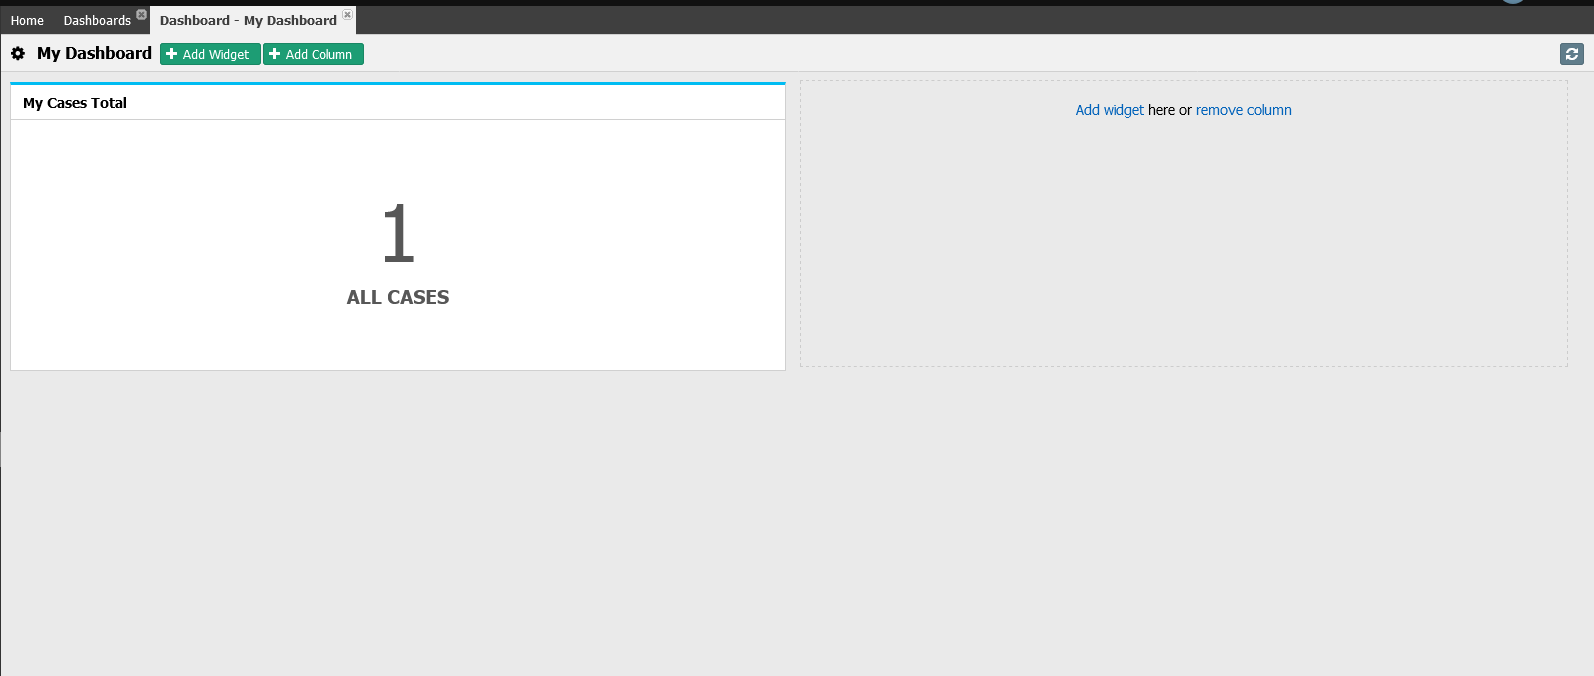
Click onAdd Widget(1) link on the left column. On theAvailable widget'swindow, selectSummary(2) and thenMy Cases Totalwidget, then click onAdd Widgetbutton.
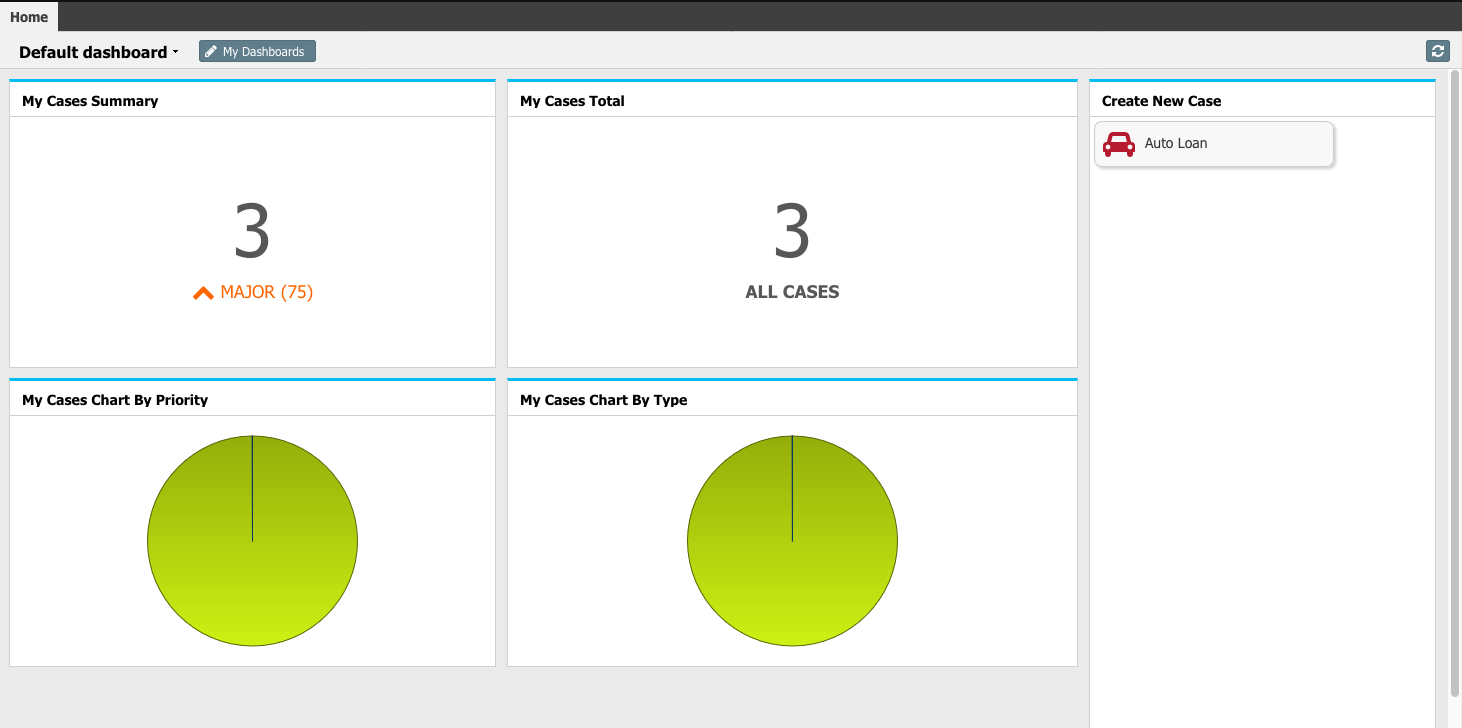
Check your dashboard with the following image. This newly added widget will show thetotal numberof cases of your solution.
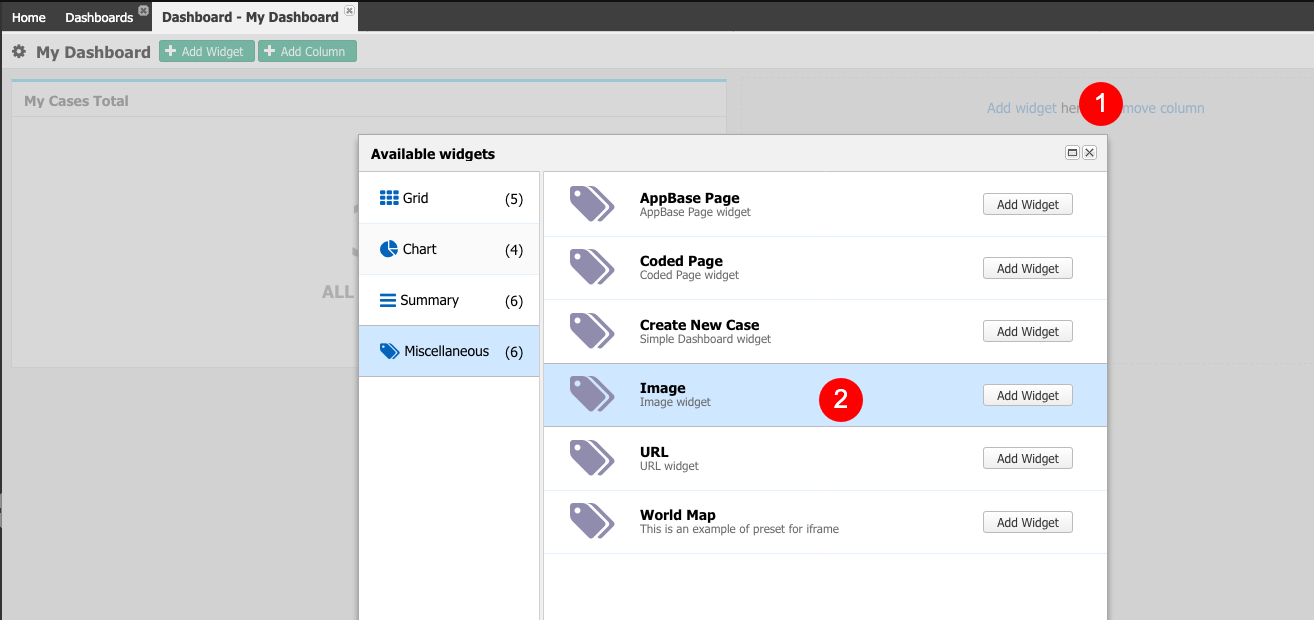
Click onAdd Widgetlink on the right column. From theAvailable widget'swindow, selectMiscellaneousthenImage, then click onAdd Widget.
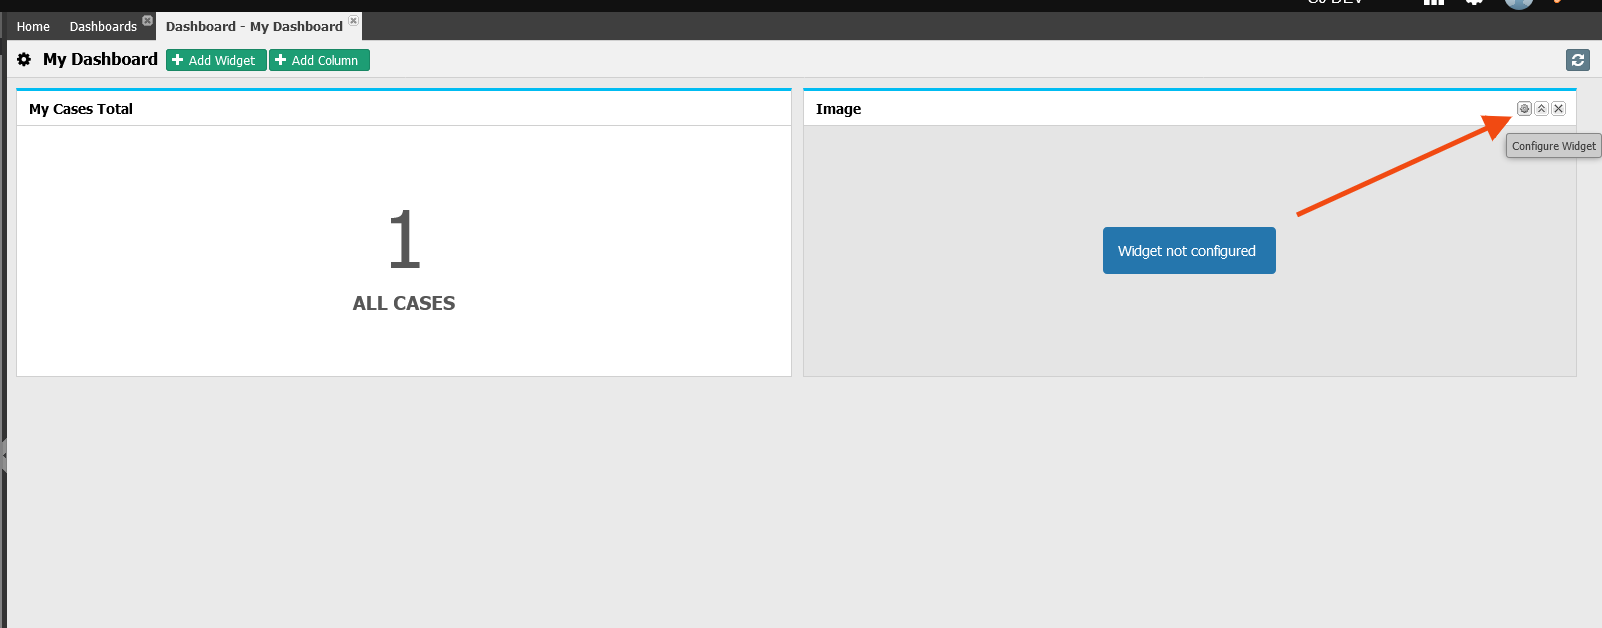
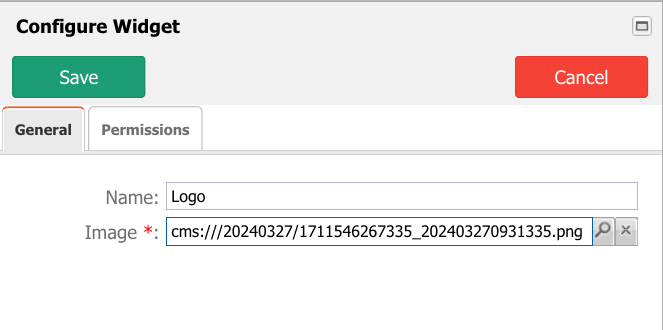
This new widget needs additional configuration. To do that click onConfigure Widgetgear icon at the upper right corner.
In theConfigure Widgetwindow set theNametoLogo.Click on themagnifier iconto select the image filepngfrom your Practice Resources folder. Click onOpento upload the file to DCM. Once the file is uploaded, DCM will use its internal reference for the file as cms://seqnumber_timestamp.
Our new dashboard is ready to be used in the Case Management area.
Close the Dashboards.
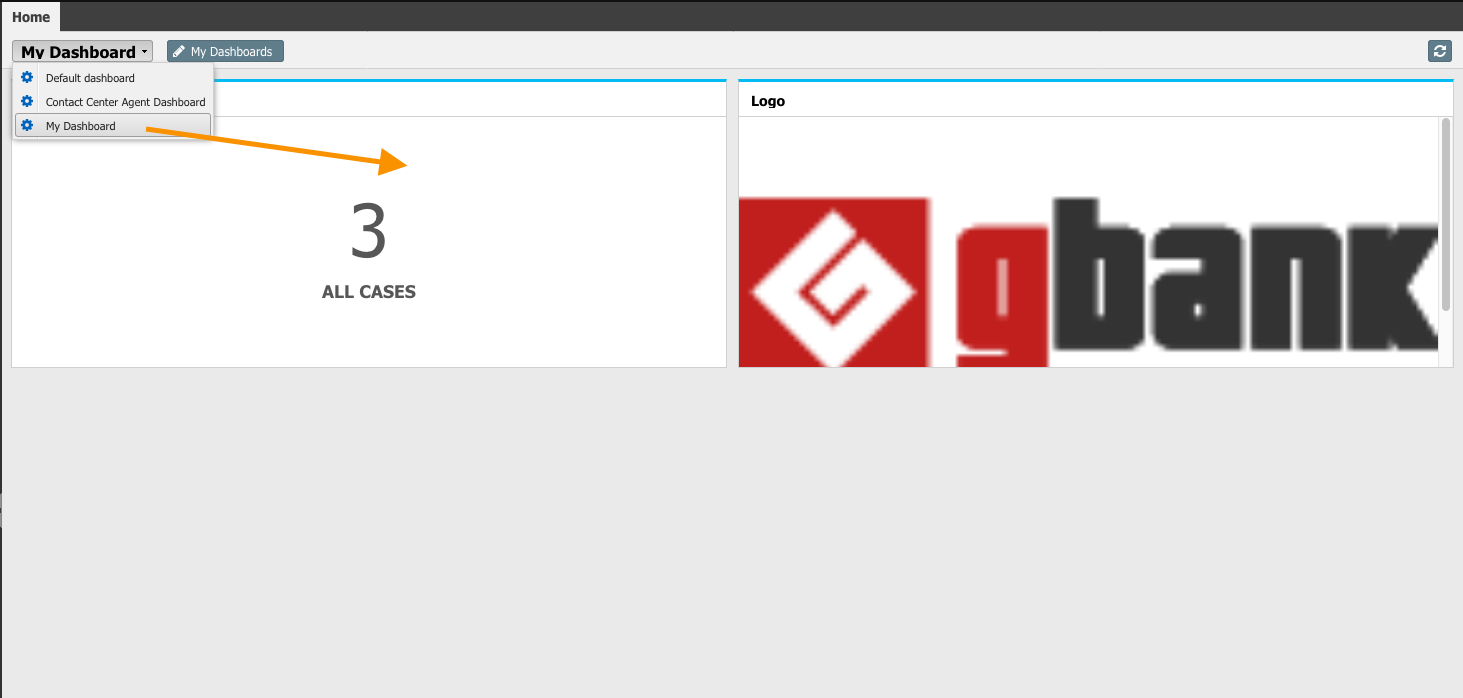
Go back to theHome. Notice that we will not see our new dashboard until we select it from the list of dashboards.
To set our new dashboard as default, we need todisablethe Default dashboard, go back to theSetuparea.
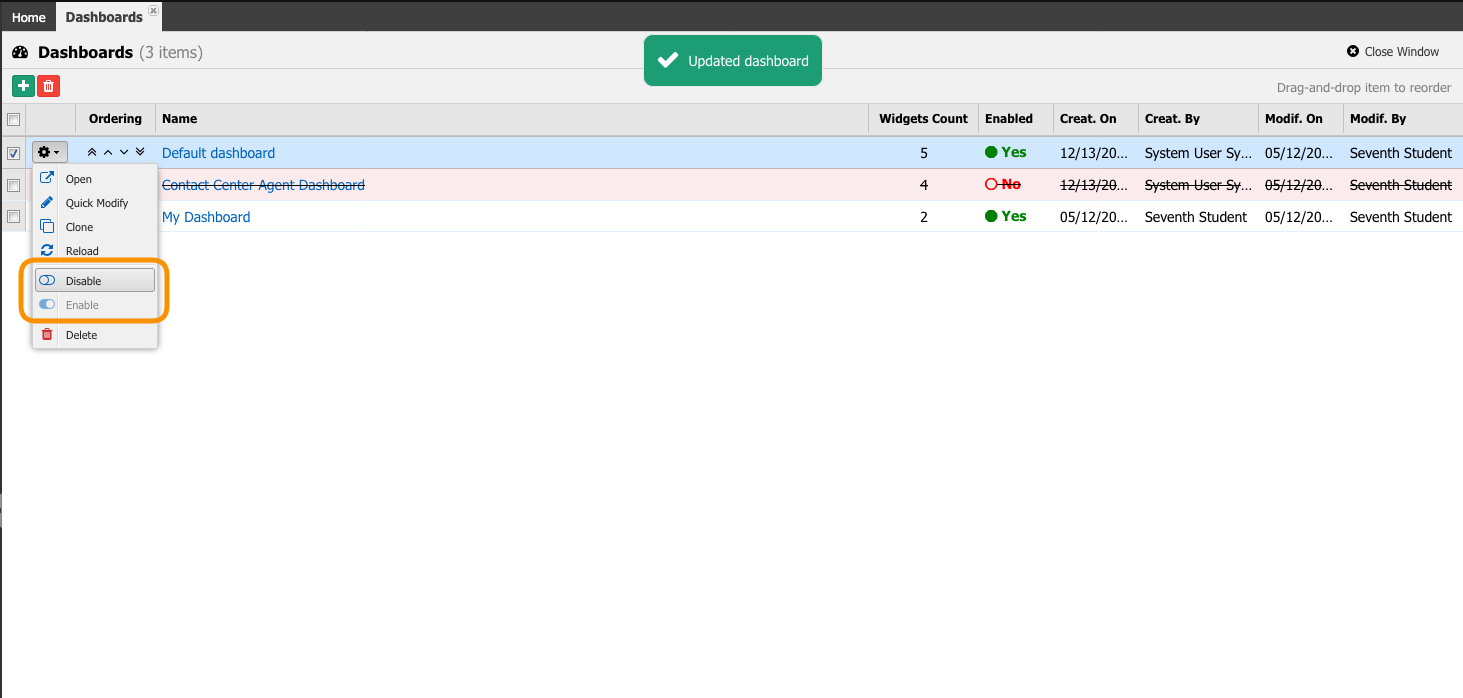
Navigate to Dashboards → Dashboards
Click the gear to open the Control menu and click theDisableoption. Deactivated Dashboards will appear with a red shade and a strike-through effect to indicate that they are no longer in force.
Go back to theHome.
Notice that we only have our new dashboard on the list of dashboards.
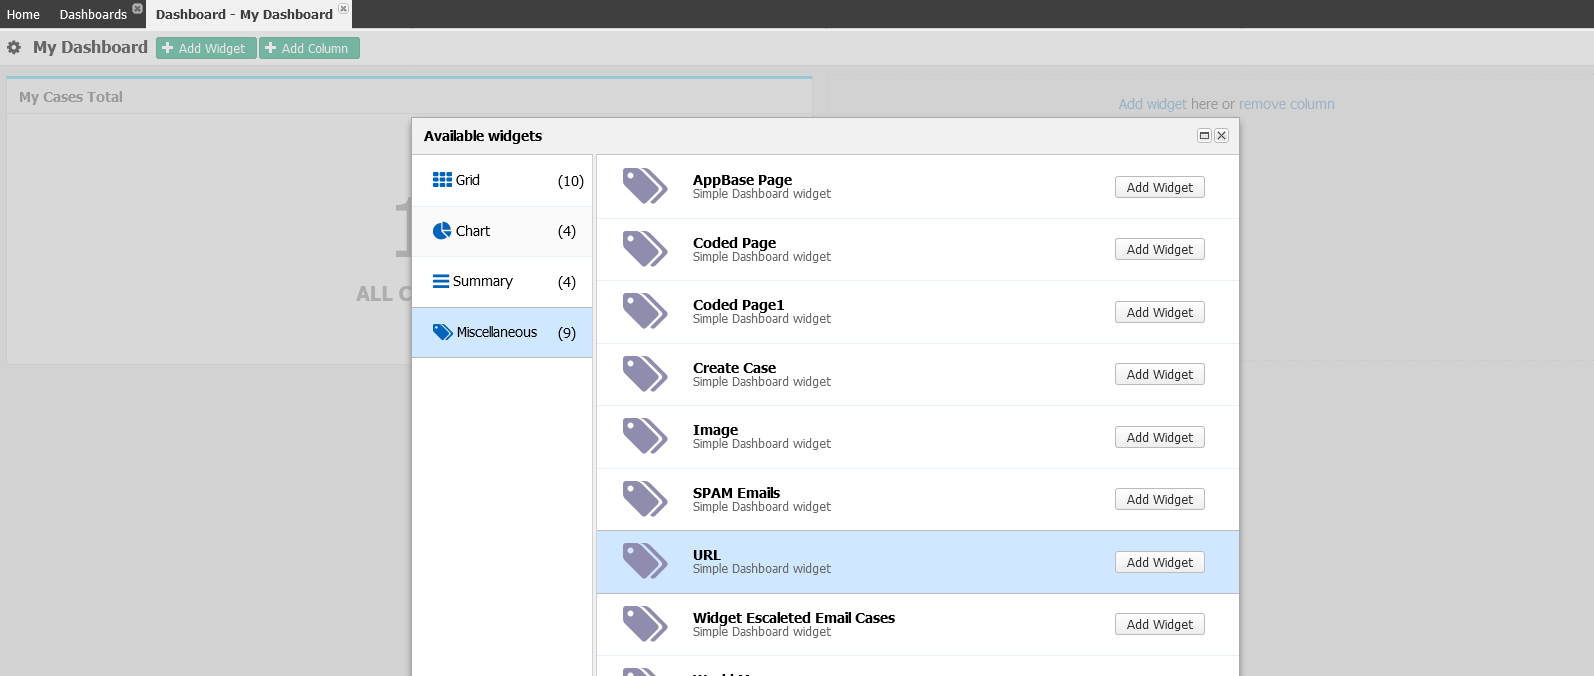
Add a new widget toMy Dashboard to access an external web page. Delete theImagewidget with the logo by clicking the cross button on the top right corner of the widget.
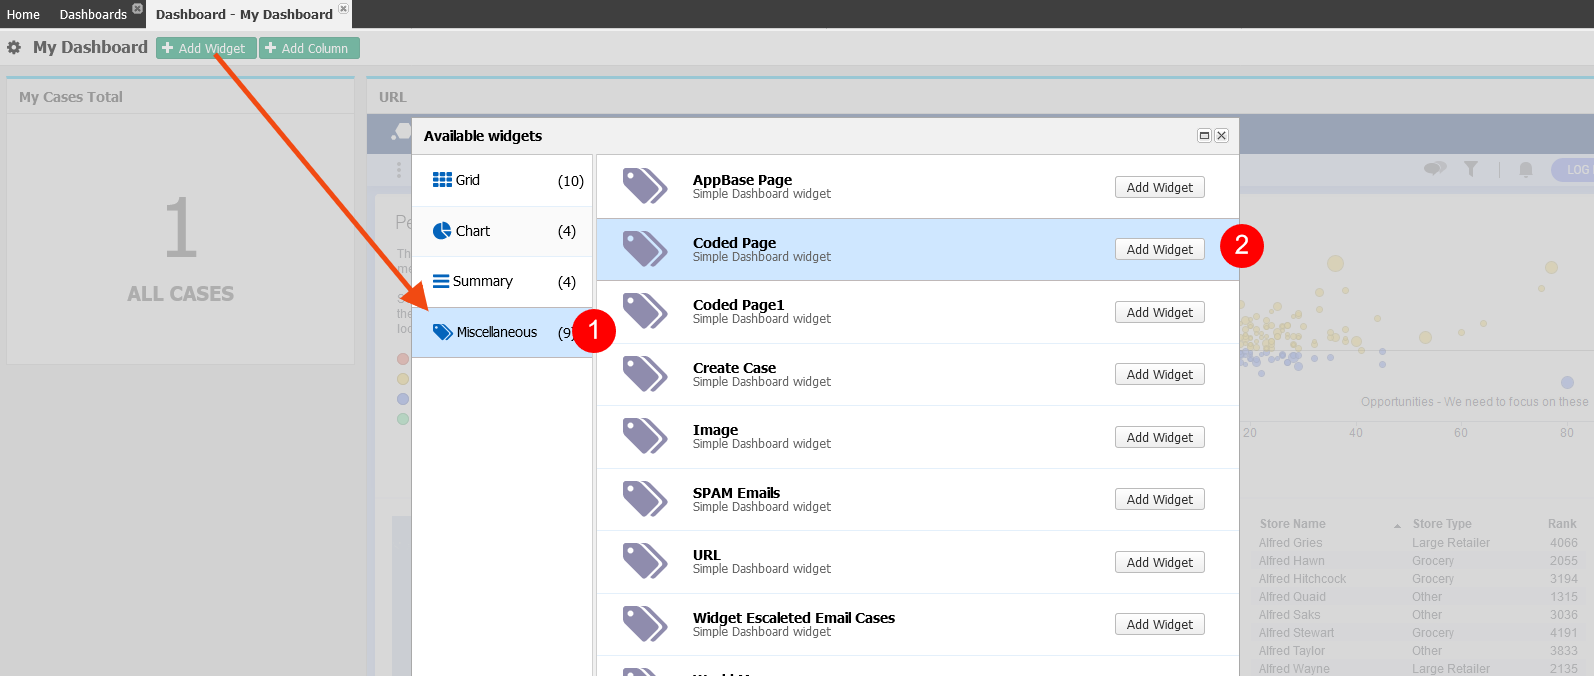
Click onAdd Widget.On theAvailable widget'swindow, selectMiscellaneousat left andURLfrom the right, then click onAdd Widgetbutton.
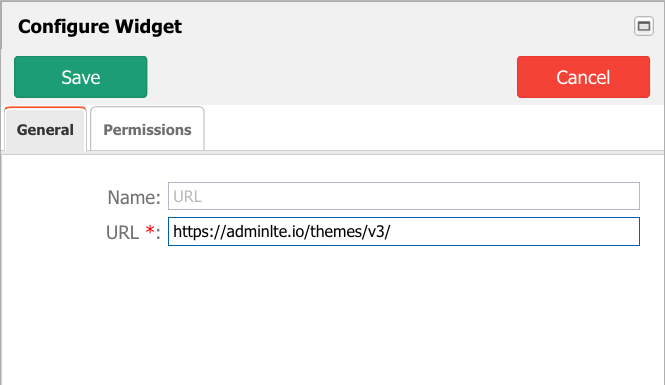
Click on theConfigure Widget gear icon at the upper right corner and insert the following URL: https://adminlte.io/themes/v3/
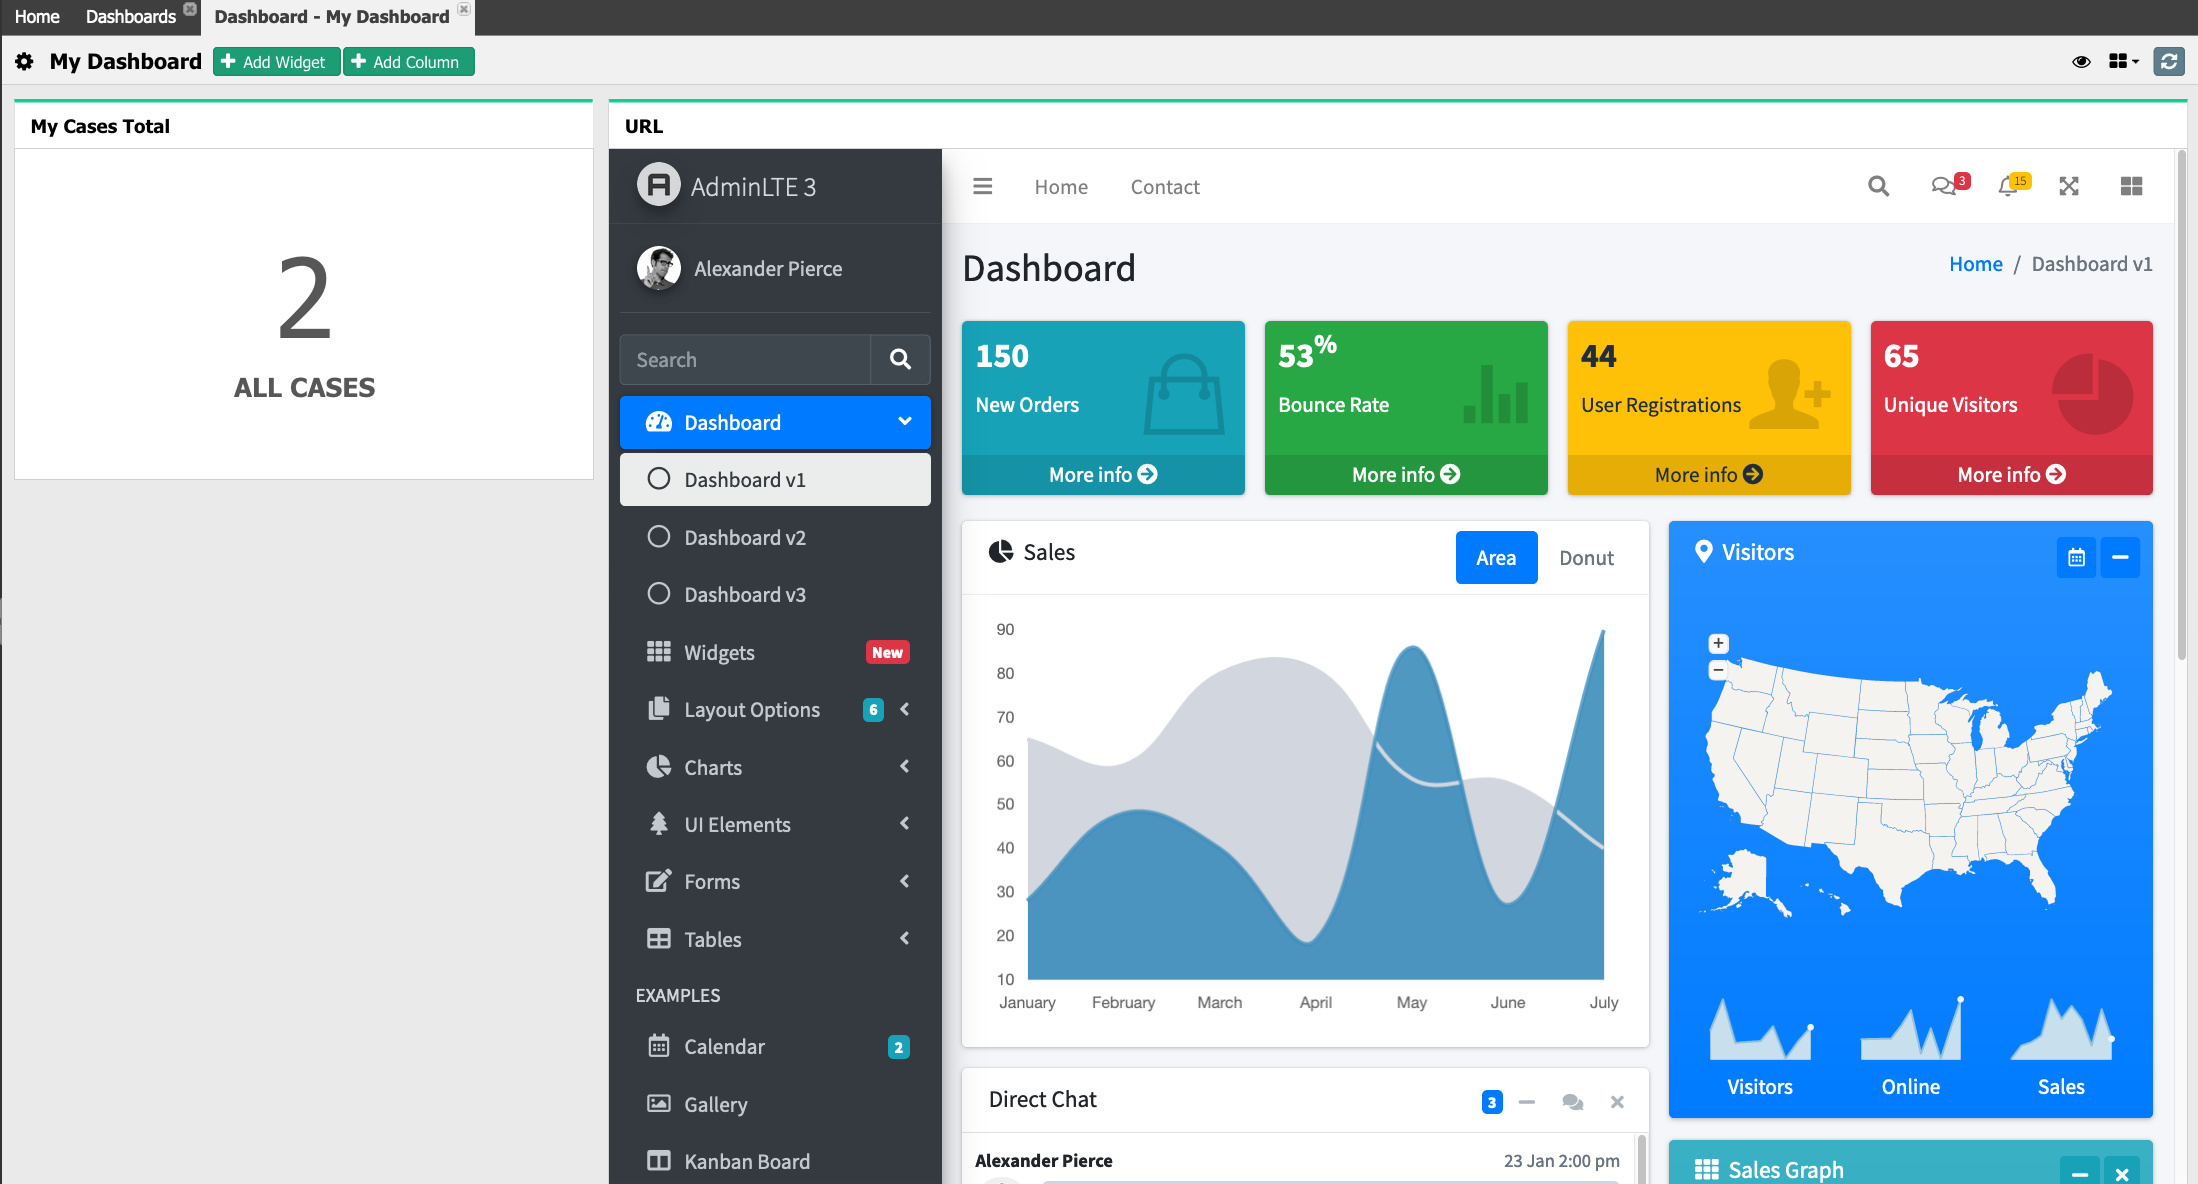
Resize the columns to get a full view of the URL/page.
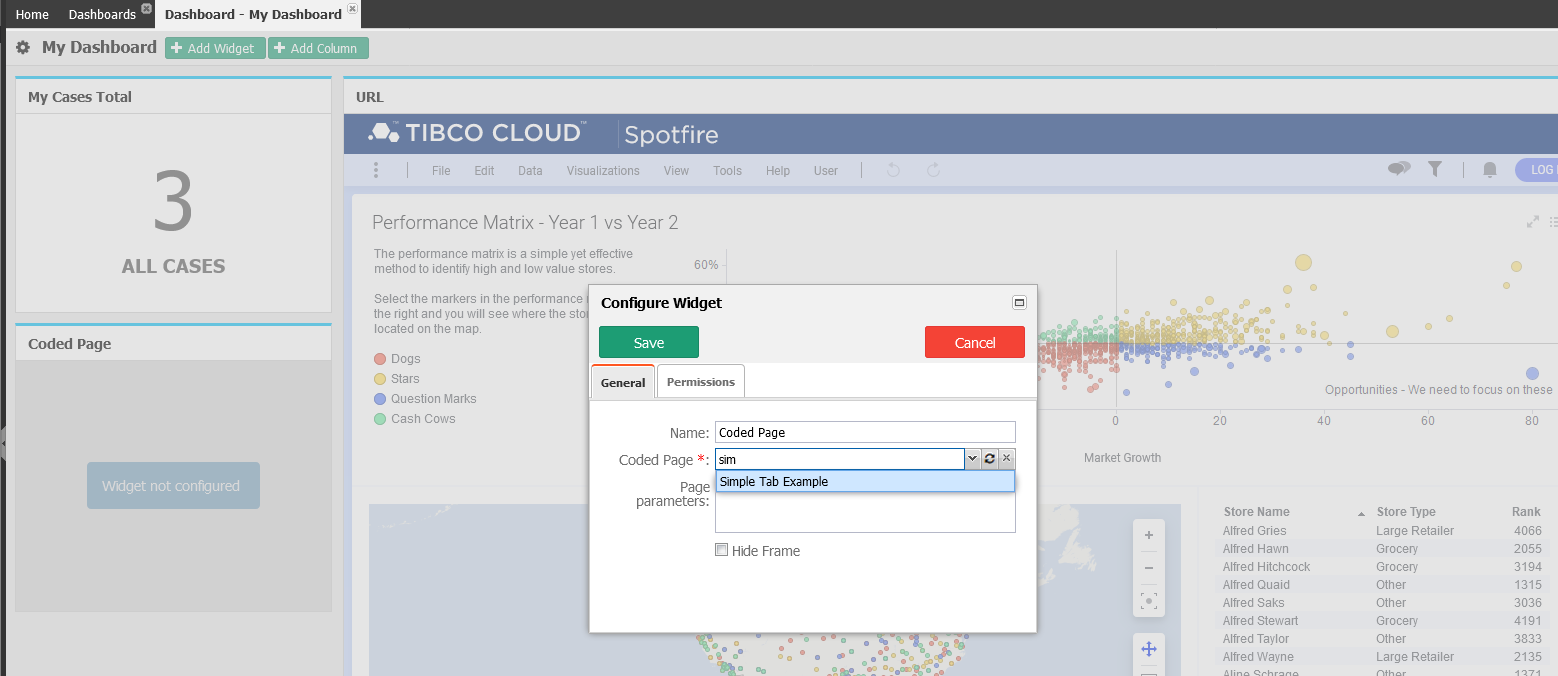
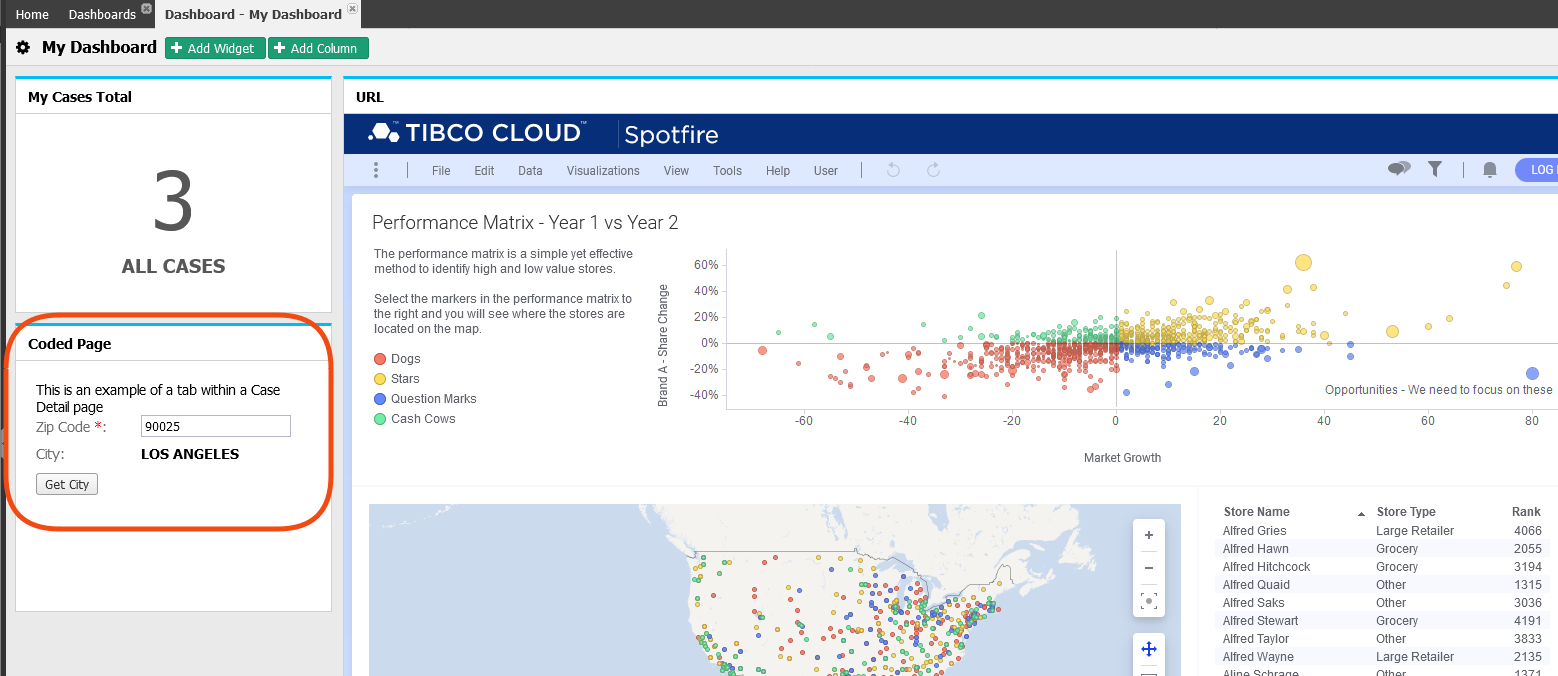
Add aCoded Pagewidget under theMy Cases Total.
Select theSimple Tab Examplecoded page from theCoded Pagedropdown list. This coded page is built on Activity 17.
Try the widget looking for a valid zip code. For example, use90025for Los Angeles, CA.