Skip table of contents

20. Working with Letter Templates

AppBase enables you to use templates for HTML Emails and/or Microsoft Word and use them in any AppBase application to populate fields in the template with specific content from your application. For example, you might use a New Customer Welcome Letter template to pull information from the BOM to create a PDF containing each customer’s information. The resulting letter could be placed in the CMS and work like any other file.


Creating Bookmarks

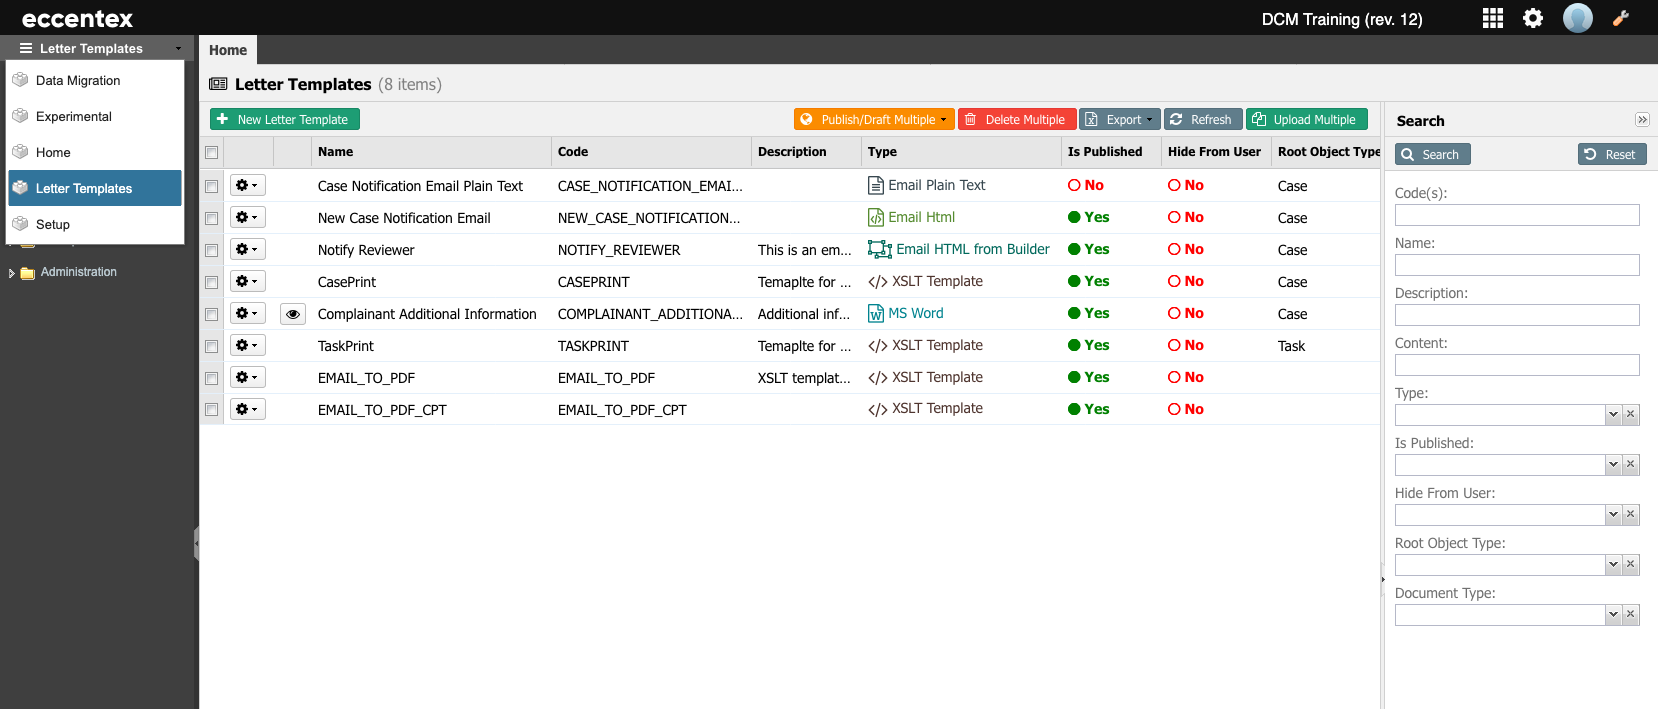
  1. Go to the Letter Generation application, notice that this is a different application from Case Management, Setup, or AppStudio that we were using in the previous exercises.
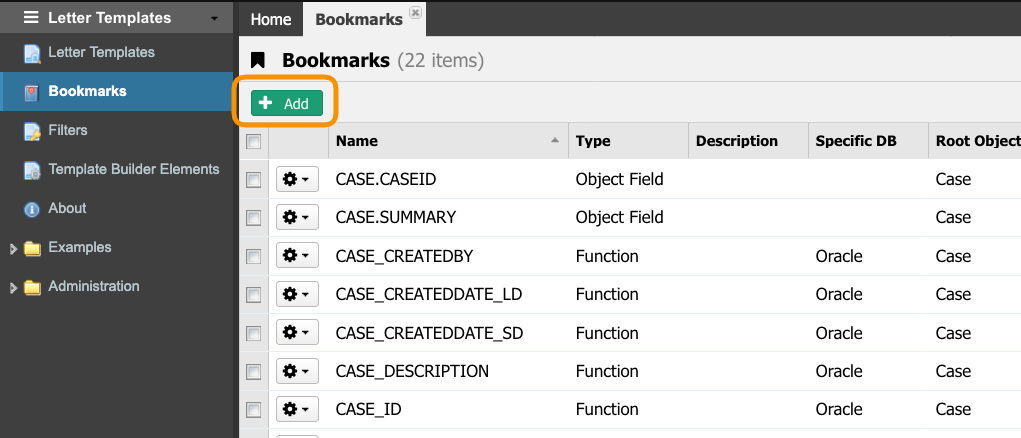
  2. Navigate to Bookmarks (1). Click on the green + Add 

    button to create a brand new bookmark that will be used in our templates.

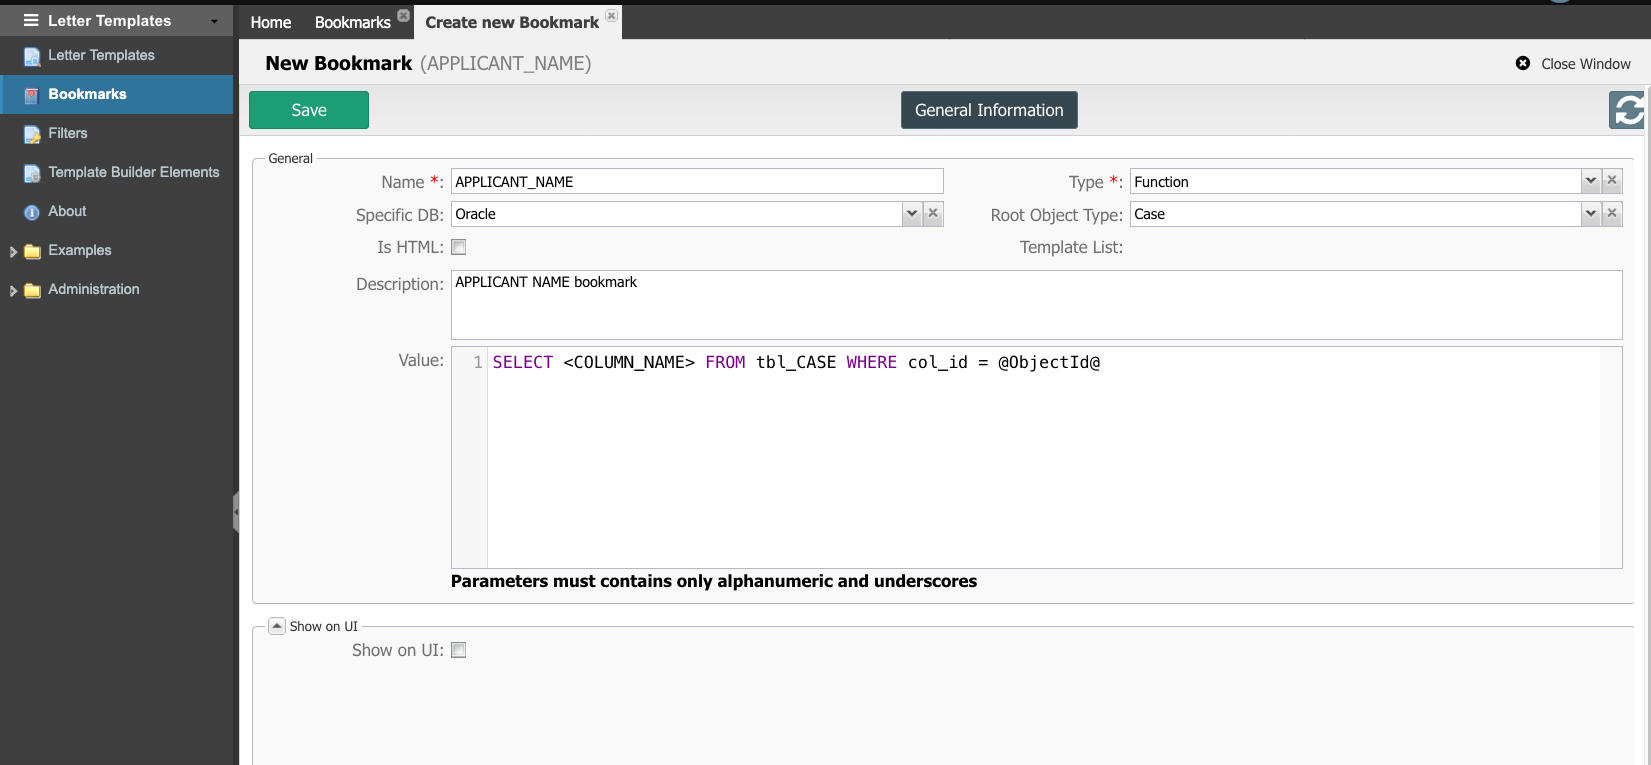
  3. In the Create new Bookmark tab insert ‘APPLICANT_NAME’ for Name, select ‘Function’ for Type. Select ‘Case’ for Root Object Type.

  4. As you notice the field Value is already filled with an example code. Replace that code for the following SQL sentence:

    SQL
    SELECT COL_CUSTOMER_NAME FROM TBL_CDM_AUTO_LOAN WHERE COL_AUTO_LOANCASE = @ObjectId@

    Validate that the name of the table and columns correspond to your MDM model.

  5. Save your configuration.

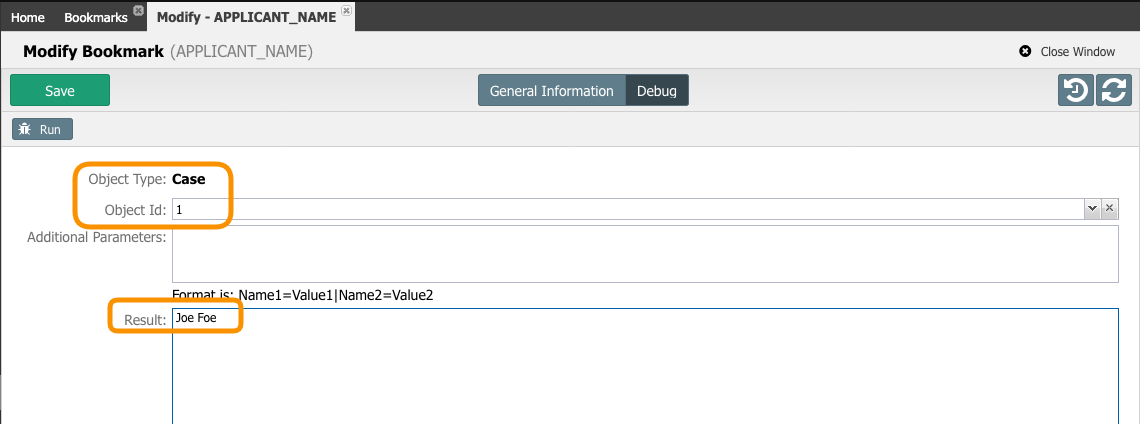
  6. After some seconds you will see a new Debug button next to General Information. Select Debug to check if the bookmark returns a valid value.

  7. In the Debug window insert a valid Object ID, in our sample that corresponds to the Case ID, Click the Run button to test our new bookmark.

    Remember that in most of the default solutions you can identify the Object ID from the last digits in the Case name ID (CASE-YYYY-ID).

  8. Save your configuration and close the window.

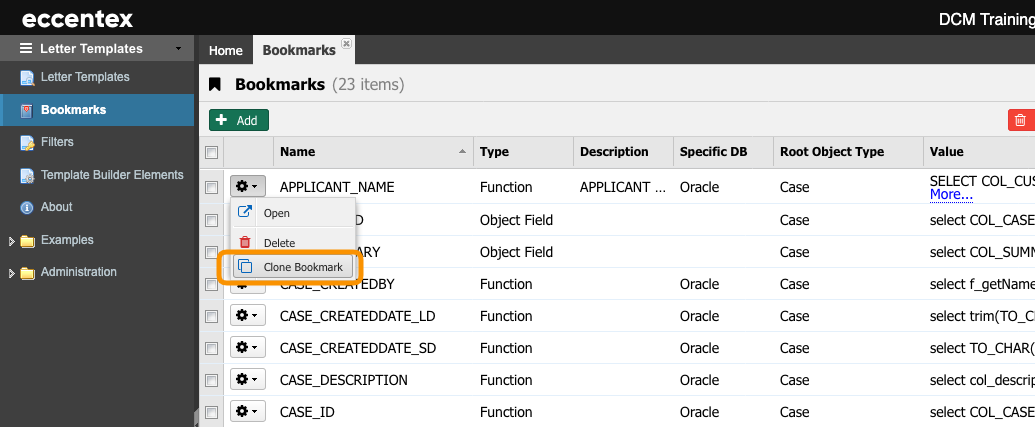
  9. Clone the APPLICANT_NAME bookmark to create more needed bookmarks.

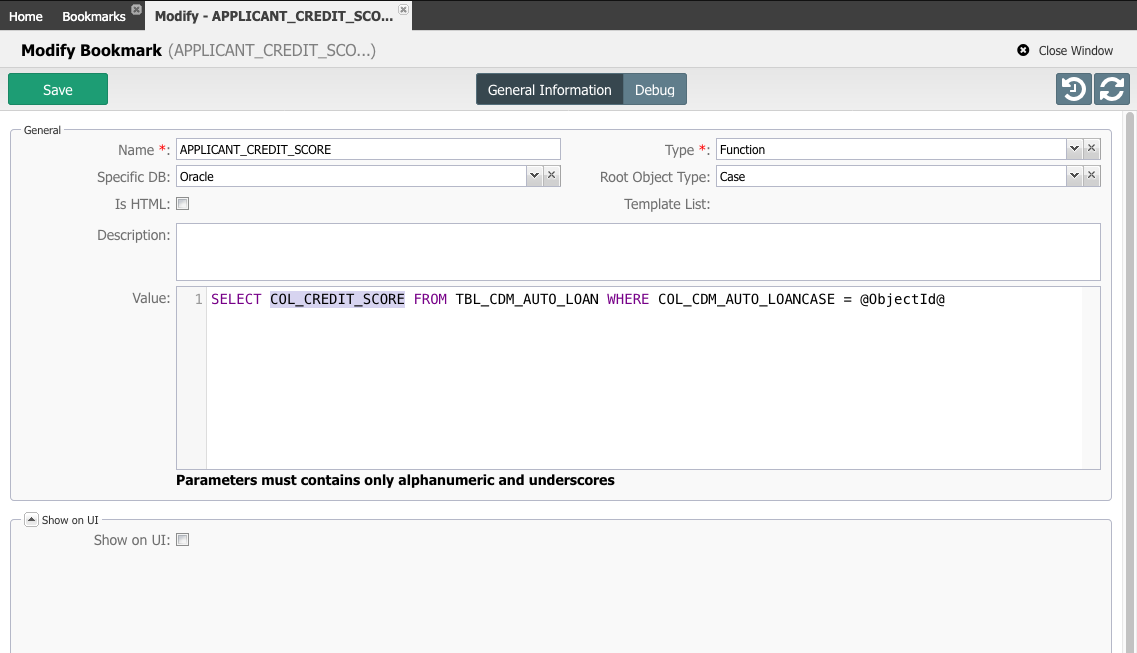
  10. Use ‘APPLICANT_CREDIT_SCORE’ for the Name. Open the new bookmark to edit the SQL query and change the field COL_CUSTOMER_NAME for COL_CREDIT_SCORE.

    CODE
    SELECT COL_CREDIT_SCORE FROM TBL_CDM_AUTO_LOAN WHERE COL_AUTO_LOANCASE = @ObjectId@


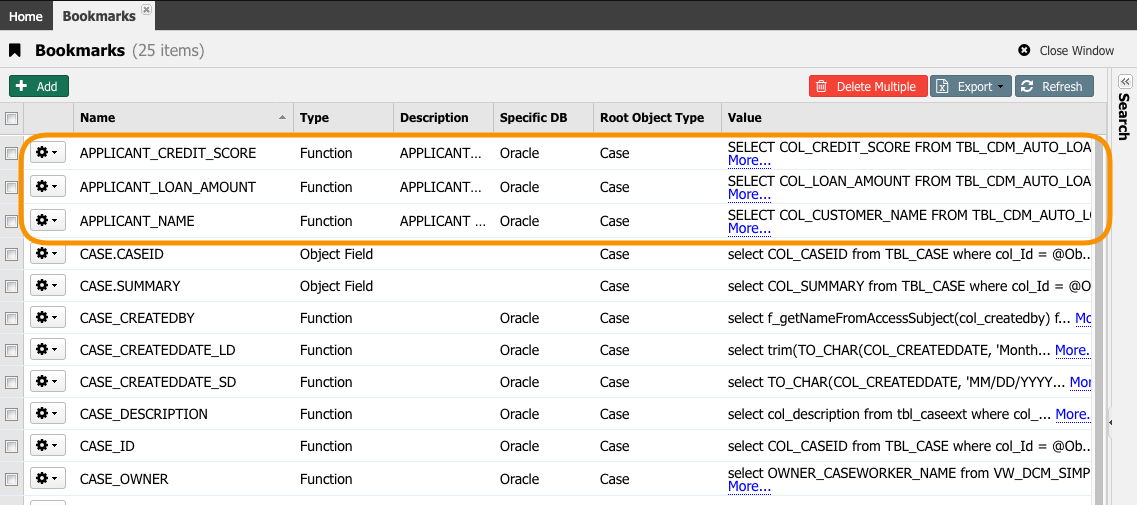
  11. Repeat the previous step to add the following additional bookmark:
    Name: APPLICANT_LOAN_AMOUNT
    Value: SELECT COL_LOAN_AMOUNT FROM TBL_CDM_AUTO_LOAN WHERE COL_AUTO_LOANCASE = @ObjectId@

  12. After creating the bookmarks, you should have a list as follows:

Creating Email Templates

  1. Navigate to Letter Template. Click the green + New Letter Template button.

  2. Select Type as Email Html, insert Name as LOAN APPROVAL NOTIFICATION, select Root Object Type as Case, add GBANK LOAN APPROVAL NOTIFICATION for Description. Click the Save button.
  3. Click the Template Content button, type Auto Loan Application Notification for Email Subject, and insert the following text in the Email Body:

    CODE
    Dear @@,
    We are pleased to approve your Auto Loan application. The loan amount is $@@; the annual interest rate is 4%.
    If you have any questions, please call our local branch or @@, your representative will help you.
  4. From the bookmark button at the top left menu, you can select any of the available bookmarks in this solution.
  5. From the list of available placeholders, select @APPLICANT_NAME@ and drag&drop it after Dear.
  6. Select ​@APPLICANT_LOAN_AMOUNT@ from the list of available placeholders and place it after the dollar sign of the loan amount.
  7. Position the cursor in the @@ in the text ‘local branch or @@, your representative…’. Now click on the Placeholder icon(1) to select CASE_OWNER from the list(2). Click OK.

  8. Save your work
  9. Click the Test Template button and using a valid case ID (Object ID) and an email address execute the template (you are suggested to use the email assigned for this training XX@eccentexcloud.com).

    You can also populate the values of the bookmarks using the fields under the Placeholders section.
  10. If everything was OK, you will receive an email like below in your inbox (please check the Junk folder if you do not receive it in a couple of seconds).
  11. Save the template and Publish You will see your new template listed and ready to be used. Now that our template is tested and published let's hook it up with the workflow.
  12. Go back to the Setup application and open the Auto Loan milestone diagram.
  13. Fill the TemplateCode parameter with the code of our new template (LOAN_APPROVAL_NOTIFICATION) in the Email Decision rule (CUST_ltr_send_email).
  14. Save the changes to the milestone diagram and close the window.

Working with MS Word Templates

First thing is to prepare the Word document to use the bookmarks from DCM. We are going to work on a pre-filled file located in the Practice Resources folder.

  1. Open the MS Word, under the Developer tab turn on Design Mode.


    Note: If you don't have the developer tab visible then follow these steps to show the Developer tab in your Office application:
    (https://support.office.com/en-us/article/Show-the-Developer-tab-e1192344-5e56-4d45-931b-e5fd9bea2d45)

  2. Here is a list of some bookmarks available that you can use in MS Word:

    1. APPLICANT_CREDIT_SCORE
    2. APPLICANT_NAME
    3. APPLICANT_LOAN_AMOUNT
    4. CASE_STATE
    5. CASE_CREATEDDATE_SD
    6. CASE_CREATEDDATE_LD
    7. Case.CaseId
    8. SYSTEM_DATE
  3. Open the MS Word file LTR_Tutorial_Notification Letter_highlighted.docx located in the folder Practice Resources.
  4. Select the case number from ‘RE: Application #: CASE-2017-183’ and click Rich Text Content Control in the Controls section on the Developer tab.Now we can notice the control border around our selected text. At this point what we have is a container filled with a static value.

    To make this control dynamic, in the sense that this control will be discovered by the letter generation engine and replaced with the desired value, we need to tag this control with a bookmark name.

  5. On the Content Control Properties dialog, fill in the Tag field the bookmark name CaseId. Copy the same value to the Title field. Click on the OK button.
  6. Select Sir/Madam and click Rich Text Content Control in the Controls section on the Developer tab.

  7. Keep the control selected and click on the menu in the Controls section. Now on the Content Control Properties dialog fill in the Tag field the bookmark name APPLICANT_NAME. Copy the same value to the Title Click on the OK button.

  8. Add the tag CASE_CREATEDDATE_SD in the Submitted Date

  9. Finally, insert the using the SYSTEM_DATE tag in the paragraph Generated on 10/18/2017

  10. Save the document with a different name.

  11. Your document might look like the following

Registering the MS Word Template

We have a letter template with tagged controls. Now is time to go back to our solution in DCM to add this MS Word template.

  1. Open the Letter Generation application in the AppBase application selector. In Letter Templates add a new MS Word template.

  2. Select ‘MS Word’ from the Type drop list. Enter ‘NOTIFICATION_LETTER’ for Name and select ‘Case’ for Root Object Type.

  3. Select the Template Content button

  4. Upload the MS Word letter template file created in the previous steps.

  5. Save the template.
  6. After saving the new template, Select the Test Template button. Insert a valid Case Number to test our new template, click on the Run button.
    After a few seconds, the generated MS Word document will be ready to download and will be saved with a name pattern like ‘LTR_Tutorial_Notification_Letter_99a99b.docx’.

Creating Email Templates with Attachments

  1. Navigate to Letter Templates. Click the +New Letter Template green button.
  2. Select Type as Email Html, insert Name as LOAN REVIEW NOTIFICATION, select Root Object Type as Case, add GBANK LOAN REVIEW NOTIFICATION for Description.
  3. Save the new Template.
  4. After saving, you will see a new section called Default attachment list, Click the plus (+) button and select the NOTIFICATION_LETTER from the template the list.
  5. Save the template.

  6. Click the Template Content button, in the Subject field insert Auto Loan Review Notification - @CASE_ID@, in the Email From insert noreply@eccentexcloud.com

  7. In the Email Body section click the Source button and paste the following HTML code:

    XML
    <p>Dear <strong>@APPLICANT_NAME@</strong></p>
    
    <p>After a thoroughly review of your Auto Loan application #<strong>@Case.CaseId@</strong>, we are requiered to ask you for supplementary docucumentation.</p>
    
    <p>If you have any questions, please call our local branch or contact your representative <a href="mailto:@USRS_EMAIL@?subject=Auto Loan Review Notification - @CASE_ID@">@USRS_FULLNAME@</a>, who will be happy to help you.</p>
    
    <p>
    Best regards,
    @COMPANY_NAME@
    </p>
  8. Click the Source button again to go back to the WYSIGYG editor

    The template will not save your changes when the editor is in the Source view, you must un-select Source view before saving it.

  9. Save the template.

  10. Click the Test Template button and using a valid case ID (Object ID) and an email address (you are suggested to use the email assigned for this training XX@eccentexcloud.com) execute the template.

  11. Save the template and Publish it.

Using Templates in Case Detail Page

  1. In the Setup application, under Forms and Pages > Detail Pages, open the AUTO LOAN Detail Page.
  2. Open the Case Emails tab (1) and click the Edit tab (2) button.
  3. In the Send Email Template field select LOAN REVIEW NOTIFICATION from the dropdown list.
  4. Save the configuration.
  5. Save the Page Detail
  6. Run a Preview to validate the changes. Select the Case Emails tab then click the Send Email button.
  7. Validate that the Attachment was generated using the template and the email body has the correct values from the case selected.
  8. Send the email and check your inbox.
  9. Check the body of the email and the attached document.

Next Steps

21. Setting and Email Capture Channel


JavaScript errors detected

Please note, these errors can depend on your browser setup.

If this problem persists, please contact our support.