21. Setting and Email Capture Channel
The Email Capture Channel feature enables DCM to read from an email account and using rules do specific actions with those emails. AppBase uses an extension rule (DLL) called DefaultEmailCaptureRule to do the parse of the incoming emails.
Check the Extension Rule
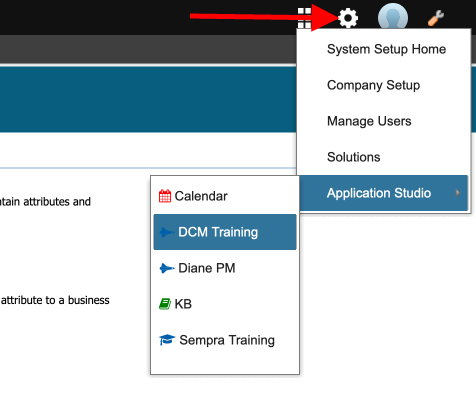
Access to Application Studio at the upper right corner.
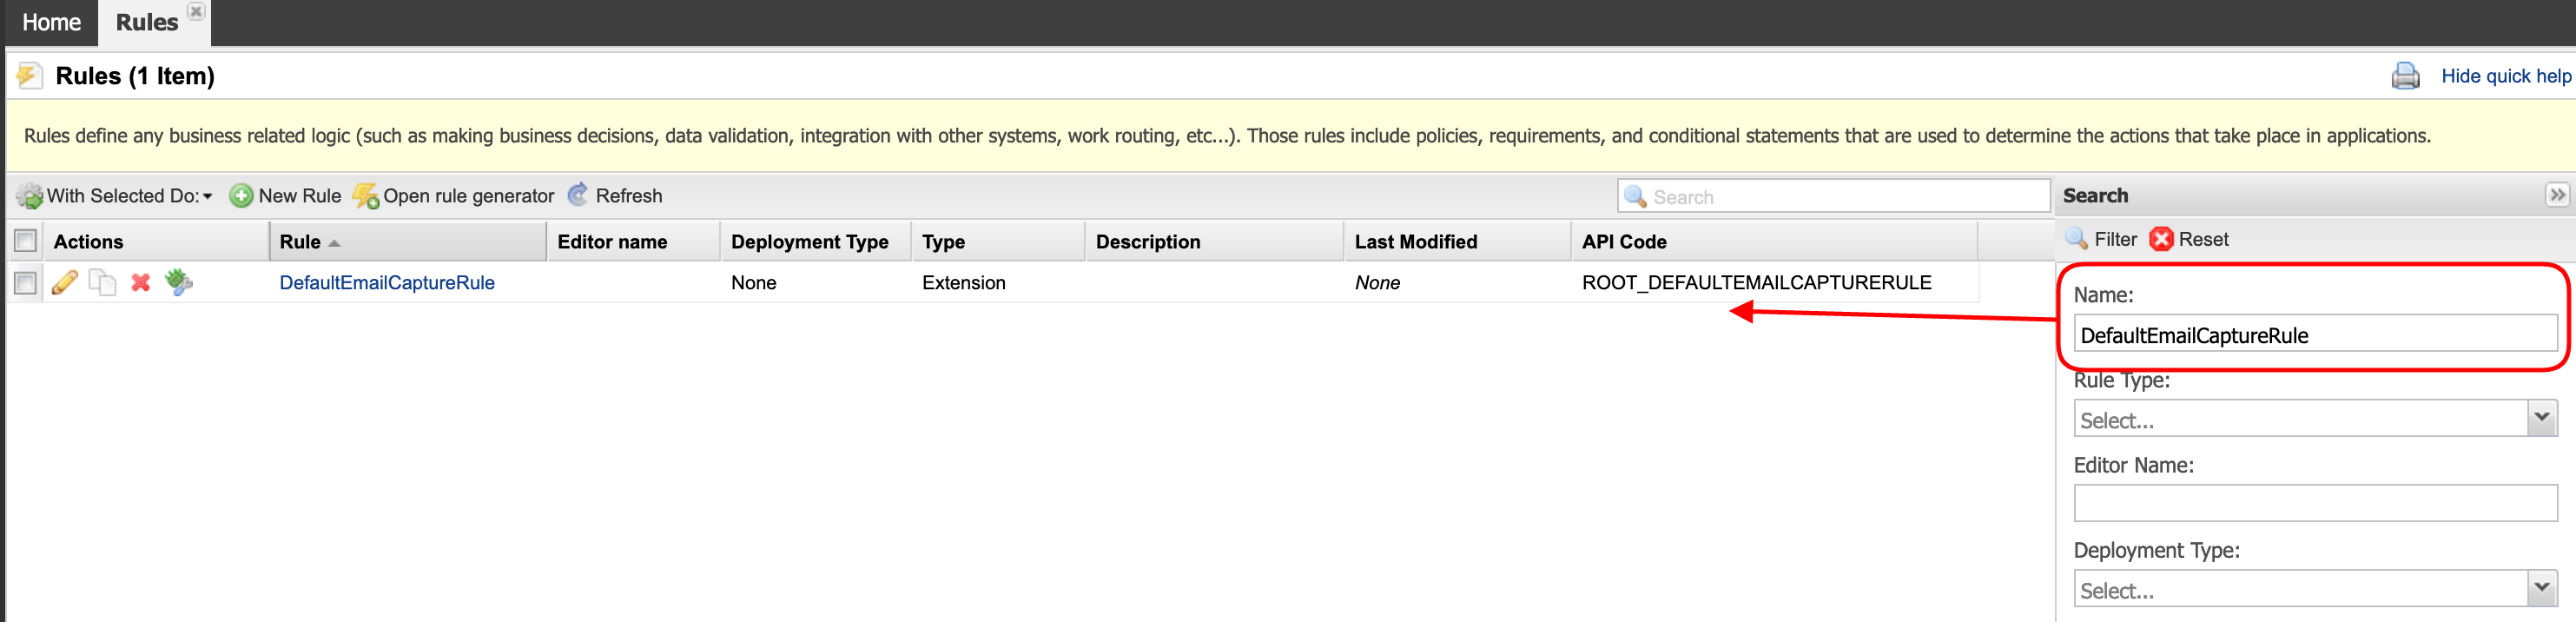
Navigate to Business Rules > Rules, search for the rule DefaultEmailCaptureRule.
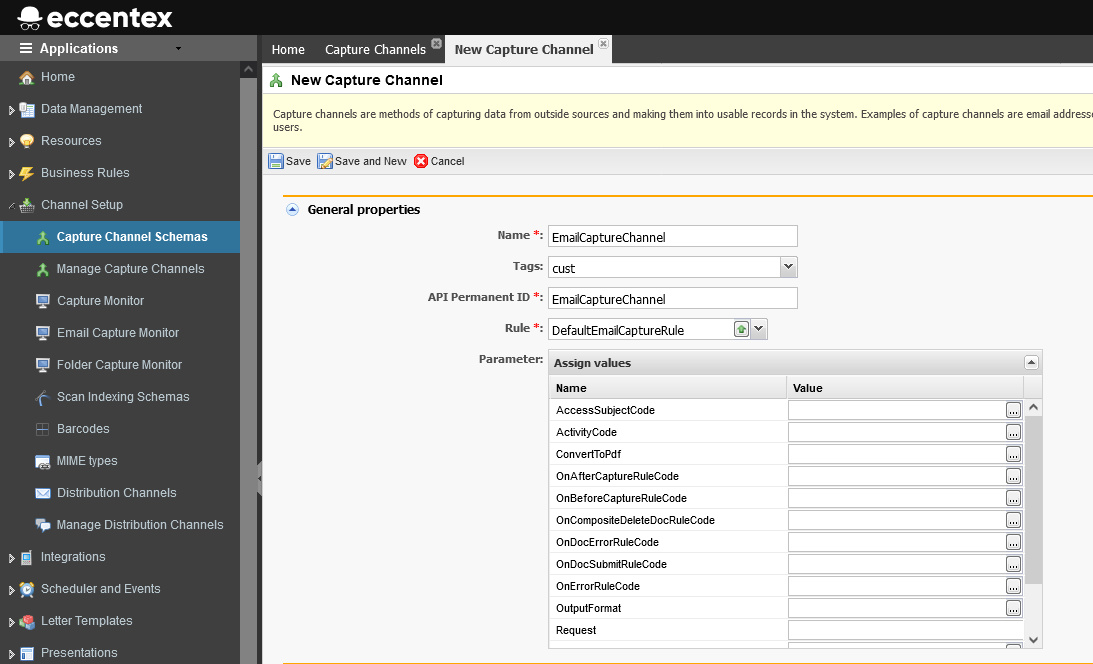
Configuring a Capture Channel Schema
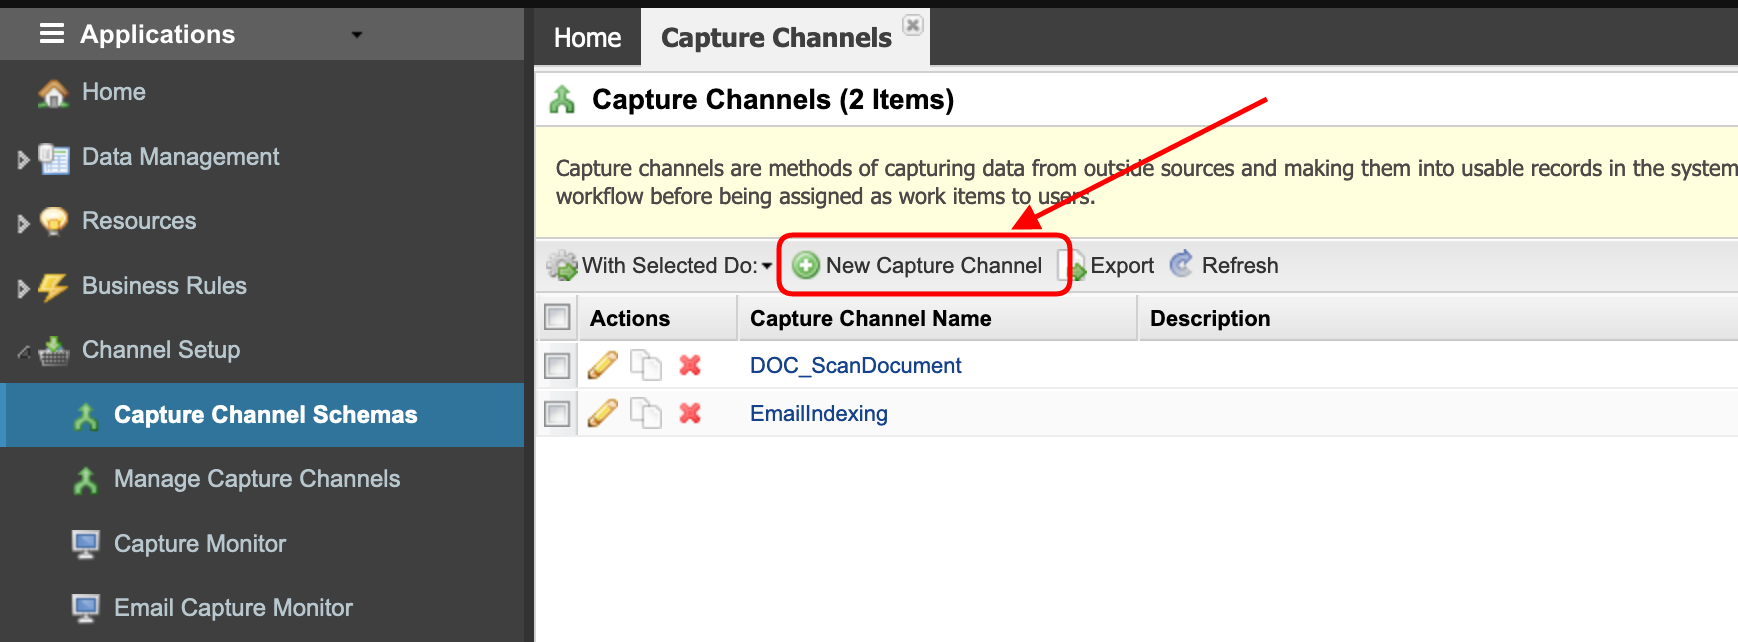
- Navigate to Channel Setup > Capture Channel Schemas and click the New Capture Channel button.
- In the General properties section, set Name as 'EmailCaptureChannel' and for Rule select the ‘DefaultEmailCaptureRule‘ rule (the rule we just checked in the previous steps), Set Tags for ‘cust’.
- In section Channel Type select Email (1). It will show the sections Batch Properties (2) and Email (3) where you will have to fill in more details in the next step.
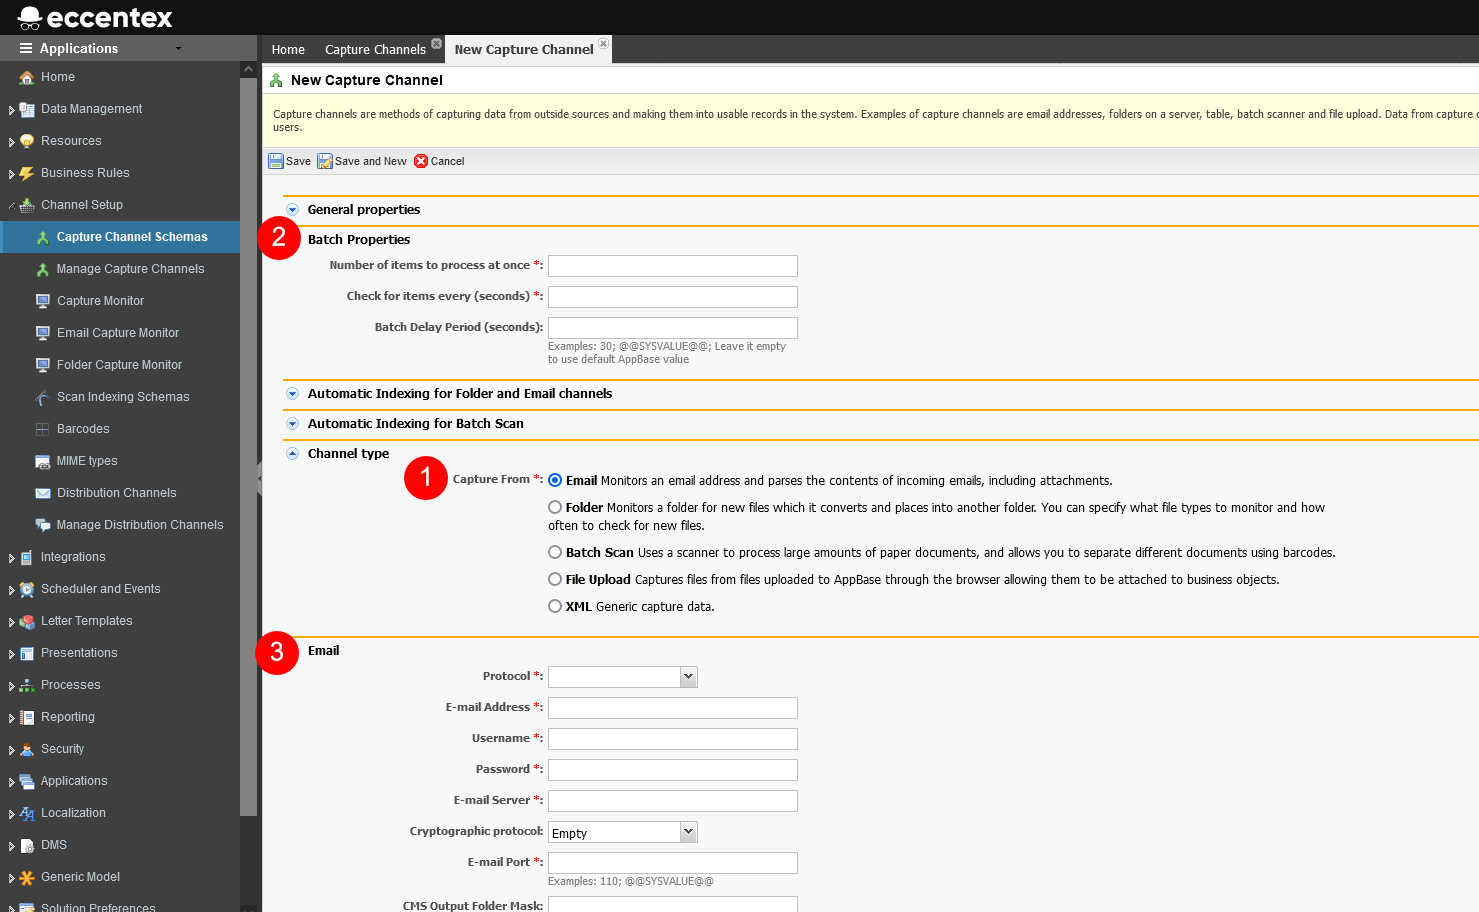
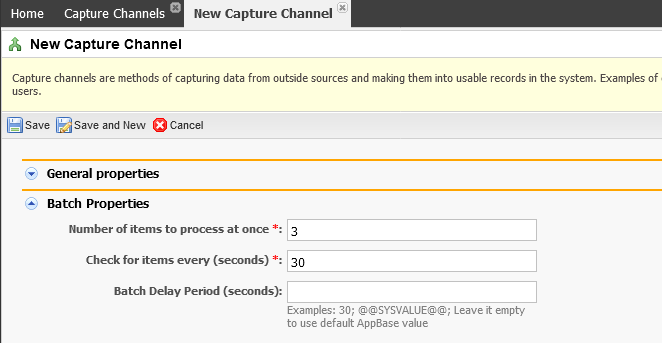
- In the Batch Properties section set the Number of items to process at once to 3 (three) and Check for items every (seconds) to 30 seconds.
- In the Email section, enter the properties related to the email connection.
Use the configuration values from the table belowE-mail Address
@@GBANK_EMAIL_ADDRESS@@
Username
@@GBANK_EMAIL_USERNAME@@
Password
@@GBANK_EMAIL_PASSWD@@
E-mail Server
@@GBANK_EMAIL_SERVER@@
E-mail Port
@@GBANK_EMAIL_PORT@@
Temporary Path
C:\TEMP
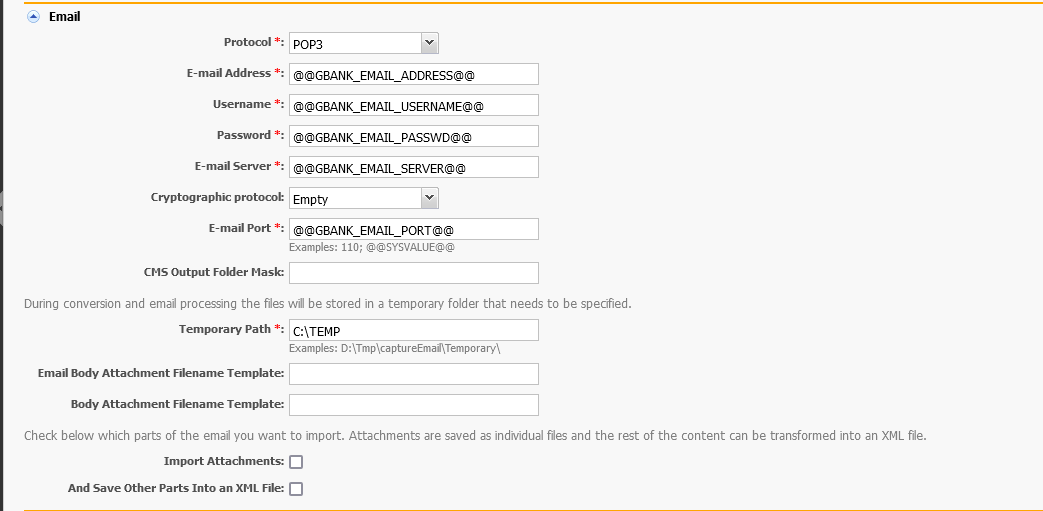
The @@NAME@@ indicates that the value is from a Solution Variable called NAME
- In the Description section insert the text 'GBank Email Capture Channel'.
- Save the Capture Channel configuration.
Setting System Variables
In the previous task, for security reasons, we used system variables for the email configuration. Now we need to create these system variables and assign the real values.
- Navigate to Solution Preferences > Solution Variables to add the variables 'GBANK_xxxx'.
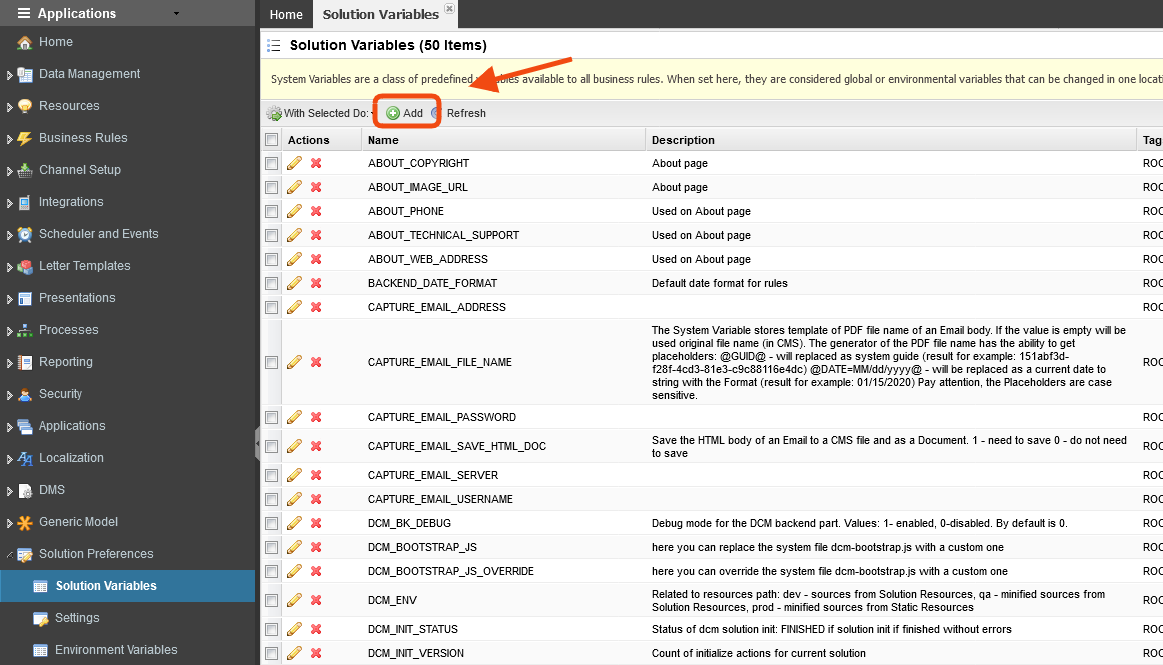
Click the Add icon to add each one of the variables used in the previous step. Use 'GBANK EMAIL CAPTURE CHANNEL' as Description.
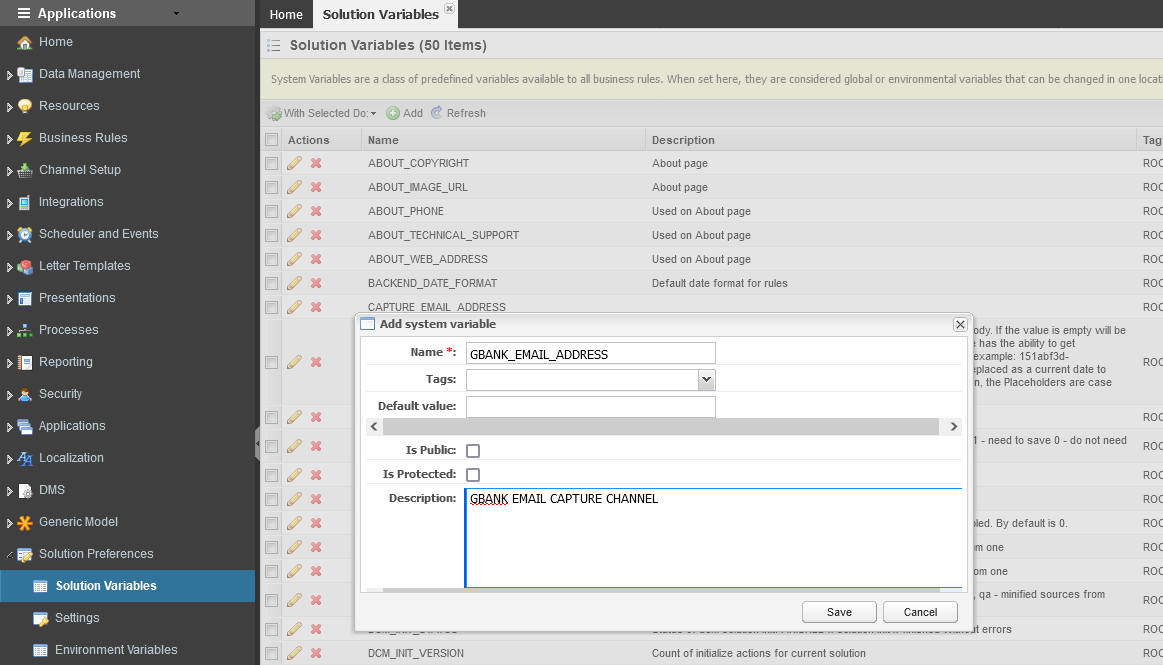
Do not use the ‘@’ symbols when creating the system variables.
- Compare your results with the following image.

As with any change to the solution model you have to run a deployment to apply them. - Navigate to Deployment Management > Deploy, click on Preview to start the deployment process.This process may take 5-10 minutes.
Setting System Variables Values
- After deploy done successfully, go to Solution Variables. Edit the variables and insert the values for your email configuration from the table below:
E-mail Address
GBANK_EMAIL_ADDRESS
Username
GBANK_EMAIL_USERNAME
Password
GBANK_EMAIL_PASSWD
Provided by instructor
E-mail Server
GBANK_EMAIL_SERVER
E-mail Port
GBANK_EMAIL_PORT
995
- Verify the values you have entered in the previous step. See the following image as a reference.

Starting Capture Channel
- Go back to Channel Setup > Manage Capture Channels. Enable the EmailCaptureChannel channel by clicking the green play button.
If there are no errors, the button image will change to a red square (stop).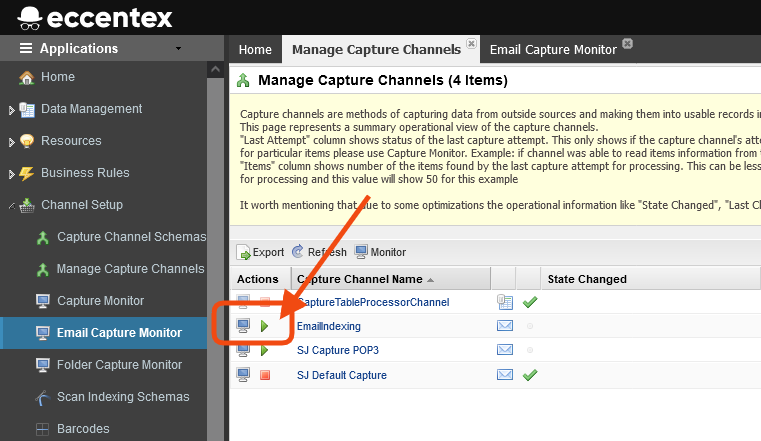
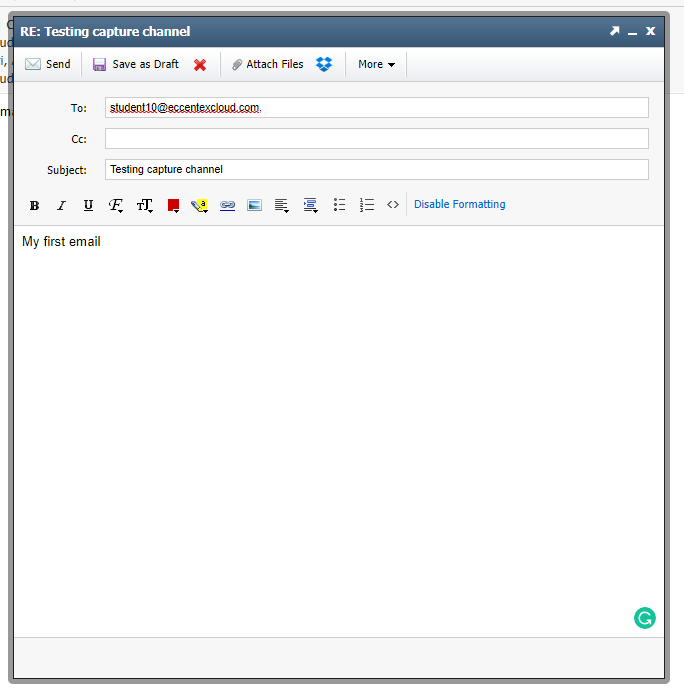
- Send a test email from the email app
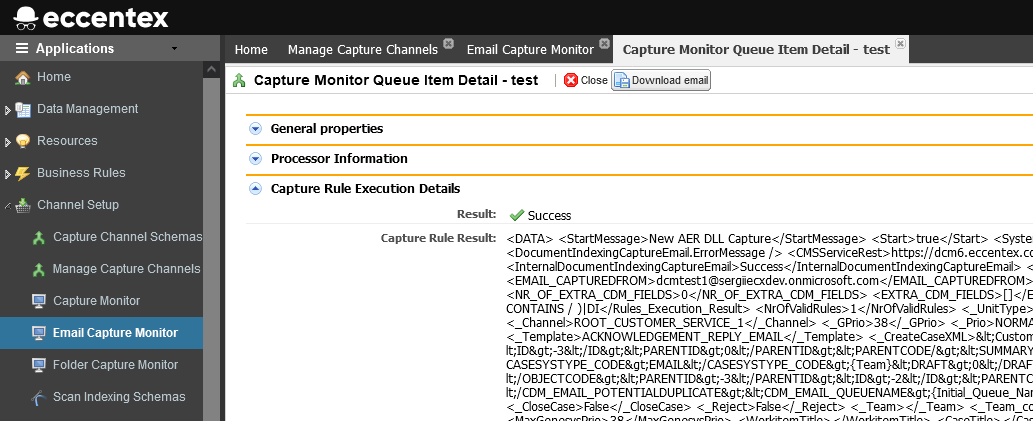
- Go to the Email Capture Monitor menu and select the Capture Channel from the dropdown list, then click the Filter

- Open the incoming email in the capture monitor. Look at the section Capture Rule Execution Details. Here you will be able to find any error message about the process of capturing and parsing the incoming emails.
Capture Rule Result:<DATA> <affectedRows>1</affectedRows> <ValidationSummary> <IsValid>true</IsValid> </ValidationSummary> </DATA>