The Standard Form Builder is designed to help administrators to develop single 'self-contained' forms that have no explicit links to the underlying data model and instead hold the field definitions/values as XML in a single DCM table.
Steps
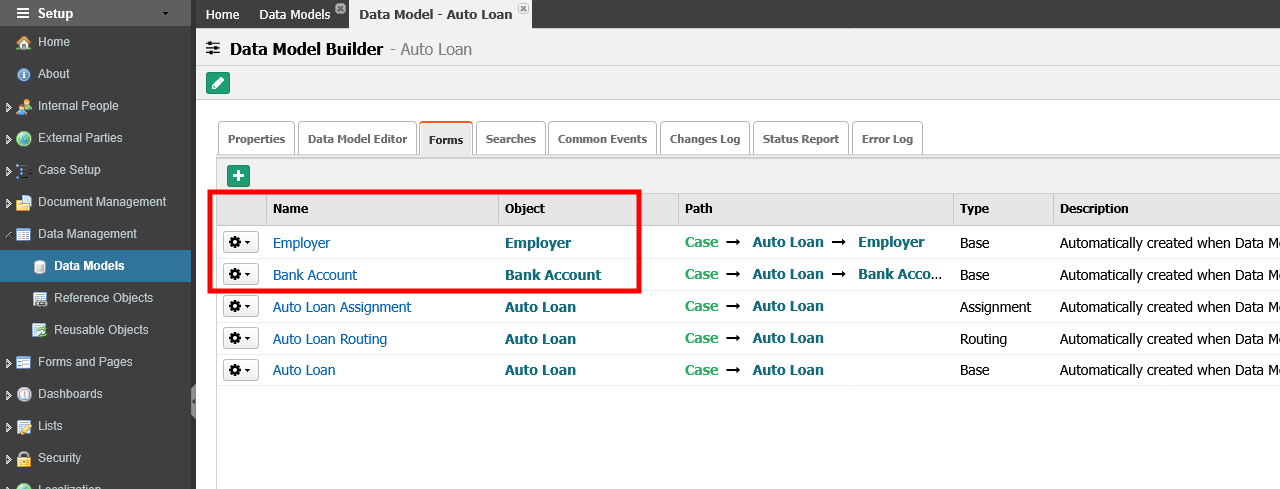
Navigate to Setup → Data Management → Data Models, open the Auto Loan Data Model.
Click on the Forms tab.
Notice that now we have the forms for Bank Account and Employer.
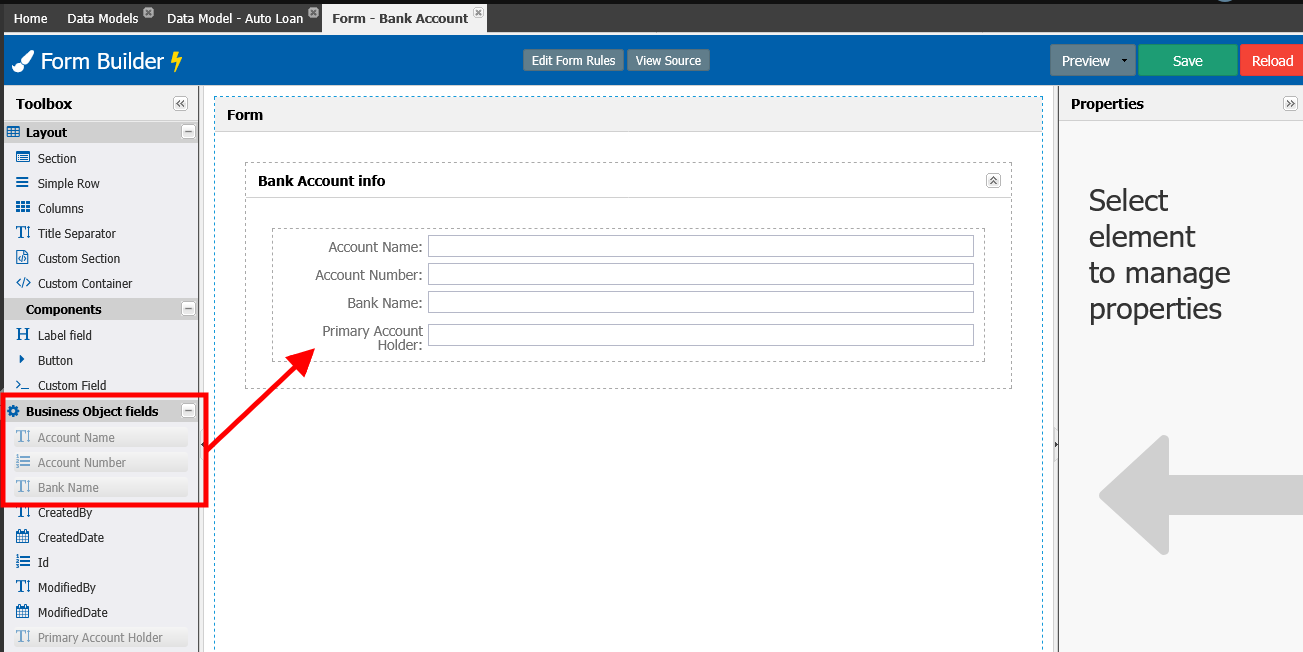
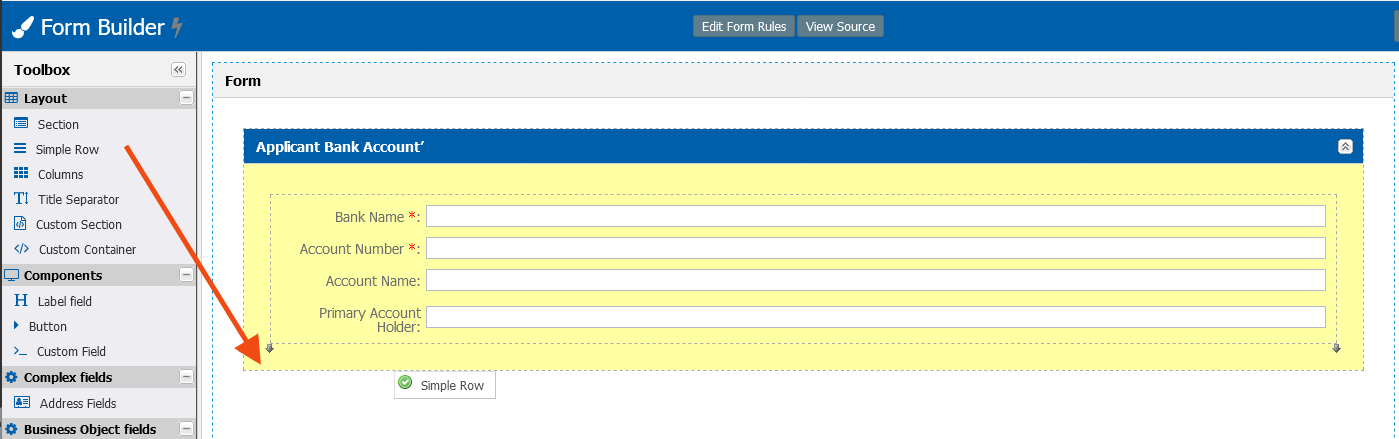
Open the form for Bank Account. Recognize that DCM automatically creates the fields in the form for the Attributes we inserted in the previous steps.
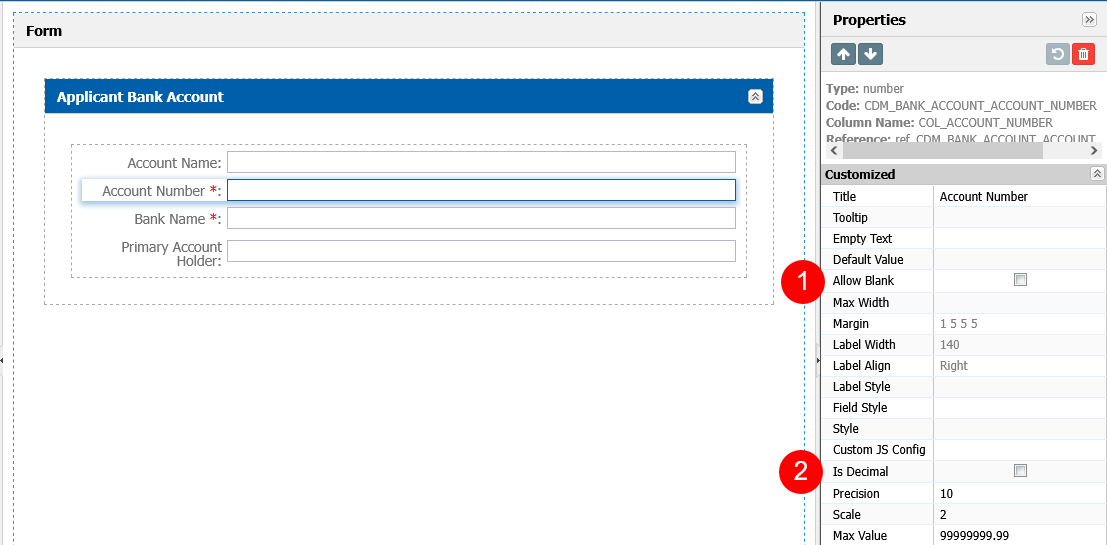
Click on the title of Bank Account info and change the Title to ‘Applicant Bank Account’, select ‘Blue’ for the Theme, and uncheck the Use on Create checkbox properties.
Save your changes.
Select the Bank Name field and uncheck the Allow Blank checkbox.
Select the Account Number field and uncheck the Allow Blank and Is Decimal check boxes.
Save your changes
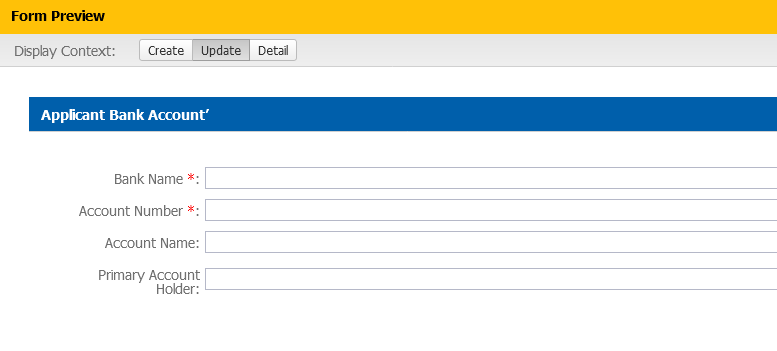
Do a Preview of the form. Validate the format of the fields and also validate that the form is not available in the Create context.
The order of the fields may differ from the following image.
We can add to the form other fields than the ones automatically added by AppBase like Modified Date or Modified By.
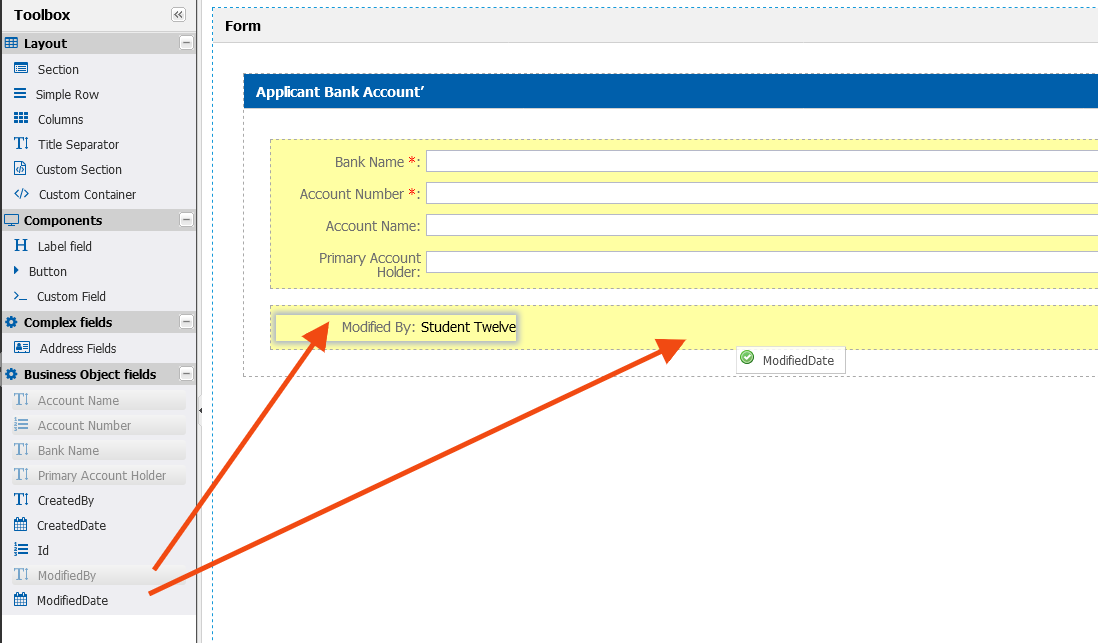
Drag and drop a Simple Row below the Bank Account.
Add the Modified By and Modified Date fields to the new Row from the Business Object fields.
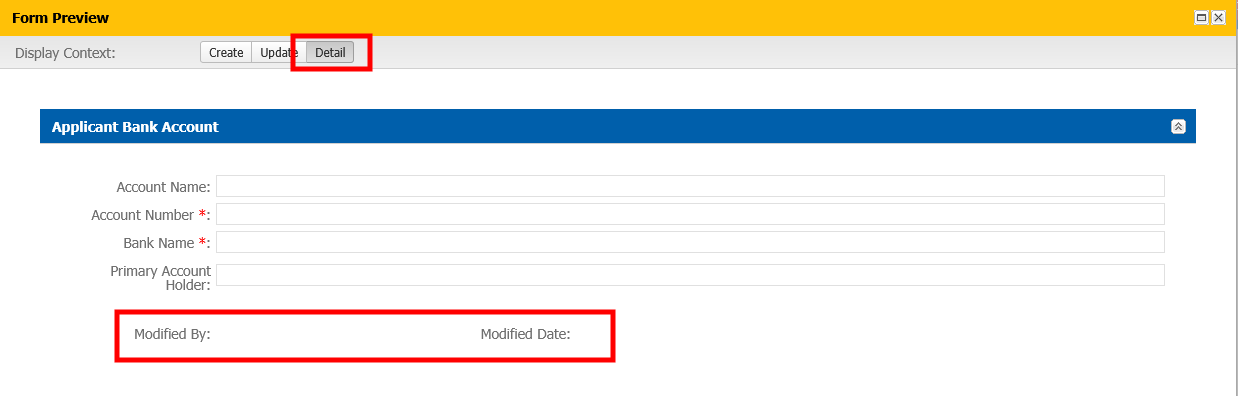
Do a Preview and validate that the newly added fields are visible in the Detail context and notice that it is Read Only. By default, these fields are read-only because they are System fields managed by AppBase.
Close the Preview.
Save the form
Close Form Builder.
Configuring the Employer Form
To create a new Employer Info form that can be associated with a Case, Task, or Party object, follow the next steps.
Navigate to Setup → Data Management → Data Models, open the Auto Loan Data Model.
Select the Forms tab and then select the form associated with the Employer object.
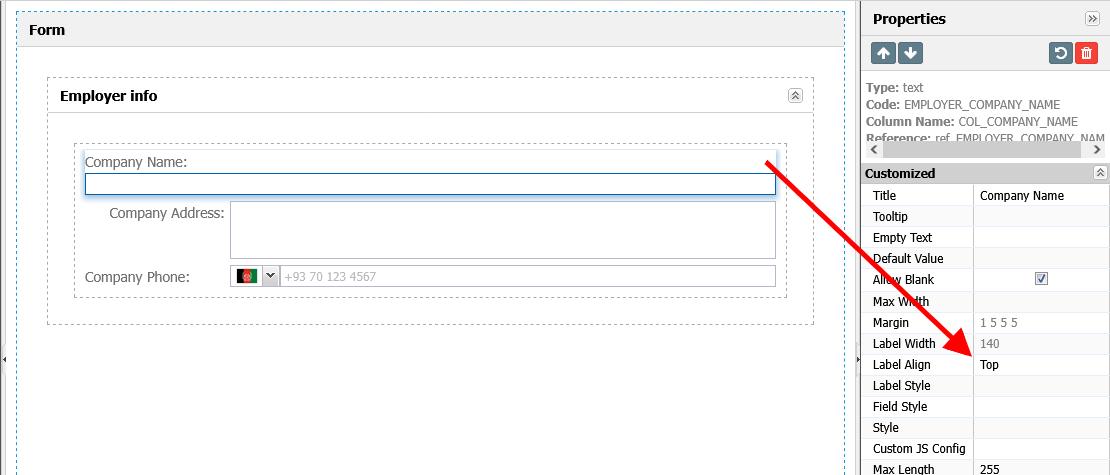
In the Form Builder tab, select the Company Name field and change the Label Align to Top.
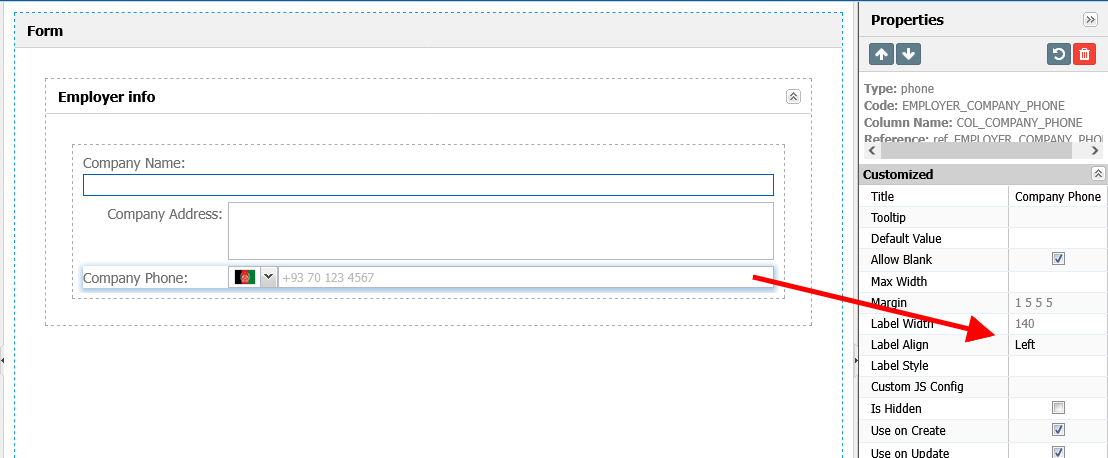
For the Company Phone field change the Label Align to Left.
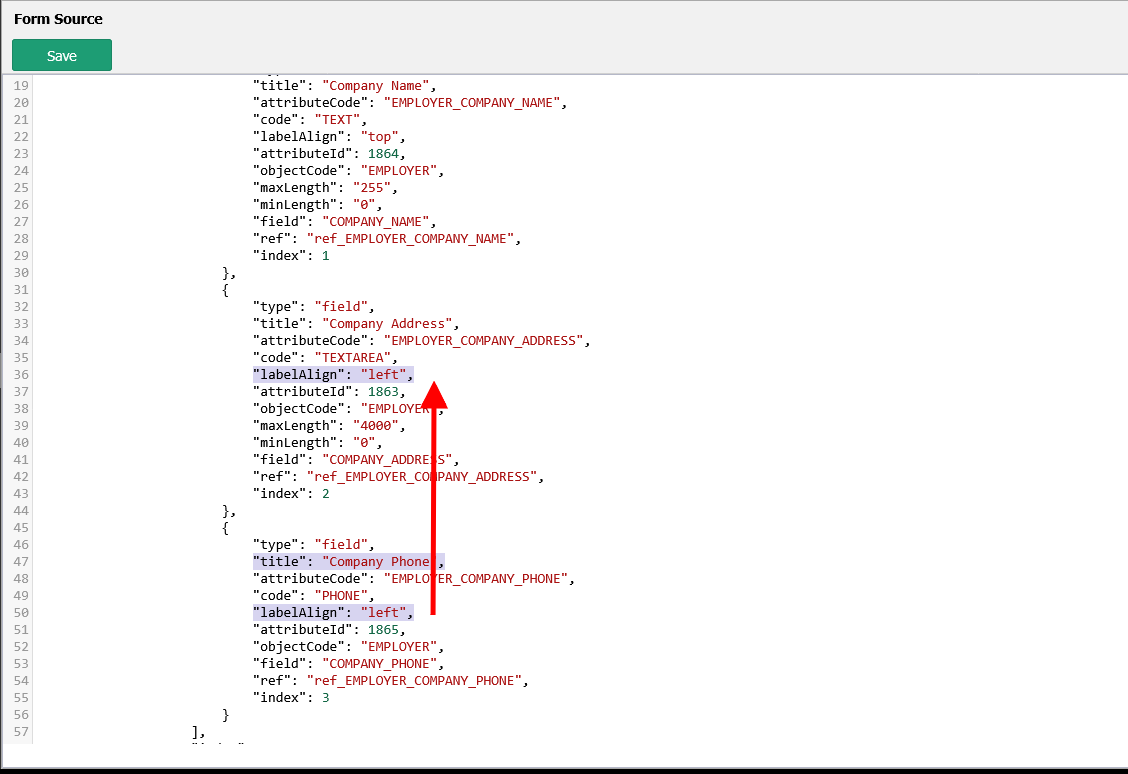
Click the button View Source.
Look for the line "title": "Company Phone", copy the line “labelAlign": "left" and paste it into the "title": "Company Address" section.
Save the changes.
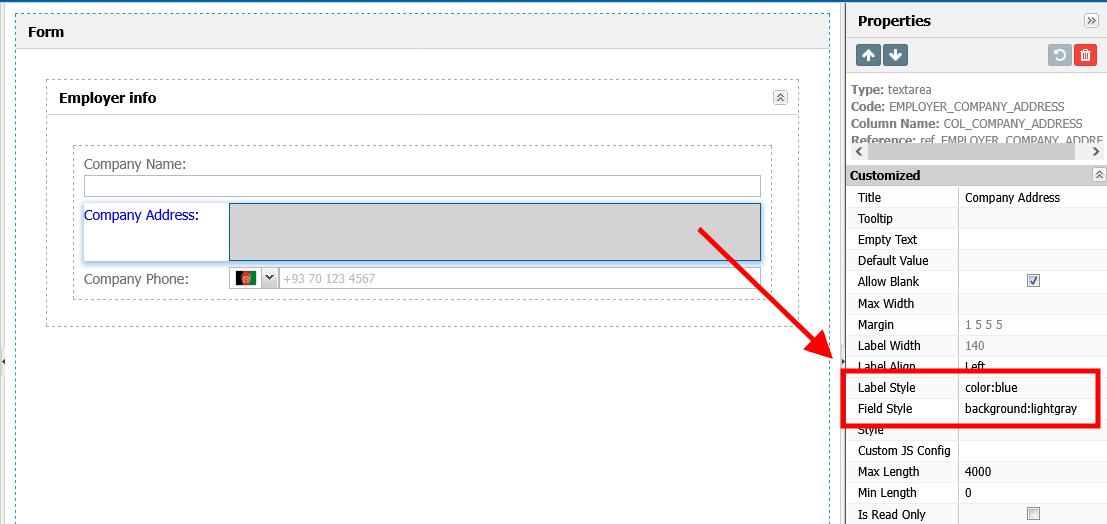
Change the following properties to the field Company Address:
Label Style= color:blue
Field Style= background:lightgray
You can add other Style codes like in this example, we use color:blue. For more advanced style configurations, use the Style or Custom JS Config fields.