On the top right, navigate to → Application Studio → <<solution>>
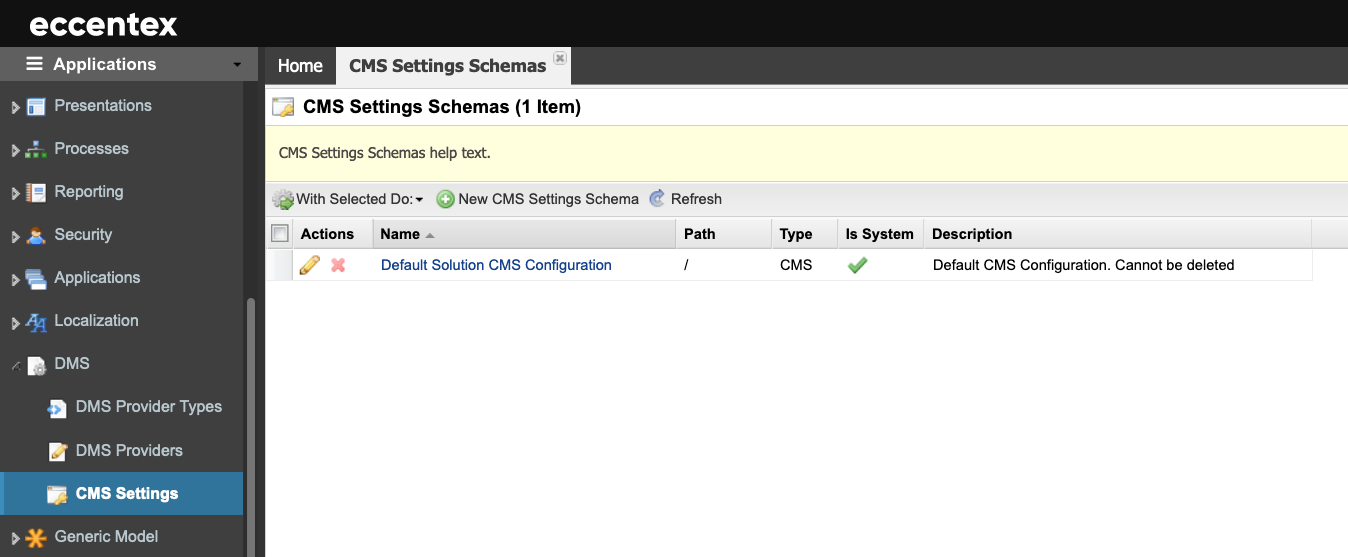
Navigate to DMS → CMS Settings Schemas from the left-hand navigation menu.
Click theNewCMS Settings Schemabutton to add a new schema definition.
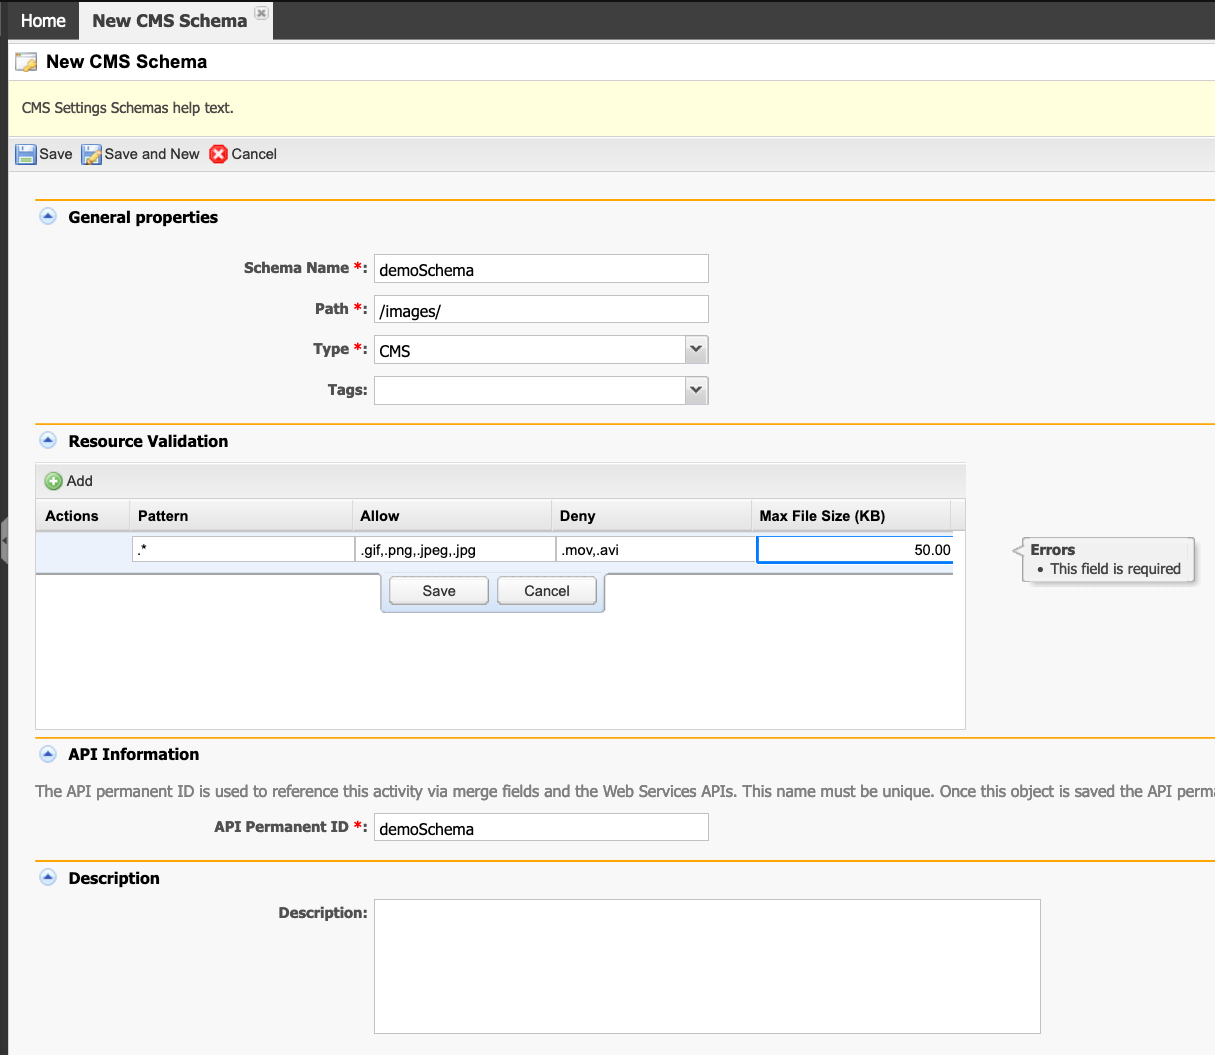
Enter the Schema Name.
Specify the Path.
Select CMS from the Type dropdown list.
In the Resource Validation, click the Add button to create a new validation. In our example, the validation alow files with extensions GIF, JPEG, JPG, and PNG with a Maximum size of 50 KB.
Add aDescriptionfor the schema.
Click Save to commit your changes or Cancel to exit without saving.