
Copy of 24. Letter Templates: Creating MS Word Templates
AppBase enables you to use templates for HTML Emails and/or Microsoft Word and use them in any AppBase application to populate fields in the template with specific content from your application. For example, you might use a New Customer Welcome Letter template to pull information from the BOM to create a PDF containing each customer’s information. The resulting letter could be placed in the CMS and work like any other file.
First thing is to prepare the Word document to use the bookmarks from DCM. We are going to work on a pre-filled file located in the Practice Resources folder.
Steps
Open the MS Word, under the Developer tab turn on Design Mode.
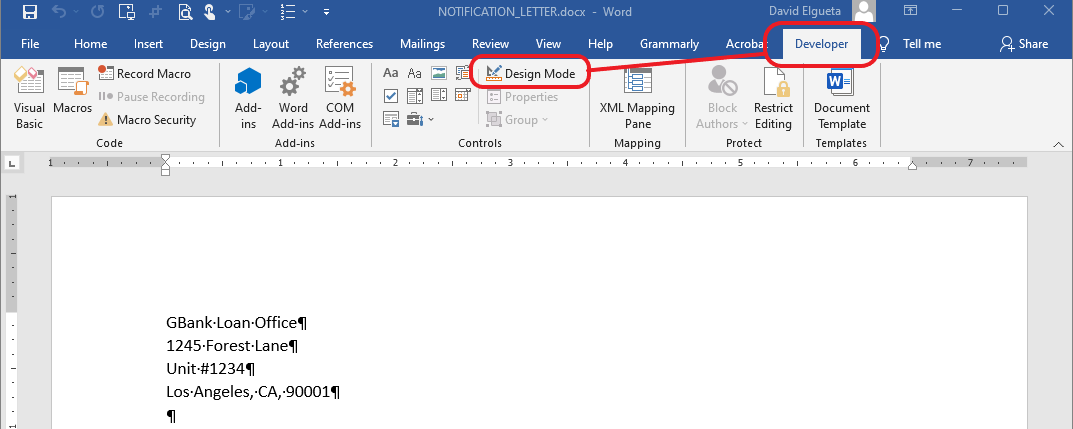
Note: If you don't have the developer tab visible then follow these steps to show the Developer tab in your Office application:
(https://support.office.com/en-us/article/Show-the-Developer-tab-e1192344-5e56-4d45-931b-e5fd9bea2d45)Here is a list of some bookmarks available that you can use in MS Word:
- APPLICANT_CREDIT_SCORE
- APPLICANT_NAME
- APPLICANT_LOAN_AMOUNT
- CASE_STATE
- CASE_CREATEDDATE_SD
- CASE_CREATEDDATE_LD
- Case.CaseId
- SYSTEM_DATE
- Open the MS Word file LTR_Tutorial_Notification Letter_highlighted.docx located in the folder Practice Resources.
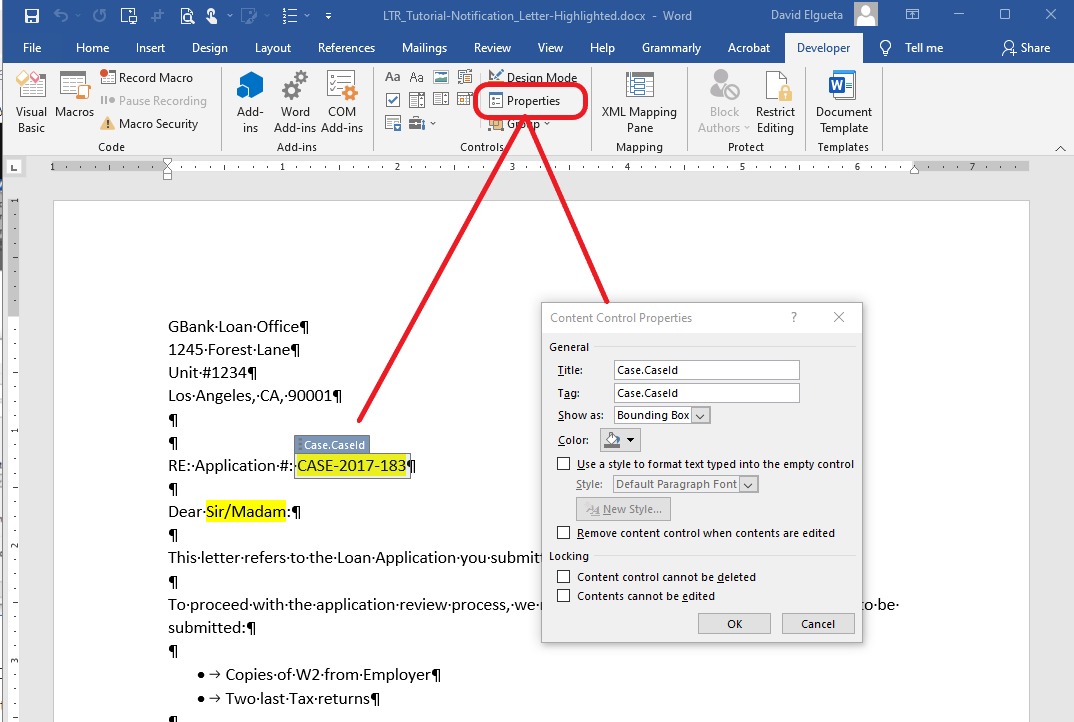
Select the case number from ‘RE: Application #: CASE-2017-183’ and click Rich Text Content Control in the Controls section on the Developer tab.Now we can notice the control border around our selected text. At this point what we have is a container filled with a static value.
To make this control dynamic, in the sense that this control will be discovered by the letter generation engine and replaced with the desired value, we need to tag this control with a bookmark name.
- On the Content Control Properties dialog, fill in the Tag field the bookmark name CaseId. Copy the same value to the Title field. Click on the OK button.
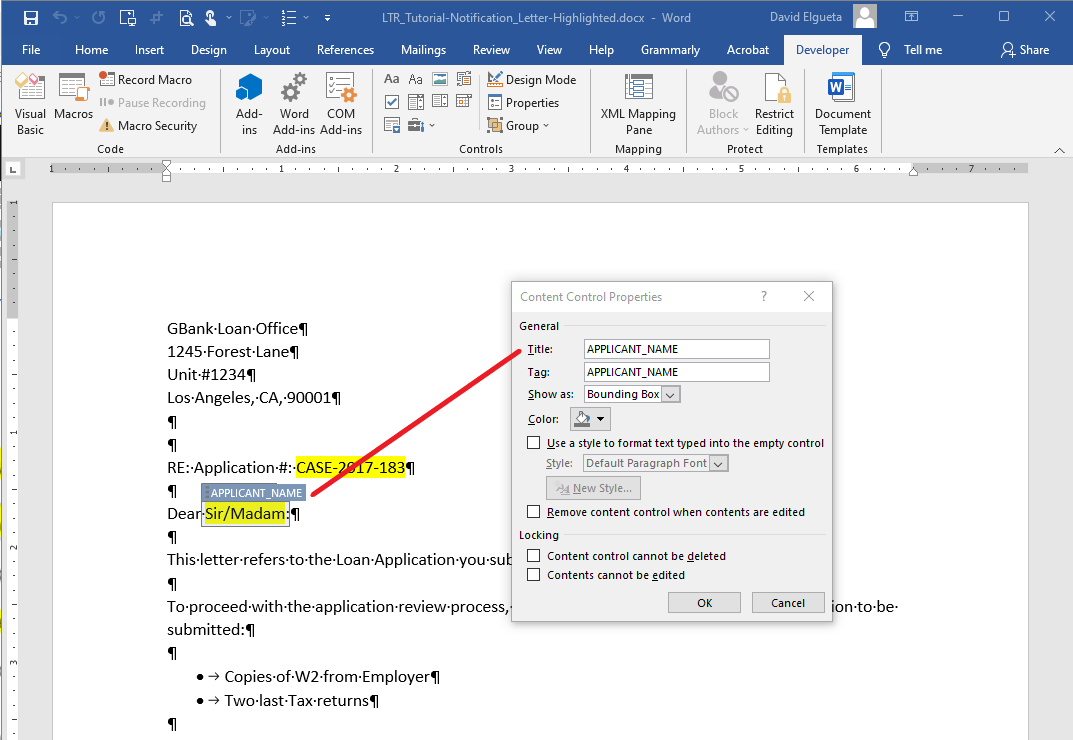
Select Sir/Madam and click Rich Text Content Control in the Controls section on the Developer tab.
Keep the control selected and click on the menu in the Controls section. Now on the Content Control Properties dialog fill in the Tag field the bookmark name APPLICANT_NAME. Copy the same value to the Title Click on the OK button.
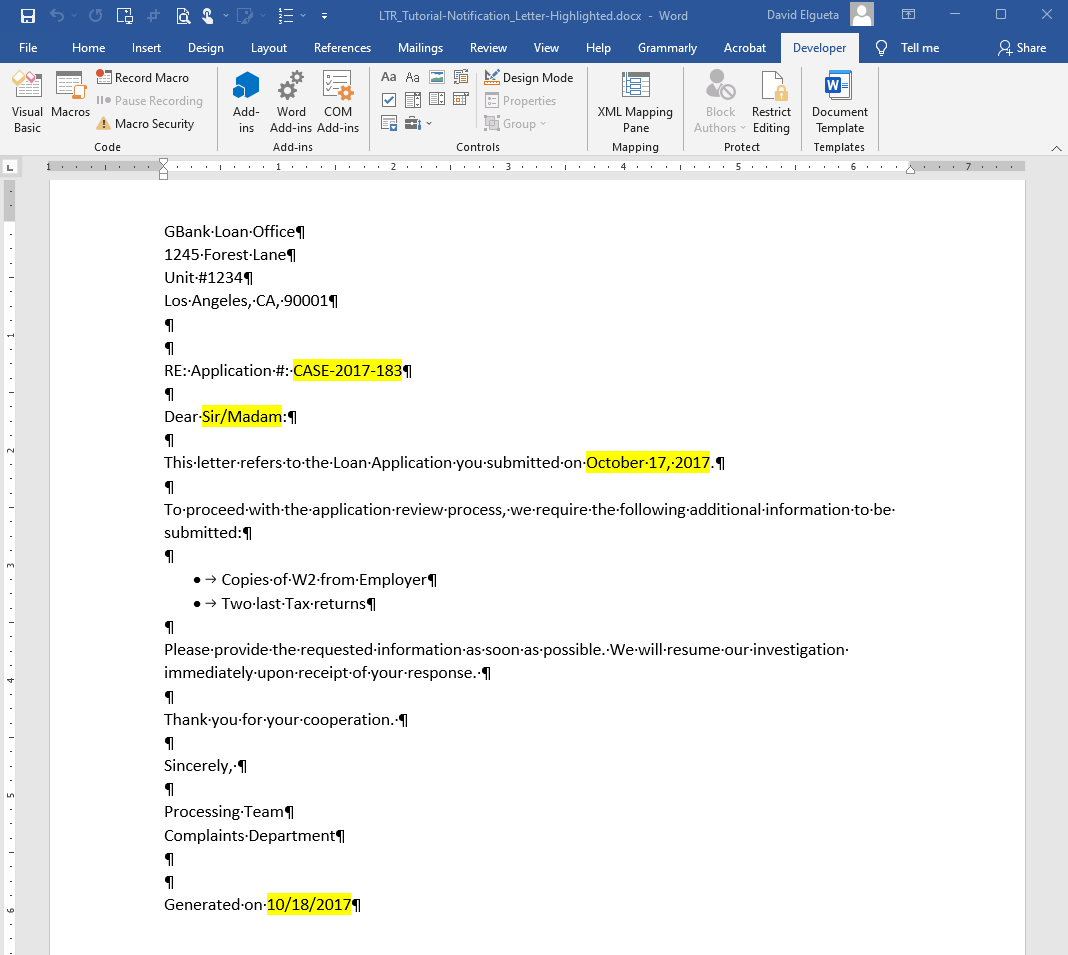
Add the tag CASE_CREATEDDATE_SD in the Submitted Date
Finally, insert the using the SYSTEM_DATE tag in the paragraph Generated on 10/18/2017
Save the document with a different name.
Your document might look like the following
Registering the MS Word Template
We have a letter template with tagged controls. Now is time to go back to our solution in DCM to add this MS Word template.
Open the Letter Generation application in the AppBase application selector. In Letter Templates add a new MS Word template.
Select ‘MS Word’ from the Type drop list. Enter ‘NOTIFICATION_LETTER’ for Name and select ‘Case’ for Root Object Type.

Select the Template Content button
Upload the MS Word letter template file created in the previous steps.
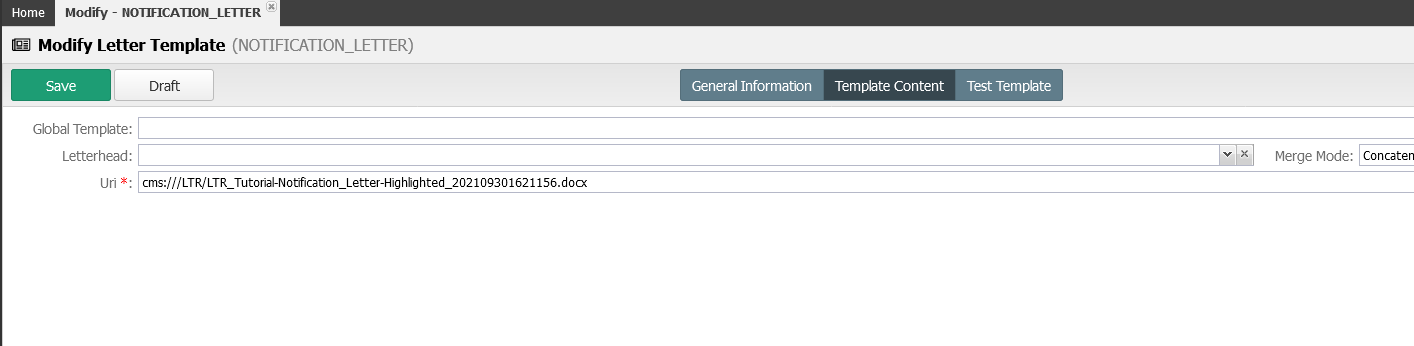
- Save the template.
After saving the new template, Select the Test Template button. Insert a valid Case Number to test our new template, click on the Run button.
After a few seconds, the generated MS Word document will be ready to download and will be saved with a name pattern like ‘LTR_Tutorial_Notification_Letter_99a99b.docx’.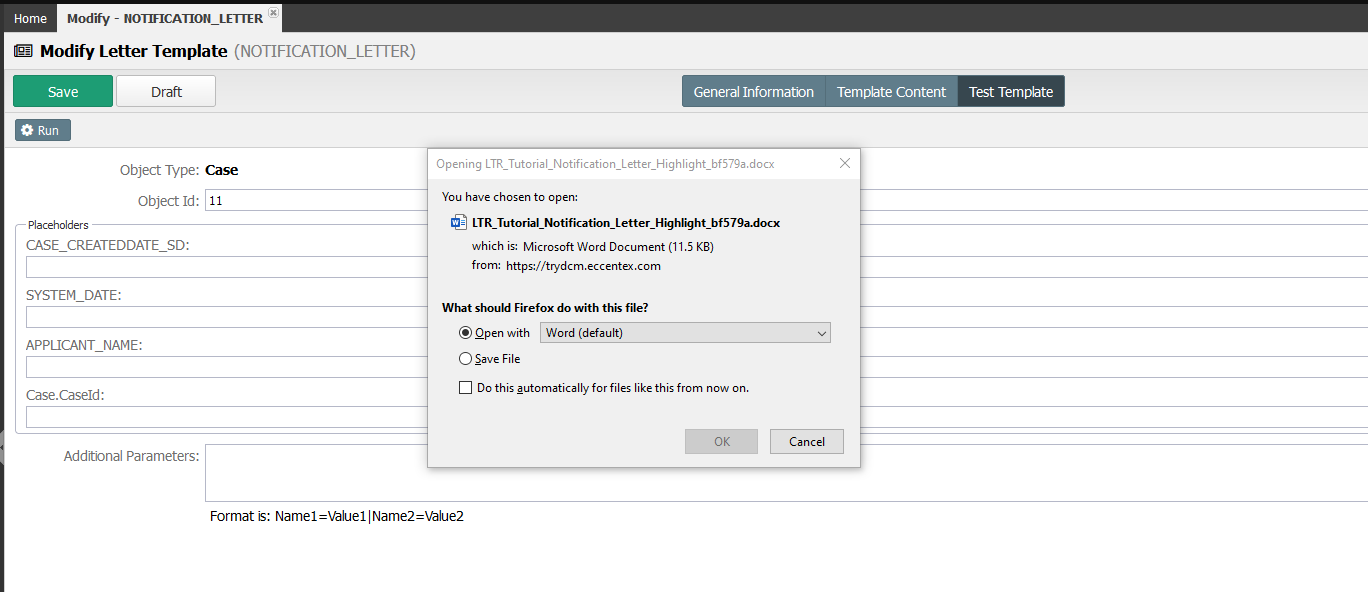
Creating Email Templates with Attachments
- Navigate to Letter Templates. Click the +New Letter Template green button.
- Select Type as Email Html, insert Name as LOAN REVIEW NOTIFICATION, select Root Object Type as Case, add GBANK LOAN REVIEW NOTIFICATION for Description.
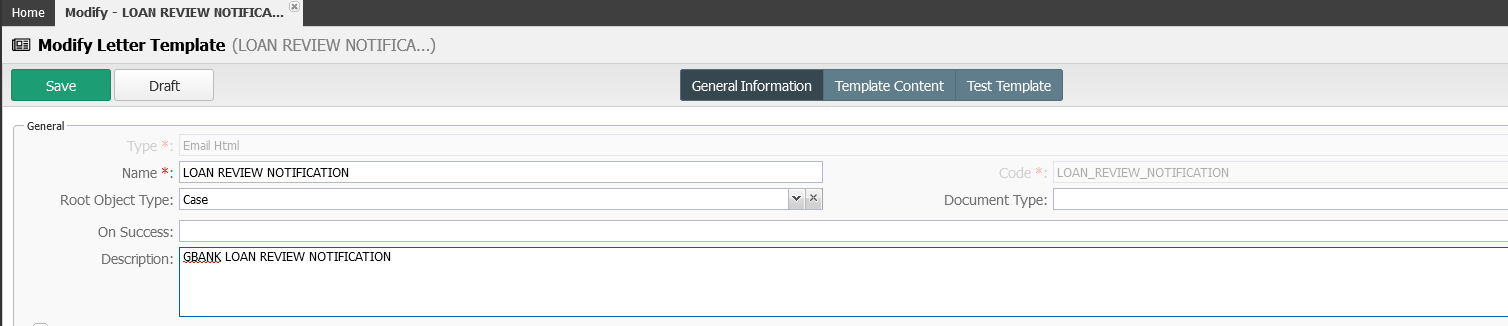
- Save the new Template.
- After saving, you will see a new section called Default attachment list, Click the plus (+) button and select the NOTIFICATION_LETTER from the template the list.

Save the template.
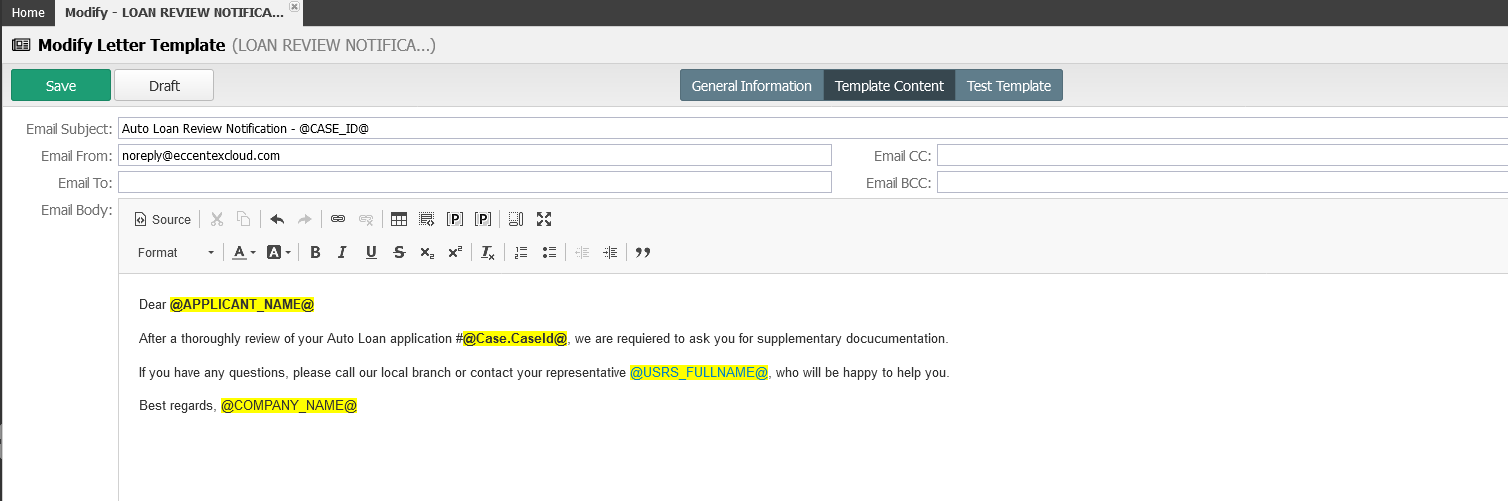
Click the Template Content button, in the Subject field insert Auto Loan Review Notification - @CASE_ID@, in the Email From insert noreply@eccentexcloud.com
In the Email Body section click the Source button and paste the following HTML code:
XML<p>Dear <strong>@APPLICANT_NAME@</strong></p> <p>After a thoroughly review of your Auto Loan application #<strong>@Case.CaseId@</strong>, we are requiered to ask you for supplementary docucumentation.</p> <p>If you have any questions, please call our local branch or contact your representative <a href="mailto:@USRS_EMAIL@?subject=Auto Loan Review Notification - @CASE_ID@">@USRS_FULLNAME@</a>, who will be happy to help you.</p> <p> Best regards, @COMPANY_NAME@ </p>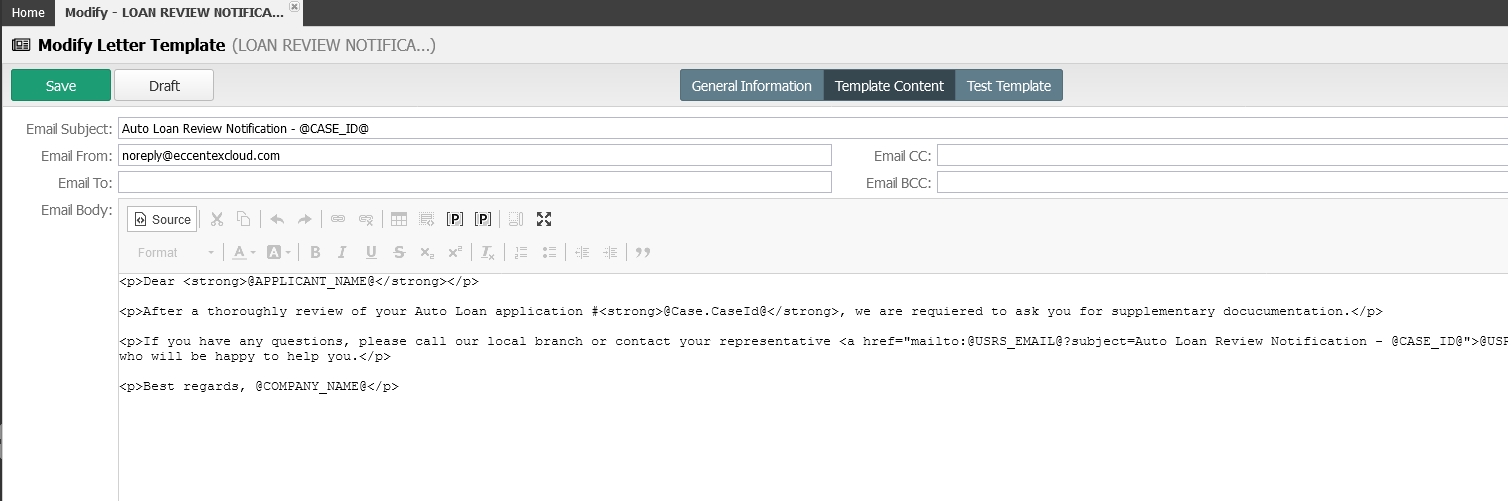
Click the Source button again to go back to the WYSIGYG editor
The template will not save your changes when the editor is in the Source view, you must un-select Source view before saving it.
Save the template.
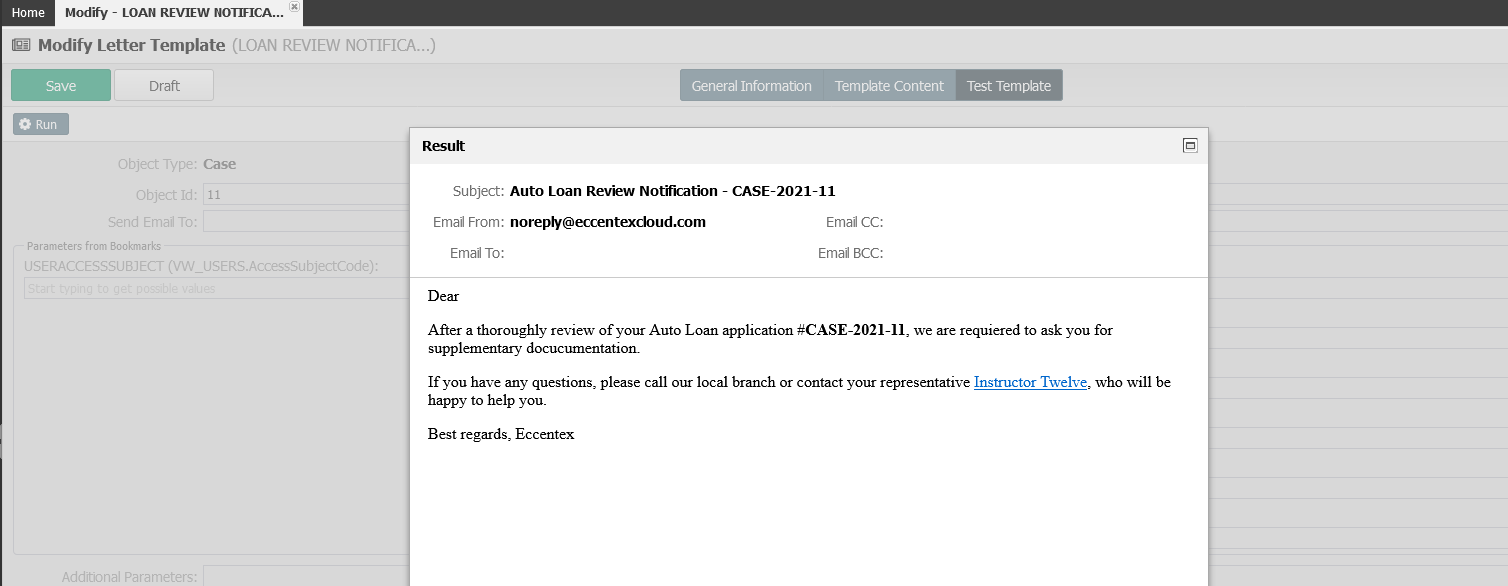
Click the Test Template button and using a valid case ID (Object ID) and an email address (you are suggested to use the email assigned for this training XX@eccentexcloud.com) execute the template.
Save the template and Publish it.
Using Templates in Case Detail Page
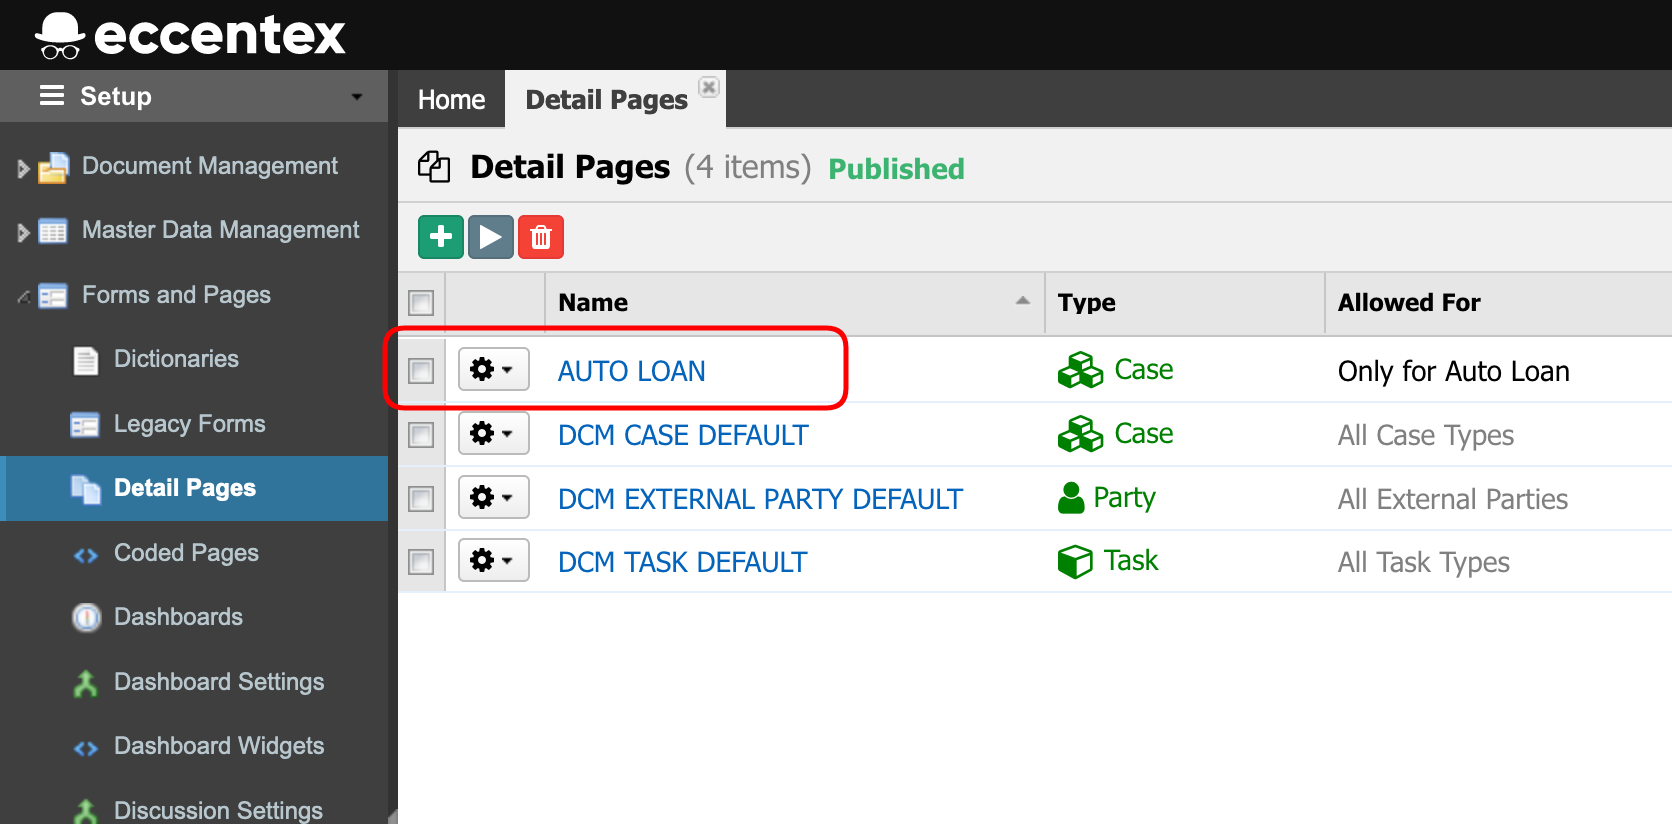
- In the Setup application, under Forms and Pages > Detail Pages, open the AUTO LOAN Detail Page.
- Open the Case Emails tab (1) and click the Edit tab (2) button.
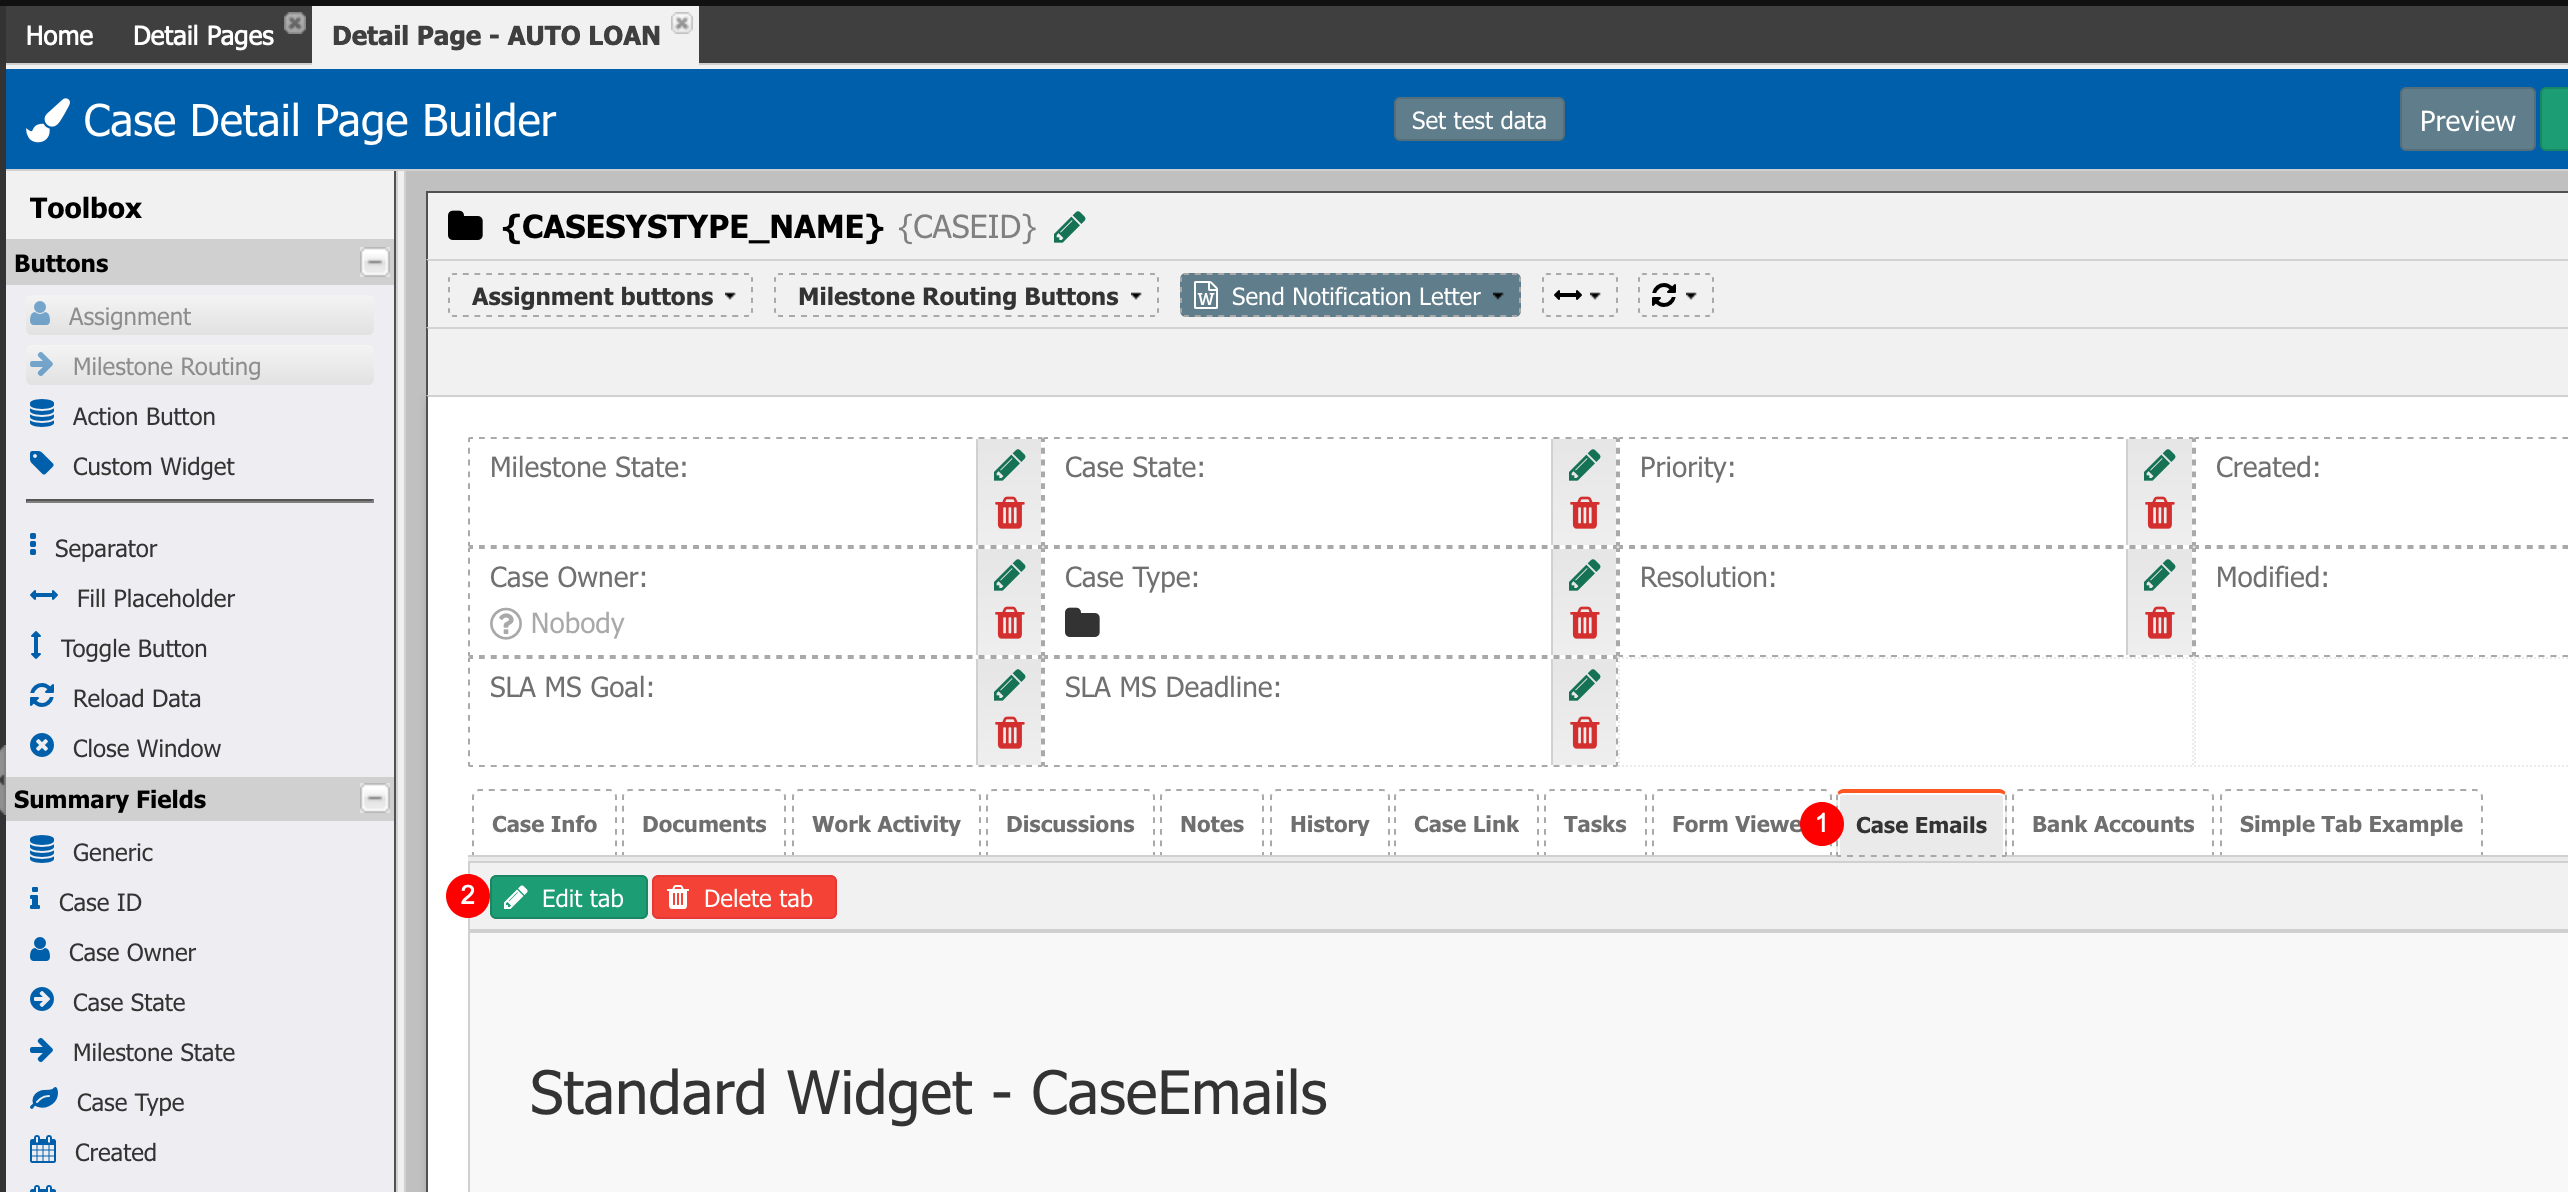
- In the Send Email Template field select LOAN REVIEW NOTIFICATION from the dropdown list.
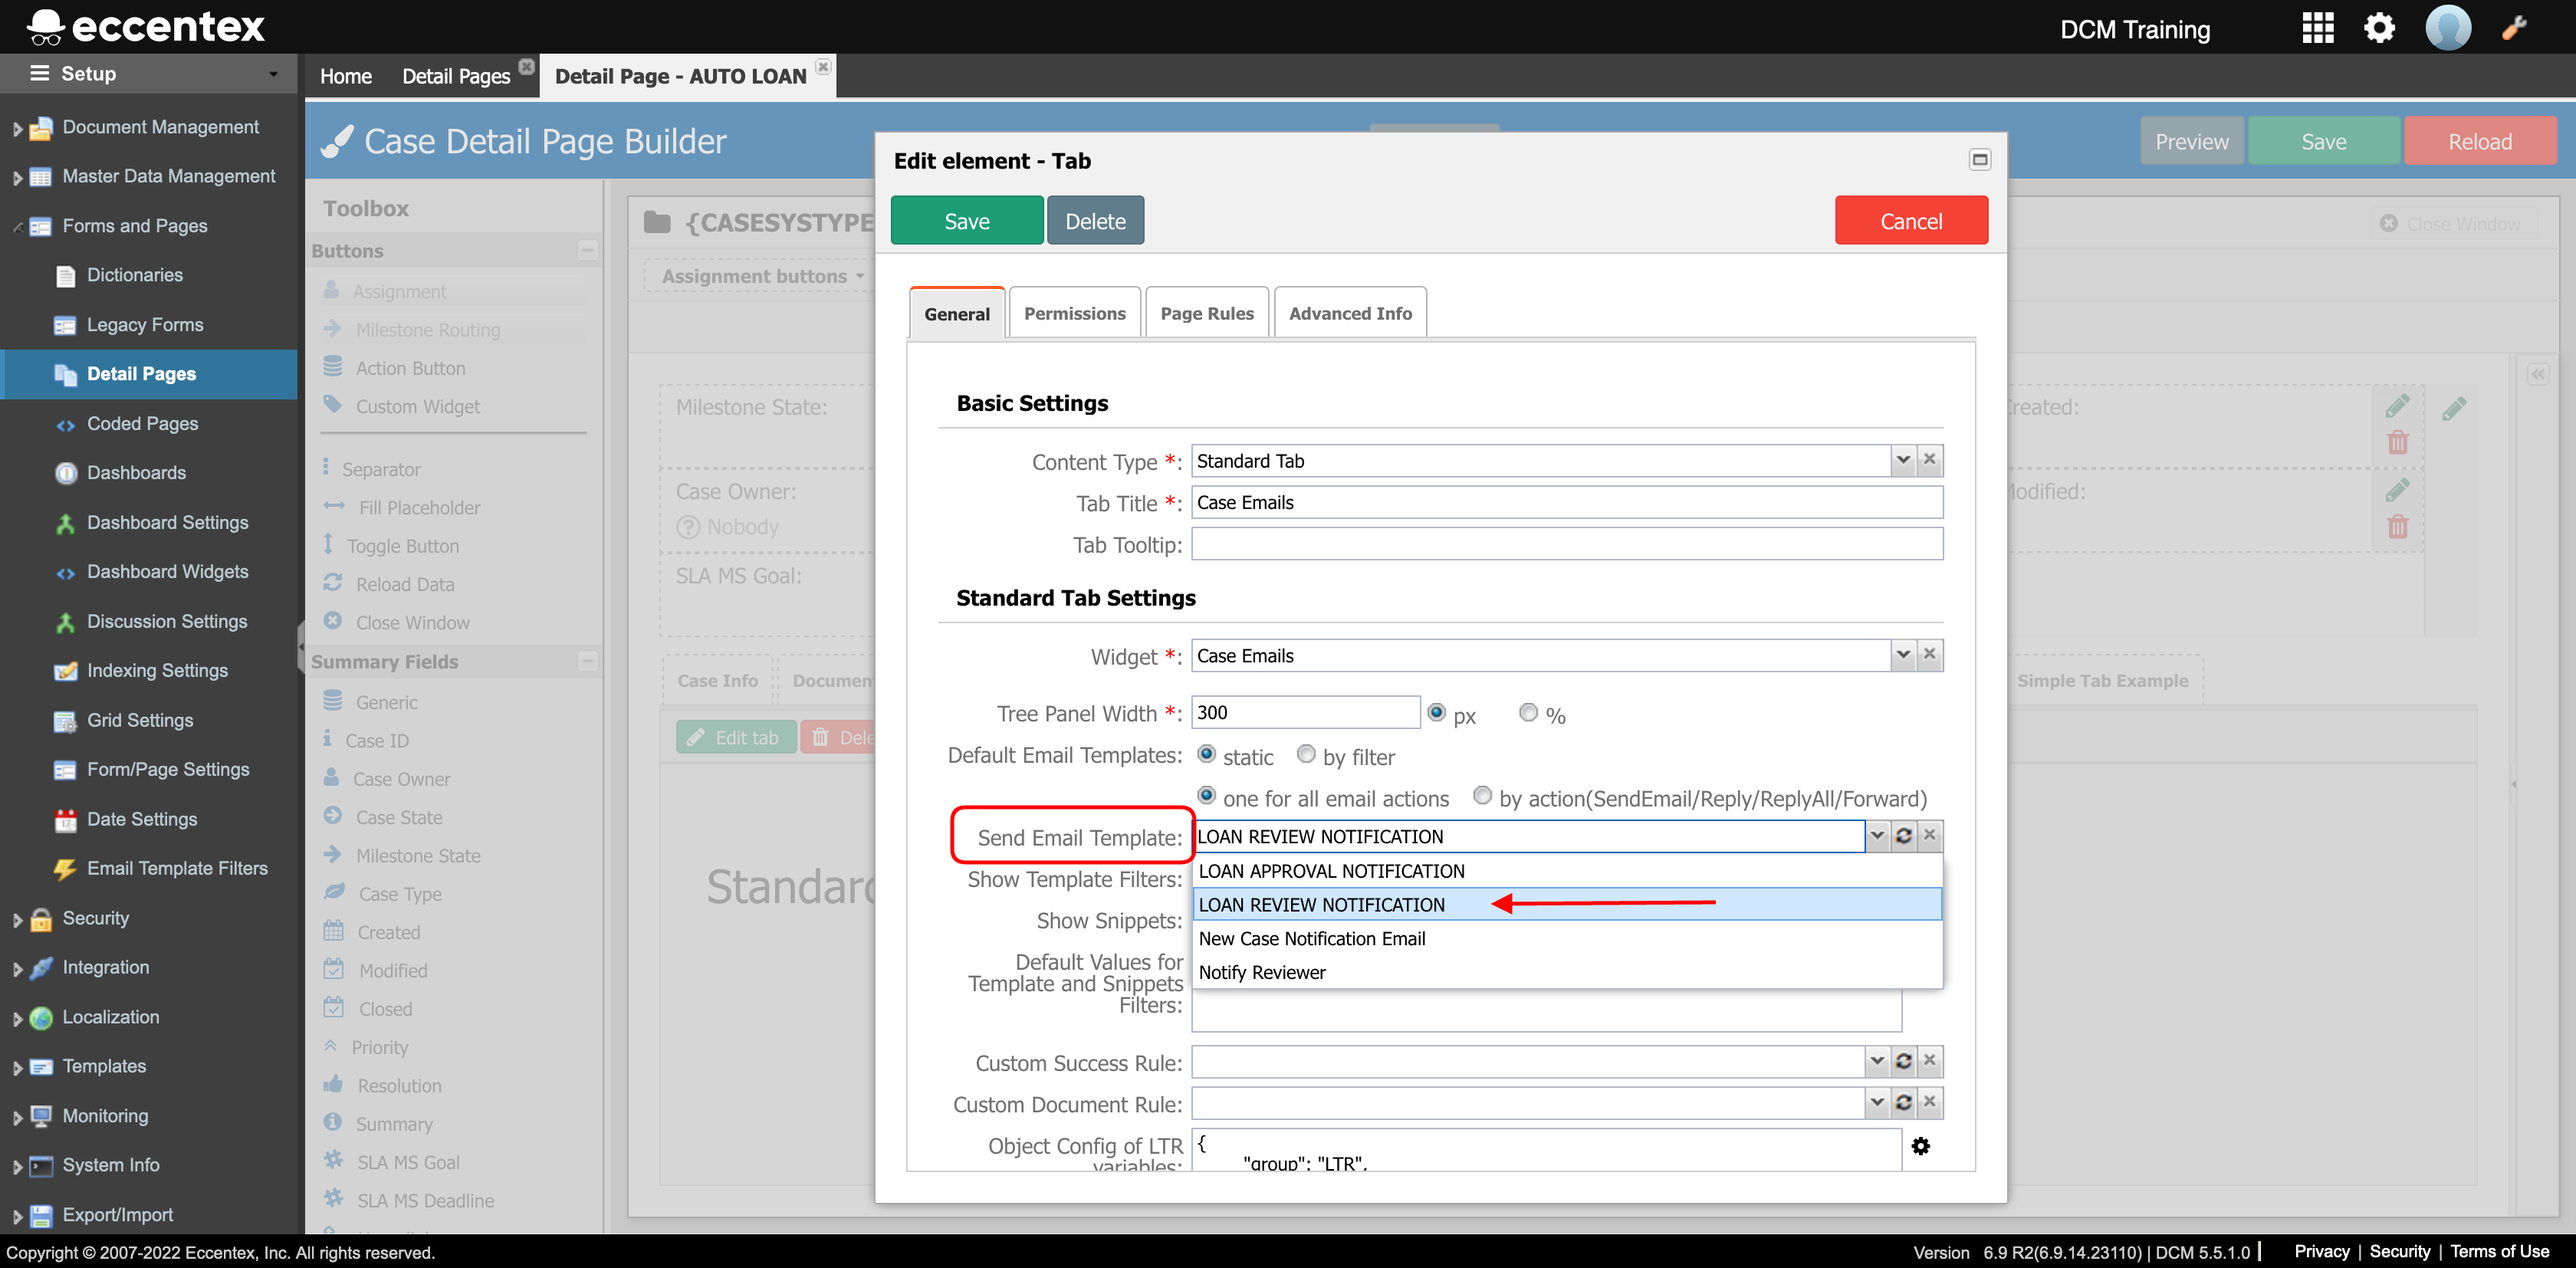
- Save the configuration.
- Save the Page Detail
- Run a Preview to validate the changes. Select the Case Emails tab then click the Send Email button.
- Validate that the Attachment was generated using the template and the email body has the correct values from the case selected.
- Send the email and check your inbox.
- Check the body of the email and the attached document.
Next Steps
21. Setting and Email Capture Channel