
Locales
Select the languages below that will be supported through Localization Data. That is, the languages this solution provides precise translations.

Steps
On the top right, navigate to

- Navigate to Localization → Locales from the left-hand navigation menu.
- Click the Add New Locale button to add a new locale definition.
- In the New Locale tab, select the Language from the dropdown list. In our example, Portuguese.
- Select the variation for the Language, if any exists, from the Locale dropdown list. In our example, Portuguese (Brazil).
- The rest of the fields (date pattern, time pattern, etc.) are populated based on the Locale selection. You can modify them if necessary.
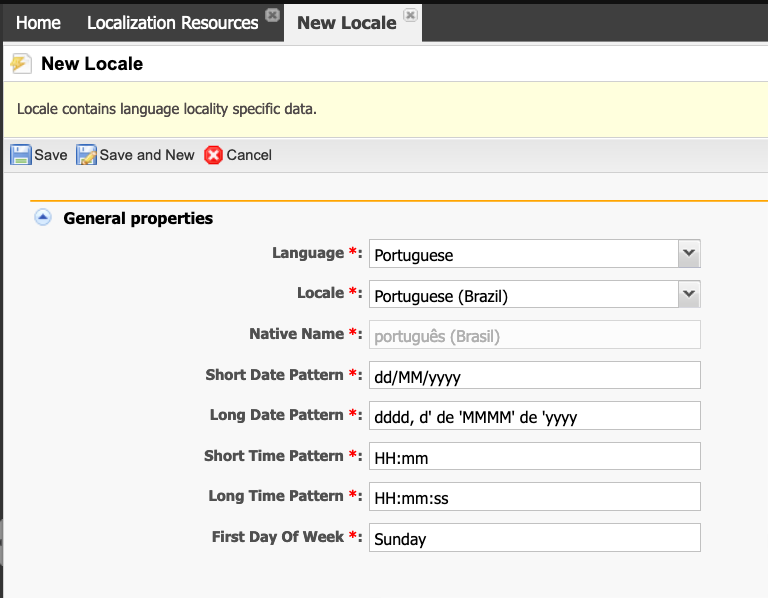
- Click Save to commit your changes or Cancel to exit without saving.
- The next step is to populate the translation for this language in the Localization Data menu.