Capture channels represent the methodologies employed to extract data from external sources and transform them into usable records within the system. These channels encompass various data acquisition techniques, such as email addresses, server folders, tables, batch scanning, and file uploads. Data retrieved from these capture channels can be subjected to predefined workflows before being assigned tasks to users.
This page serves as a comprehensive operational overview of the capture channels.
Steps
On the top right, navigate to → Application Studio → <<solution>>
On the left, navigate toChannel Setup → Manage Capture Channels
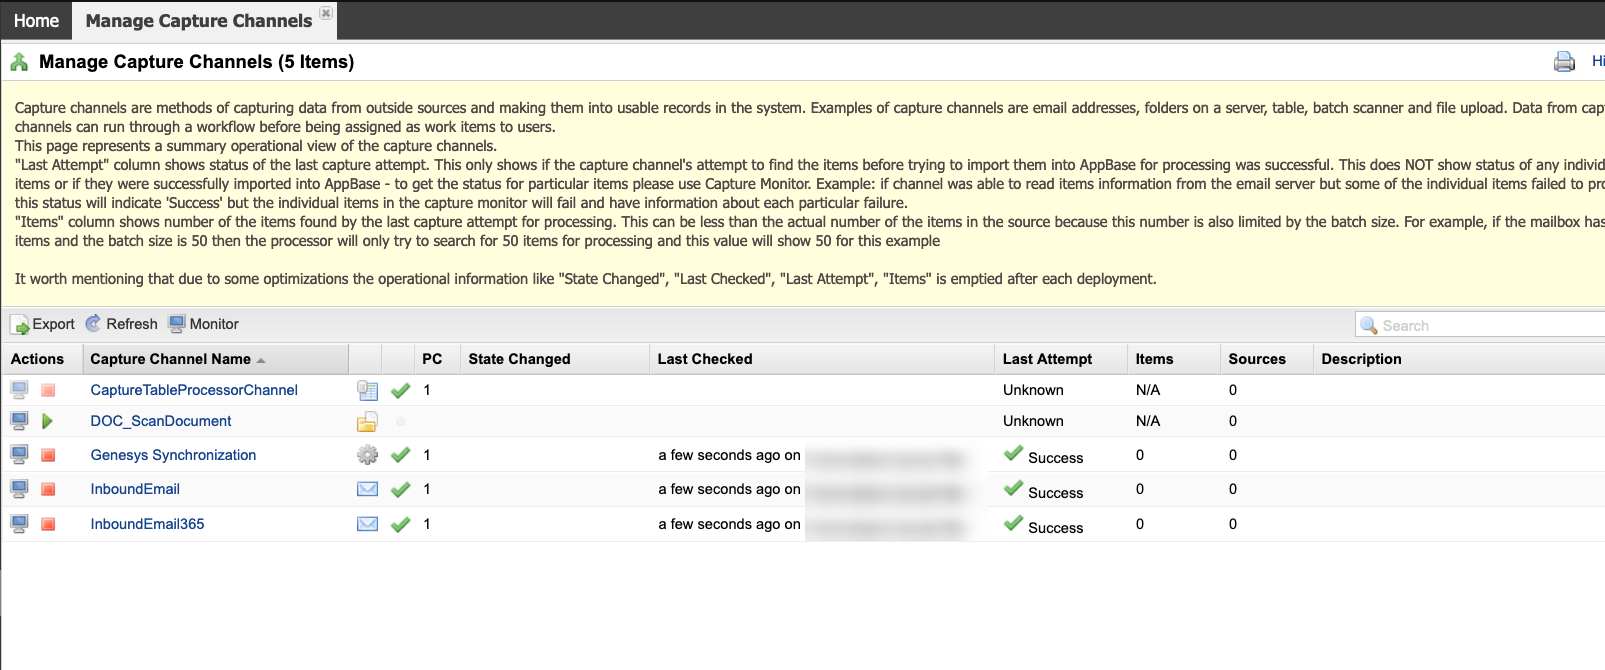
This tab will show the list of capture channels available in the solution.
Some of the columns are:
The Last Attempt column reflects the outcome of the most recent capture attempt. It indicates whether the capture channel successfully located items from the source and attempted to import them into AppBase for processing. It is important to note that this column does not provide information about the status of individual captured items or their successful import into AppBase. For detailed information on individual items, please refer to the Capture Monitor. For instance, if the channel successfully retrieved item information from an email server but encountered issues processing specific items, the "Last Attempt" status may display 'Success.' At the same time, the Capture Monitor will provide details about each specific failure.
The Items column displays the number of items discovered during the last capture attempt for processing. This count may be less than the total number of items in the source, as it is subject to the defined batch size limitation. For example, suppose a mailbox contains 1,000 items, and the batch size is set at 50. In that case, the system will attempt to process only 50 items during each capture attempt, and the "Items" column will display a value of 50 in this scenario.
From the column Actions there are two icons: Monitor and Start/Stop. Click on time on the green arrow button to start the channel. Click on the red square button to stop the channel.
To see more details on each of the channels, click the Monitor button at the top of the list or the left of the channel's name. This will open a new tab from Monitor. To learn more about the Monitor tab, go to the Capture Monitor article.