Roles in AppBase are used to group users with similar permissions. Assigning permissions to roles rather than to individual users makes it easier to manage permissions for large groups of users. It helps ensure that users have the permissions they need to do their jobs.
Roles can be assigned to users at the time of creation, or they can be assigned later on. A user can have multiple roles, and the permissions for a user are determined by the most restrictive role that the user has.
Here are some examples of how roles can be used in AppBase Eccentex:
Case managers: Case managers need access to all case data and the ability to create, update, and close cases. You could create a role for case managers that gives them these permissions.
Customer service representatives: Customer service representatives need to be able to view case details and create new cases. You could create a role for customer service representatives that gives them these permissions.
Sales representatives: Sales representatives need to be able to view customer information and create new sales opportunities. You could create a role for sales representatives that gives them these permissions.
Managers: Managers need to be able to view all data and perform all actions. You could create a role for managers that gives them these permissions.
By creating roles and assigning them to users, you can easily manage permissions for large groups of users and ensure that they have the permissions they need to do their jobs.
Steps
On the top right, navigate to → Application Studio → <<solution>>
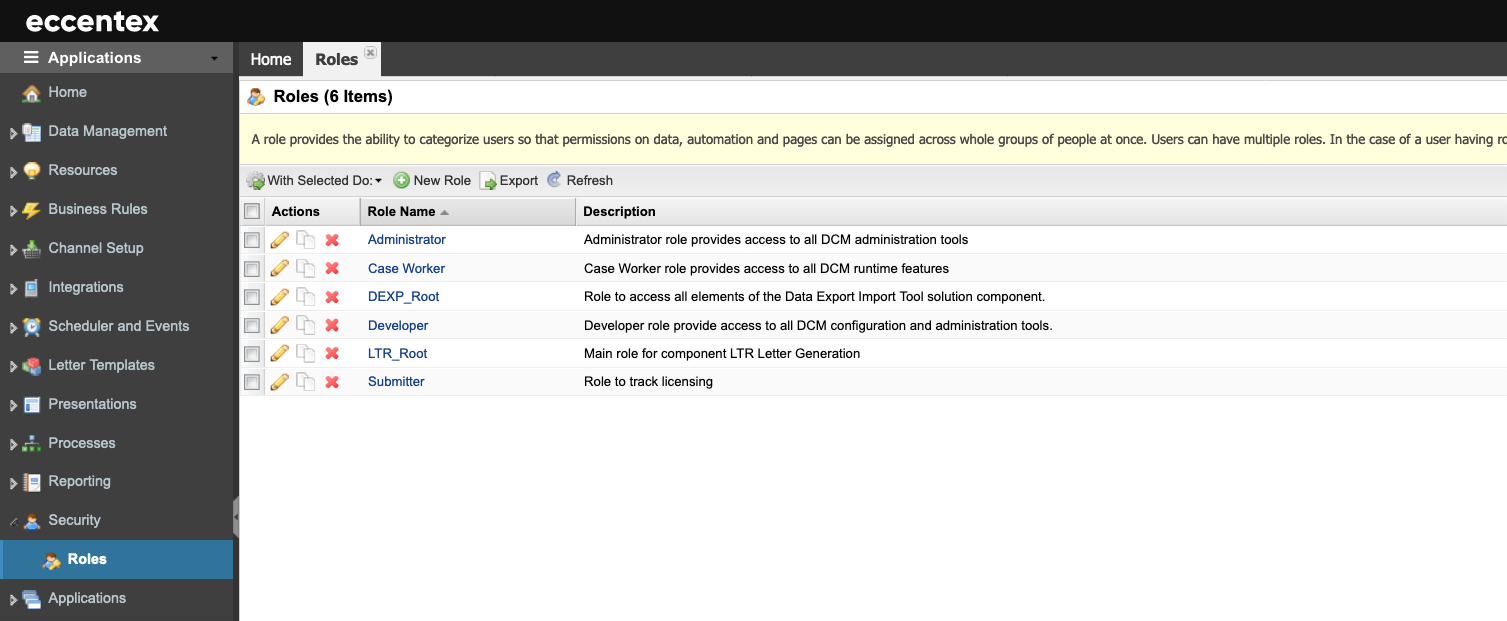
Navigate to Security → Roles from the left-hand navigation menu.
Click theNew Rolebutton to add a new role definition.
Assign a Role Name to the role.
Add a Description of the role.
Click Save to save the new role definition.
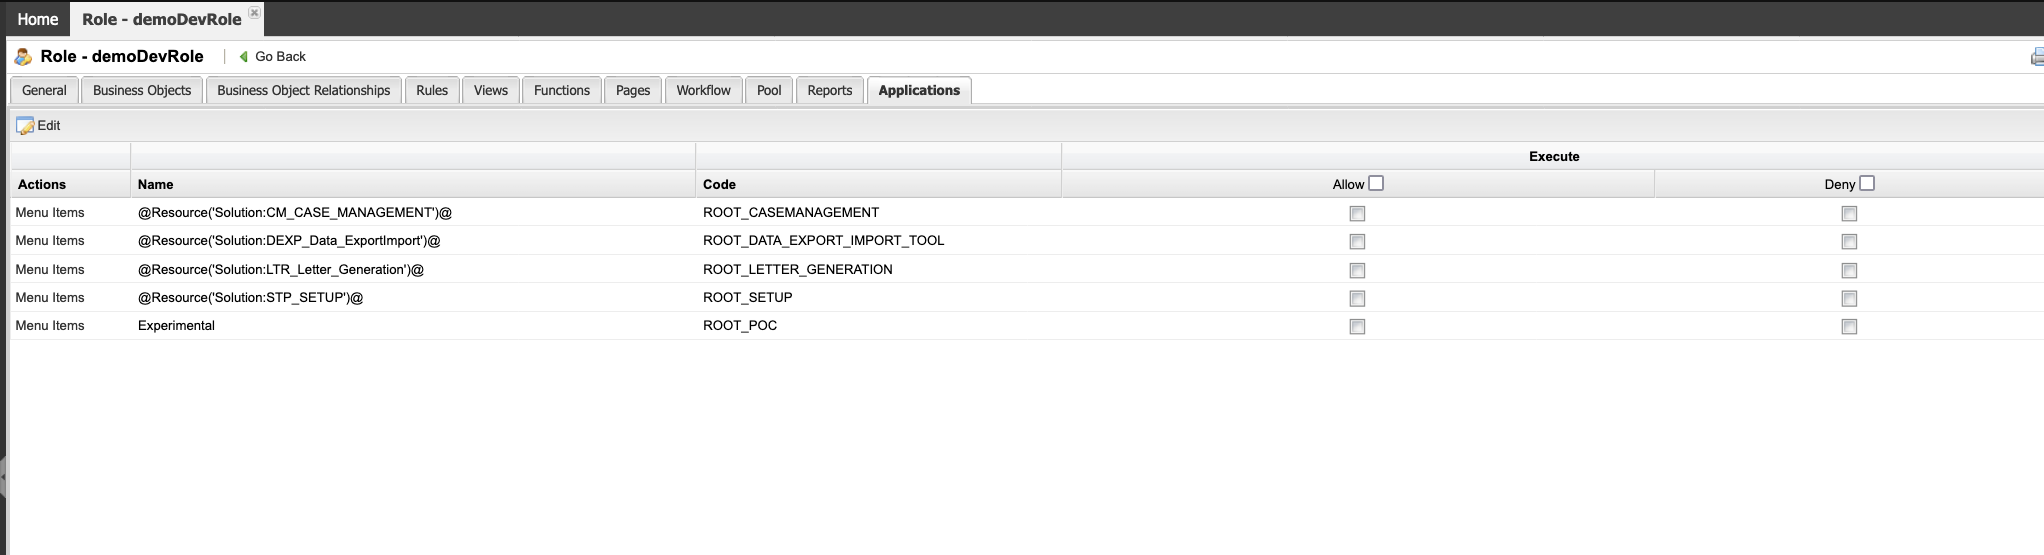
Setting Role Permissions
Once a role has been created, it is possible to set explicit permissions against various areas of the solution, such as business objects, functions, pages, etc. By default, a new role has no permissions set, so anybody with that role can access all of the solutions.
Click the hyperlink on the Name of the role that you wish to set permissions for.
Select the tab that addresses the area you wish to adjust permission for. For example, click on the Business Objects tab to manage view permissions for a role to see a business object. Or, to control which reports can be run by a user in a particular role, click on the Reports tab.
Click the Edit button to modify the permissions.
To 'fast select' whether all should be Denied or Allowed, you can use the Allow All or Deny All buttons. Note this can be handy if, for example, you wanted to deny all but one role visibility and edit rights on the attribute. So you can click the allow all and deny all buttons, then select the opposite on the single role to be allowed.
Click Save to commit your changes or Cancel to exit without saving.