
Create a Relationship
Using this tab, it is possible to create an explicit relationship between two business objects. A column will be created in the target business object that holds the primary (unique) ID of the source business object.
Steps
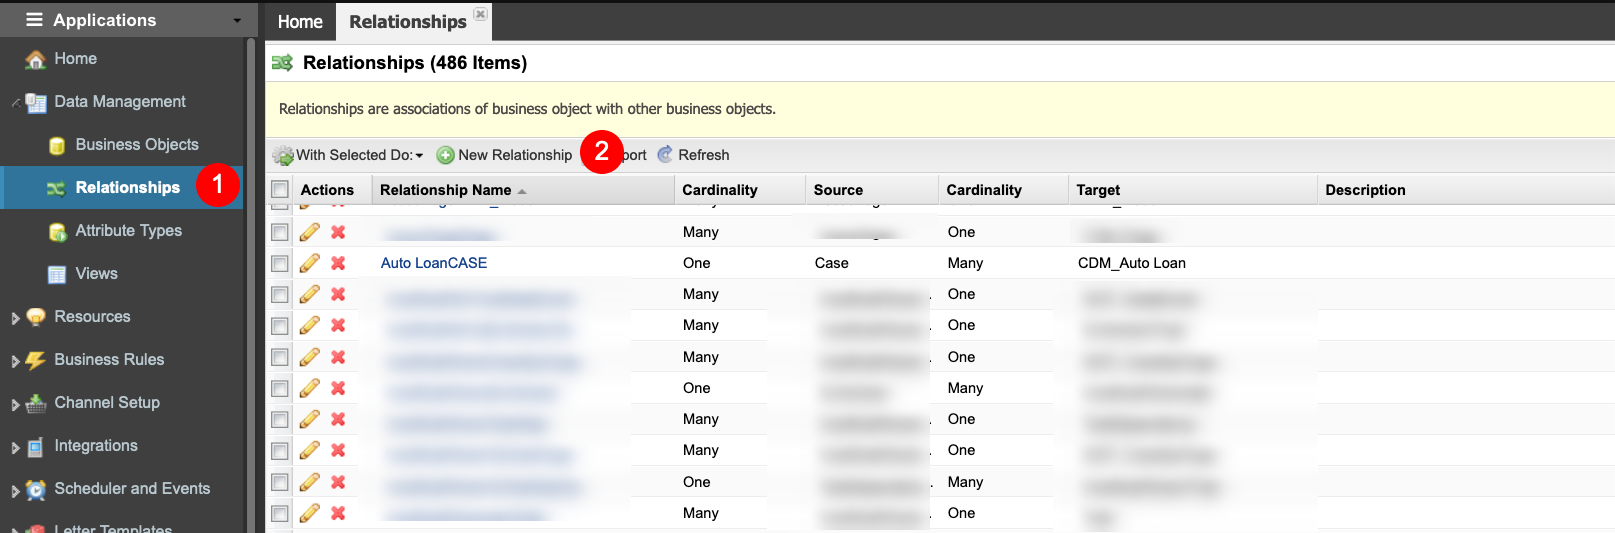
- Navigate to AppStudio → Data Management → Relationships (1)
- Click the New Relationship button (2).
- Select the Source business object which is the primary object to be linked to the second object
- Then select the Target business object which is the object that will have a column created to hold the primary ID of any linked records from the primary object.
- Select any Tags that are appropriate to be applied
Next, select the Cardinality rule that applies to this relationship
The API Permanent ID will be populated based on the source and target objects selected, but you can amend this value if you prefer (ensuring no whitespaces or special characters are included)
- Now enter a Name to describe the relationship in a manner that makes it easy to understand the objects and purpose of the relationship. Note this field will also auto populated based on the source and target object names.
- A Description is a good way to record an internal explanation for what the relationship is used for. It is displayed on the list of Relationships and is recommended to be populated for the aid of other developers:
- If you need to set a Foreign Key click the checkbox
- Click Save when done, or Save and New if you wish to save the relationship record and immediately create a new one. Otherwise, click Cancel to exit without saving.

Character limit on relationship name
When creating a relationship API ID or Name, please keep the number of characters under 25; otherwise, the solution will not be able to deploy.