Creating an Application
This article provides an overview of the Application Menus, a graphical user interface (GUI) element used to organize program functions and displays. It explains the various types of menus, how to create them, and what features should be included. It also discusses the benefits of using an application menu and provides tips for designing efficient menus. Finally, it looks at a few examples of application menus and how they can be used effectively.
Steps
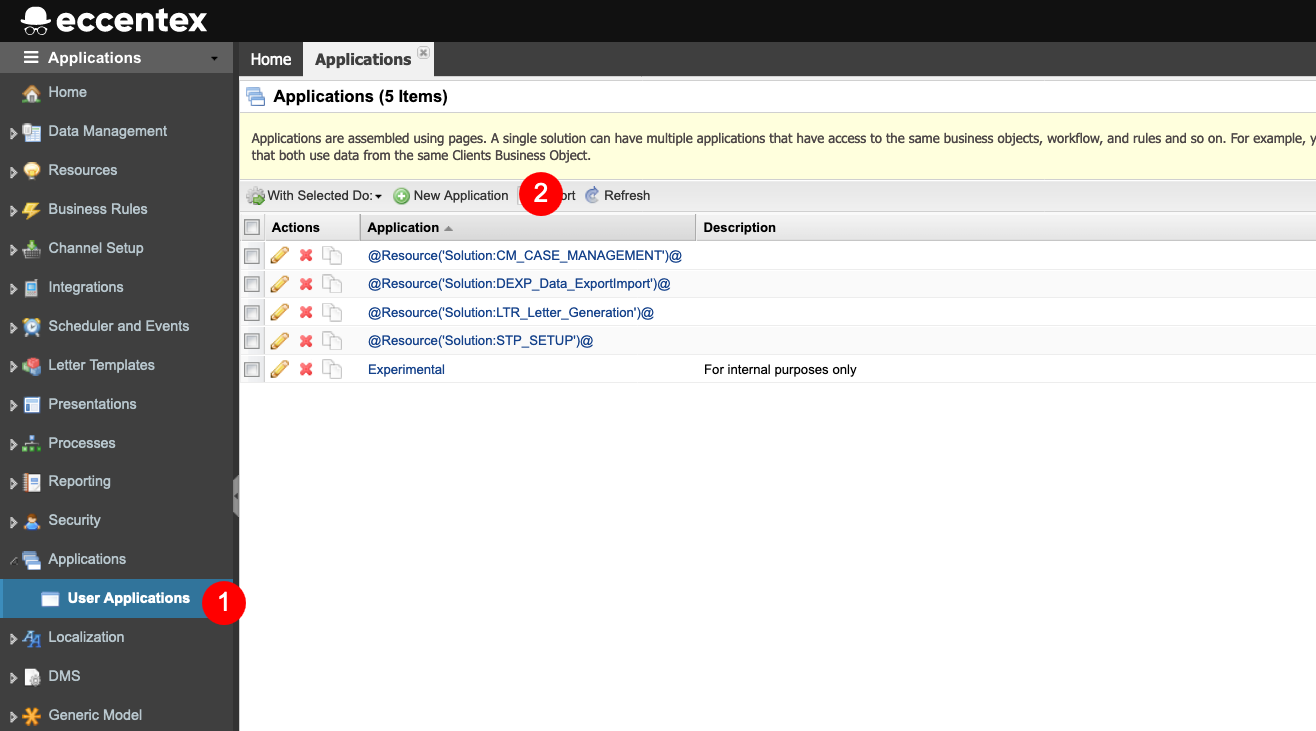
- To access Applications, select Applications > User Applications from the navigation menu (or select it directly from the main right window)
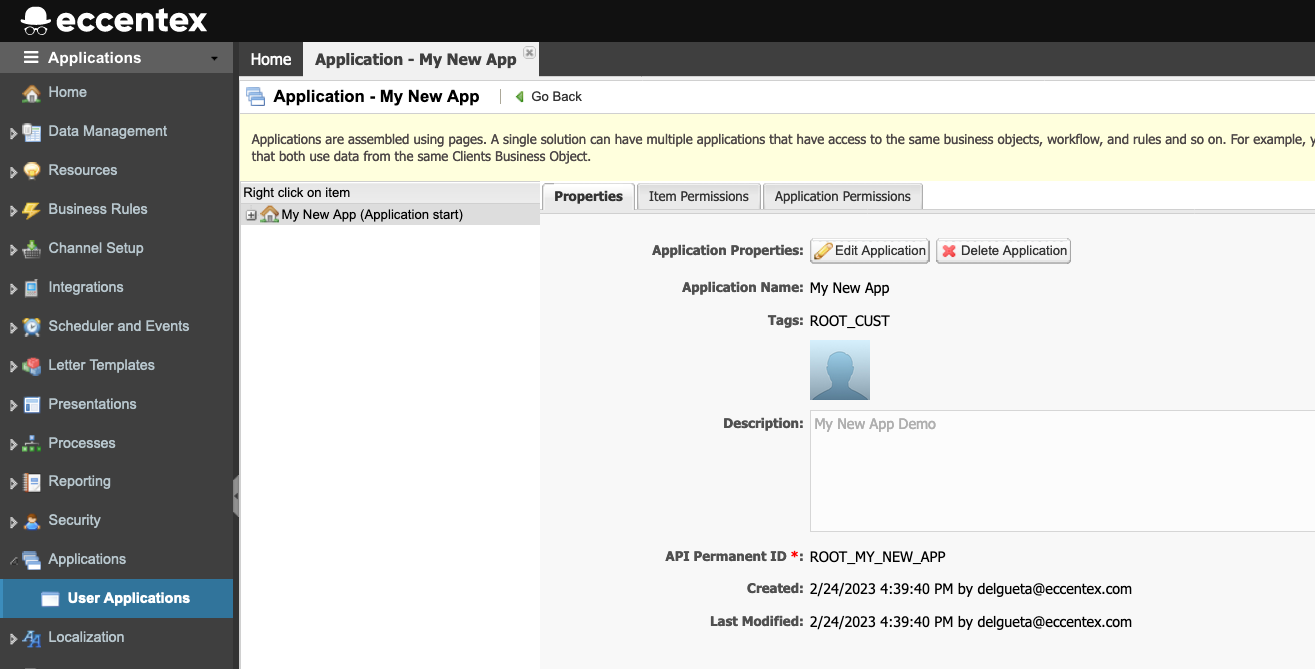
- In the New Application tab, enter the Application Name. This will be the name that will appear in the My Workspace area.
- Select any Tags that can be applied to the application.
- If the Is start menu checkbox is checked, the application will be launched when the user logs in to AppBase. If multiple applications are available for the user and defined as Start Menu – then the first one with the lowest order will be launched.
- If the Is hidden checkbox is checked, it will not be available for direct access in the Home or My Workspace views. This setting is usually used for anonymous applications.
- The Order in List defines how the application is displayed when multiple applications exist and are accessible. If multiple applications have the same order, they will be displayed randomly.
- If required, the Icon Upload enables you to select a picture file (i.e., a file in formats jpg or png) that can represent the application when it appears in the My Workspace area.
- Enter a Description that explains the purpose of the application.
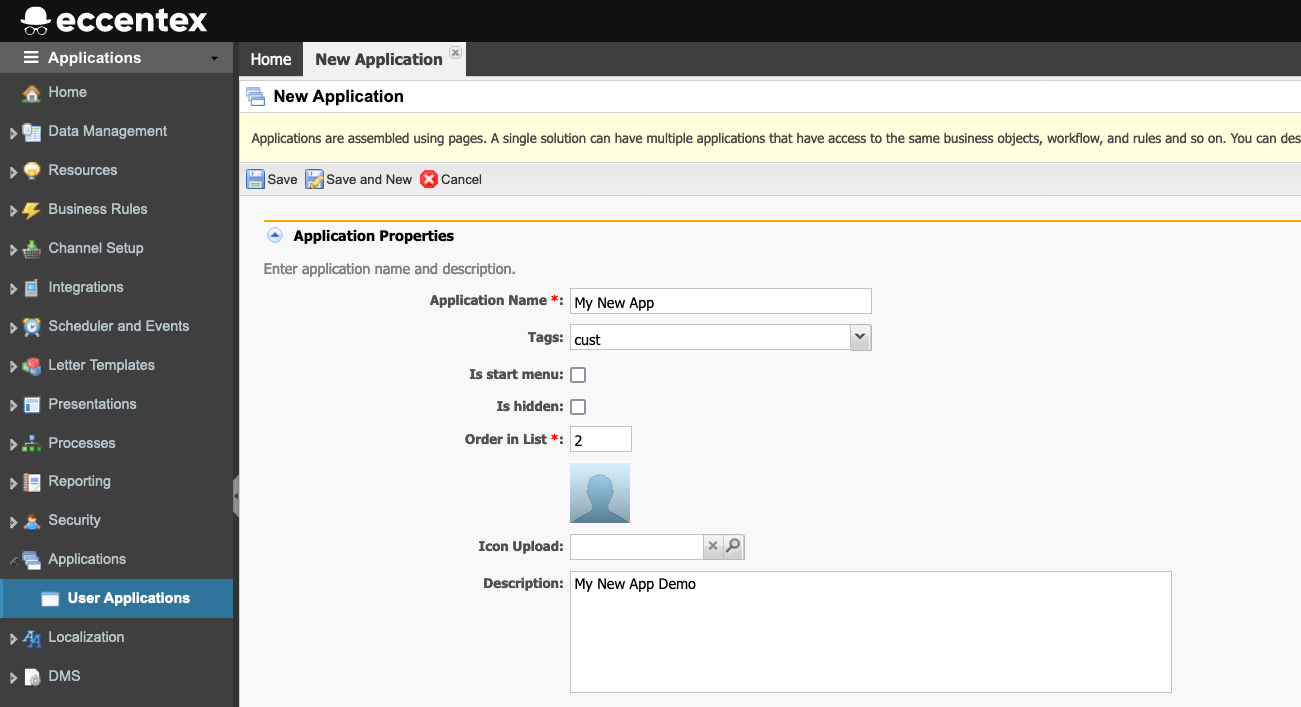
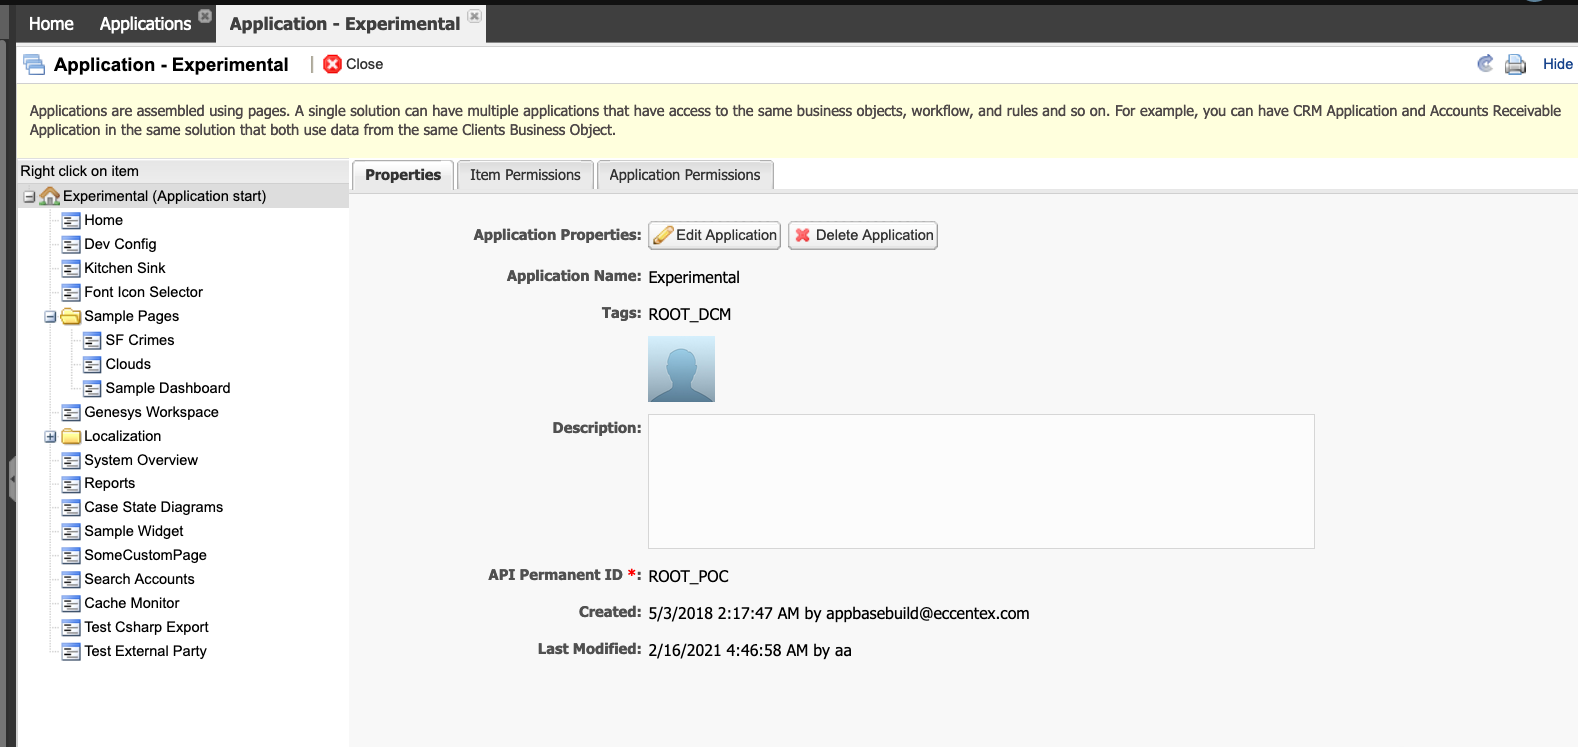
- The API Permanent ID will be populated based on the application name, but you can amend this value if you prefer (ensuring no white spaces or special characters are included):
- If it is required, enter an Application Template Body.
- Click Save when done or Save and New to save the application record and immediately create a new one. Otherwise, click Cancel to exit without saving.
You must run a Deploy after modifying the Menus, Submenus, or Pages.
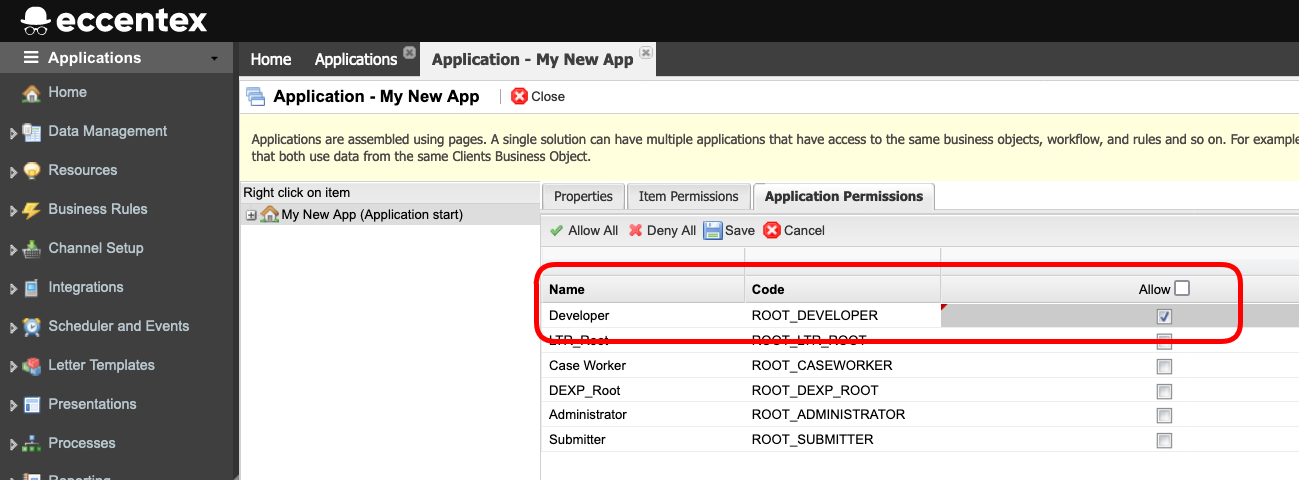
Modifying the Permission
- Select the Item Permissions tab.
- Click the Edit button to modify the permissions (Allow/Deny).
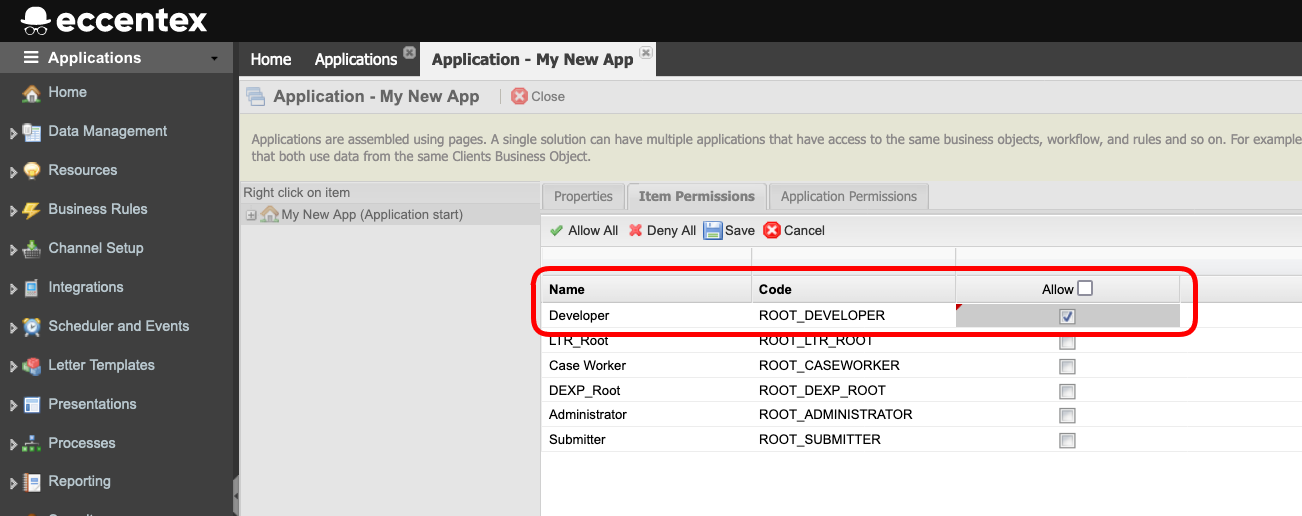
- When ready, Save the changes.
- Repeat the steps for the Application Permissions.