Email templates are HTML templates that can be sent from your solution. Email templates are designed to contain placeholders which can then be replaced at run time with data extracted from a Solution.
Steps
On the top right, navigate to → Application Studio → <<solution>>
Navigate to Letter Templates → Email Templates from the left-hand navigation menu.
Click the New Template button.
Assign a Name for the email template. In our example, demoEmailTemplate.
If needed, enter a Sender. In our example, No Reply Sender.
Insert a Subject for the email. In our example, Demo Email Template.
Insert the HTML code in the Body text area. You can include placeholders using the @@name@@ notation. For our example, insert the following code.
XML
<div style="font-family:'Lato', Tahoma, Verdana, Segoe, sans-serif;line-height:150%;color:#71777D; padding-right: 10px; padding-left: 10px; padding-top: 10px; padding-bottom: 30px;">
	<div style="font-size:12px;line-height:18px;font-family:Lato, Tahoma, Verdana, Segoe, sans-serif;color:#71777D;text-align:left;">
		<p style="margin: 0;font-size: 14px;line-height: 21px"><span style="color: rgb(0, 0, 0); font-size: 14px; line-height: 21px;">
		<strong>Hi</strong></span>,</p><p style="margin: 0;font-size: 14px;line-height: 21px"><br data-mce-bogus="1"></p>TEMPLATE 1<br><br>
		<p style="margin: 0;font-size: 14px;line-height: 21px">This is an email template for testing the Send Email event in the Procedure Builder. <br></p>
		<p style="margin: 0;font-size: 14px;line-height: 21px"><strong>Case</strong>: @@CASEID@@ titled @@CASESUMMARY@@ of type @@CASETYPE@@.</p>
		<p style="margin: 0;font-size: 14px;line-height: 21px"><strong>Task</strong>: @@TASKIDFULL@@ titled @@TASKNAME@@ of type @@TASKTYPE@@.</p>
		<p style="margin: 0;font-size: 14px;line-height: 21px"><br>
		</p>
		<p style="margin: 0;font-size: 14px;line-height: 21px">Thank you,</p>
	</div>
</div>
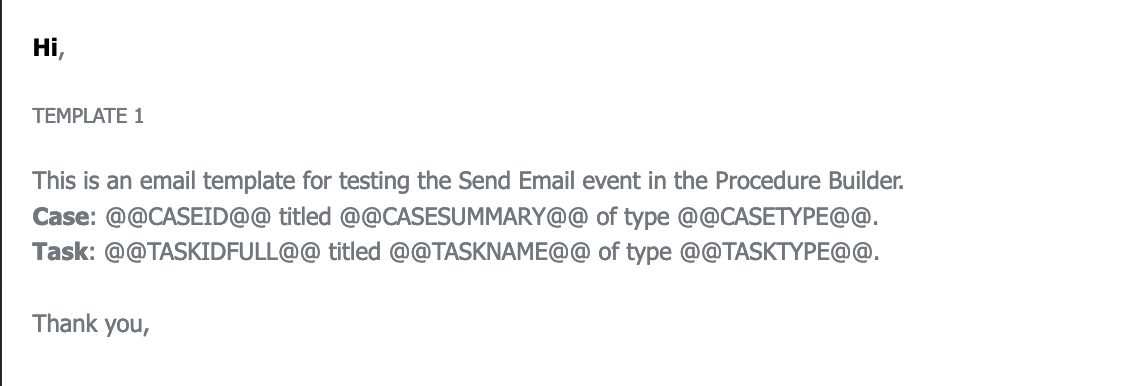
This code will produce an email like the following:
Add a Description.
Save the new template.
Go to the Placeholder tab to validate the mapping between the placeholders and the bookmarks. In our example, the system recognizes the placeholders in the Body and creates a mapping. If needed, modify the mapping by double-clicking the bookmark name and entering a new one.