Follow these steps to install and use the Knowledge Base v2.2 component.
If you currently have Knowledge Base v1.x installed and want to do an upgrade to v2, please refer to the instruction on the page Upgrading to Knowledge Base v2.x
Import the Knowledge Base Solution
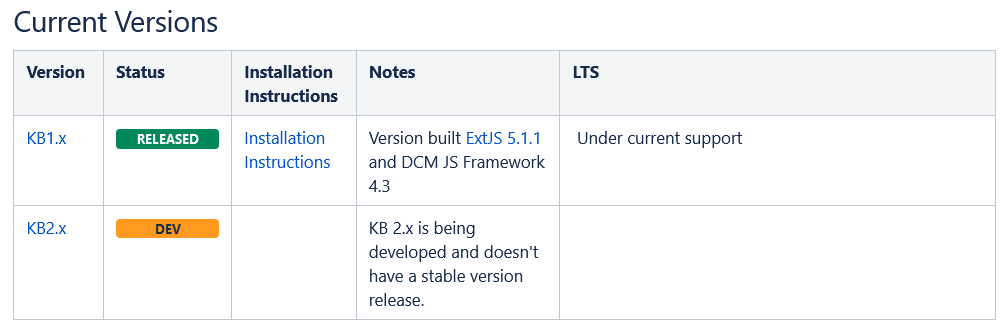
Download the latest solution component build from the KB: Knowledge Base page
Navigate to System Setup→ Solutions
Under the selected clean solution, click on the Import icon.
IMPORTANT: MAKE SURE THAT YOU HAVE A DEDICATED SOLUTION FOR THE KNOWLEDGE BASE. IT IS NOT RECOMMENDED TO MIX THE KNOWLEDGE BASE SOLUTION WITH OTHER SOLUTIONS.
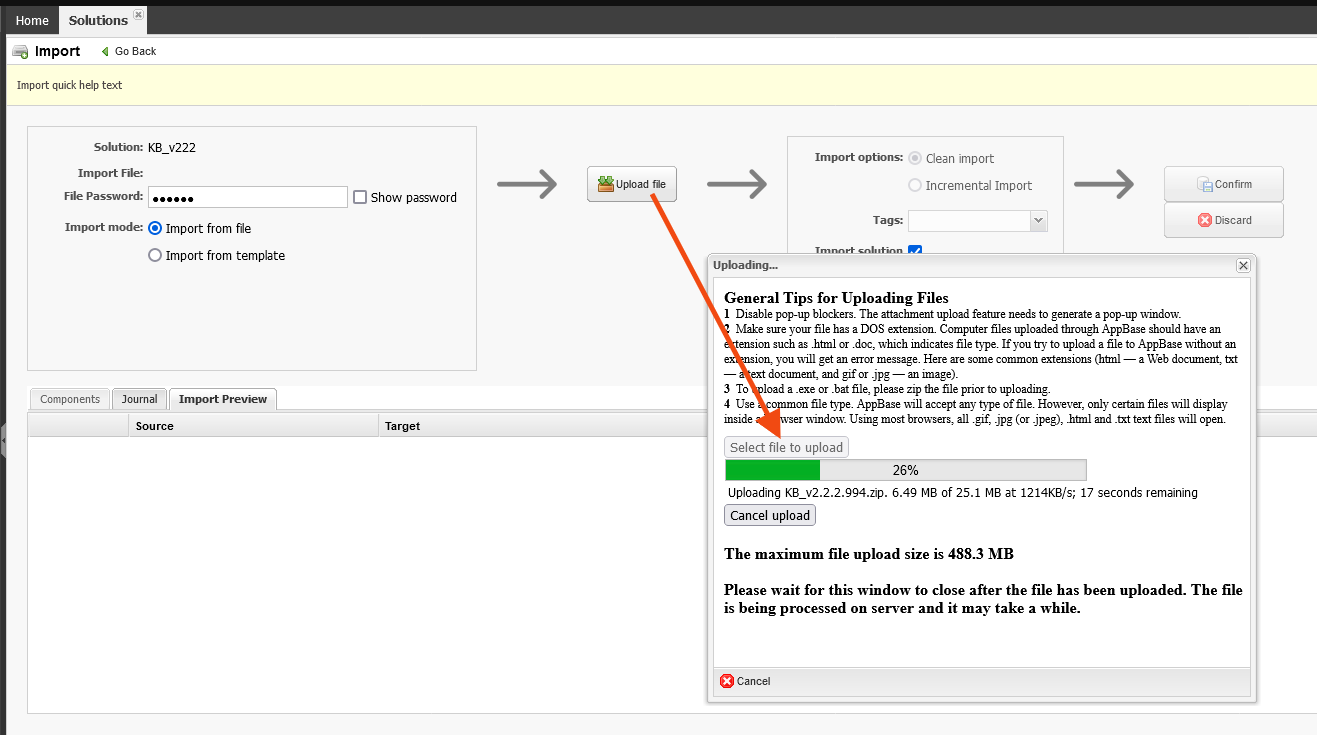
Select Import from file
Upload the installation file that you have downloaded during step 1 named like KB_v.2.2.2.xxx.zip.
Select the Clean import (1) option
Keep checked the Import solution events (2)
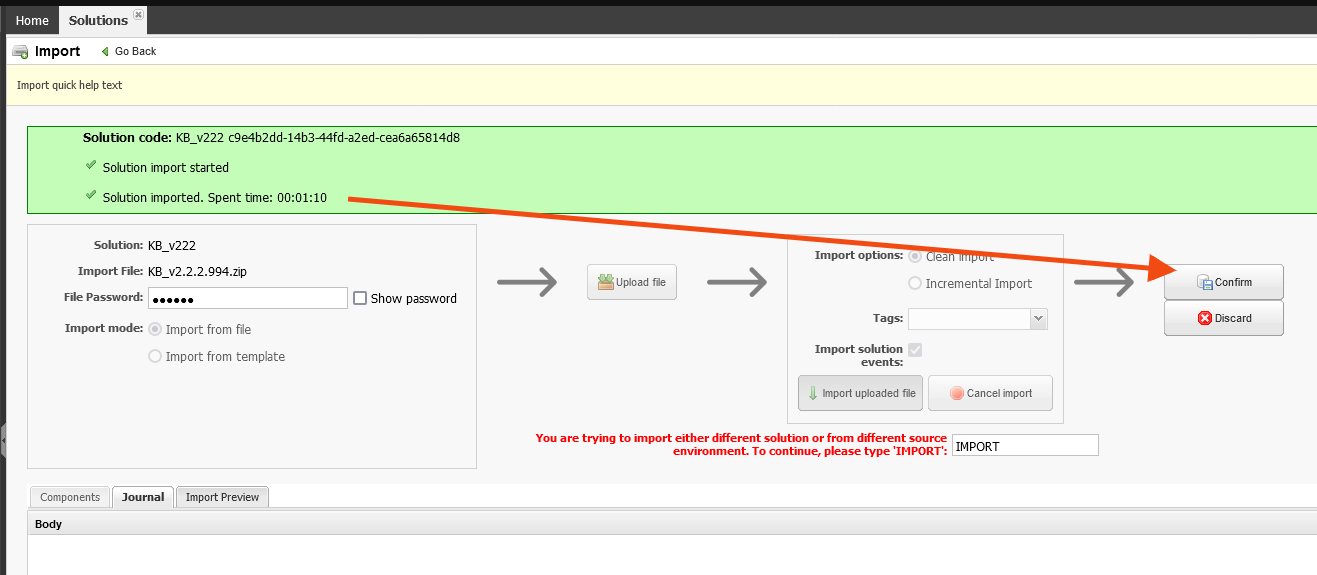
Type the word IMPORT (3)
Click the Import uploaded file (4) button to begin the importing process.
After getting the message Solution imported. Spent time: 00:02:34 Click the Confirm button
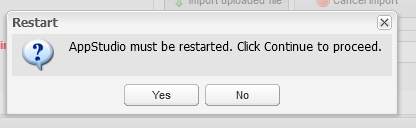
Confirm restart AppStudio to proceed when prompted.
Logout and then log in again to the AppBase.
Deploy the New Knowledge Base Solution
Open Solutions. In <<your solution>> click on Launch AppStudioicon
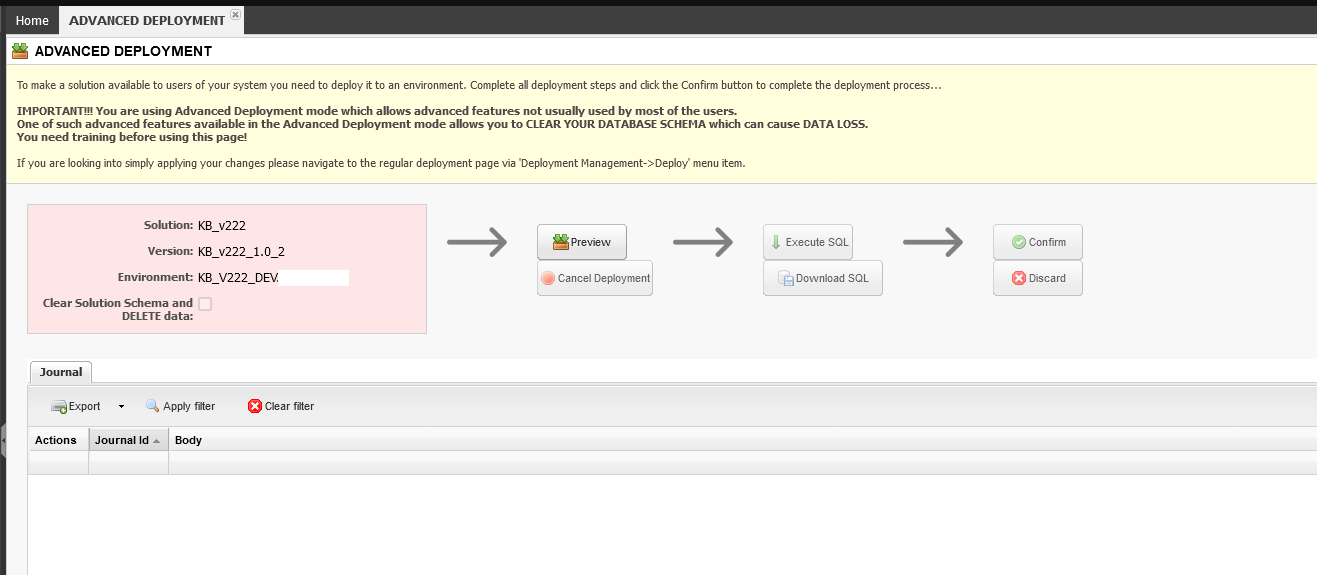
Open Deployment Management → Advanced Deployment page and ddeploy your new KB solution
Note 1: During deployment, you can get exceptions (or even a few) in Journal section like: "ORA-24344: success with compilation error".
Note 2: During deployment, you can get exceptions (or even a few) in Journal section like: "Table 'TBL_LTRTemplateAttachments' - trigger name was truncated from 'bi_TBL_LTRTemplateAttachments' to 'bi_TBL_LTRTemplateAttachment' "
Note 3: If you use AppBase installed on MSSQL Server then during deploy only for views you can get exceptions (or even a few) in Journal section like: "Object is invalid. Extended properties are not permitted on '%RULE_NAME%', or the object does not exist".
If you get any of these messages, click the Confirm button.
Assign KB Roles to User(s) and/or Group(s)
Open Manage Users
Open the detail of the user(s) account
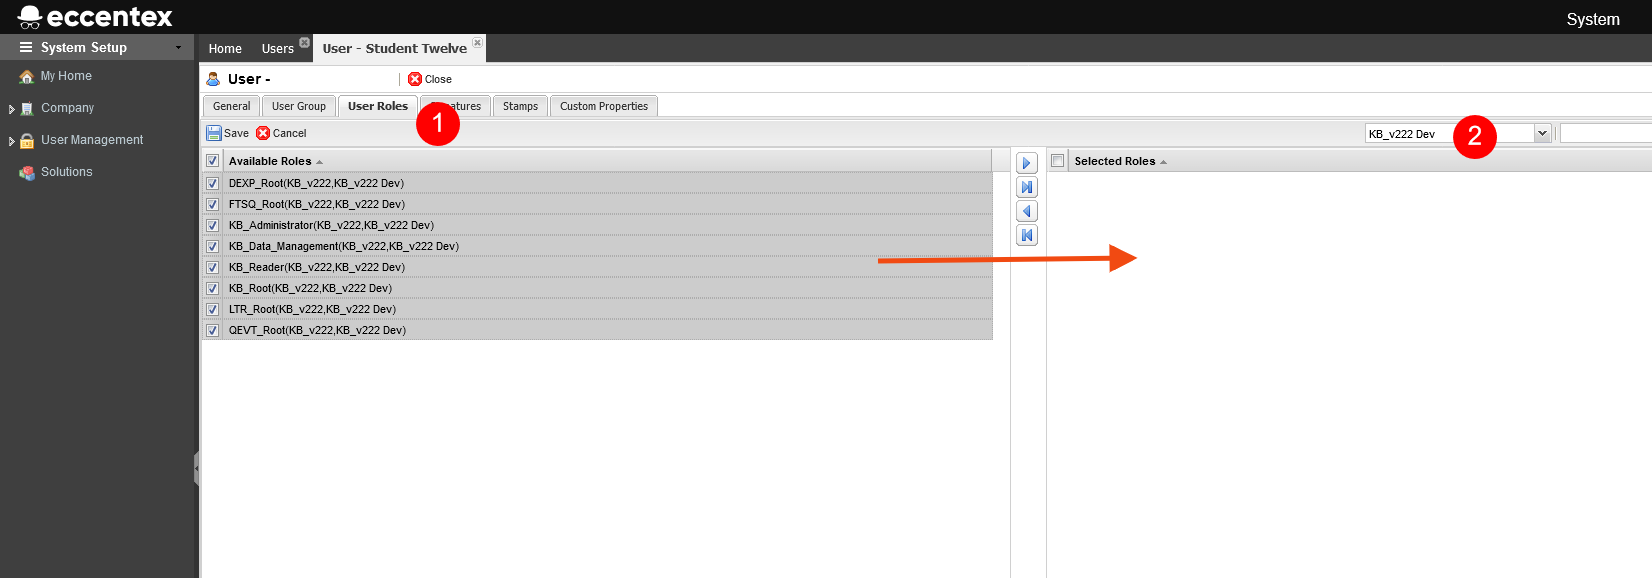
In the User Account detail page, select the User Roles tab (1), then select the new KB solution from the right panel (2)
Add to the user the roles needed for the solution.
If you need to grant access to a group (Developers for example), you should add the following roles to the group: KB_Root and KB_Administator (if needed).
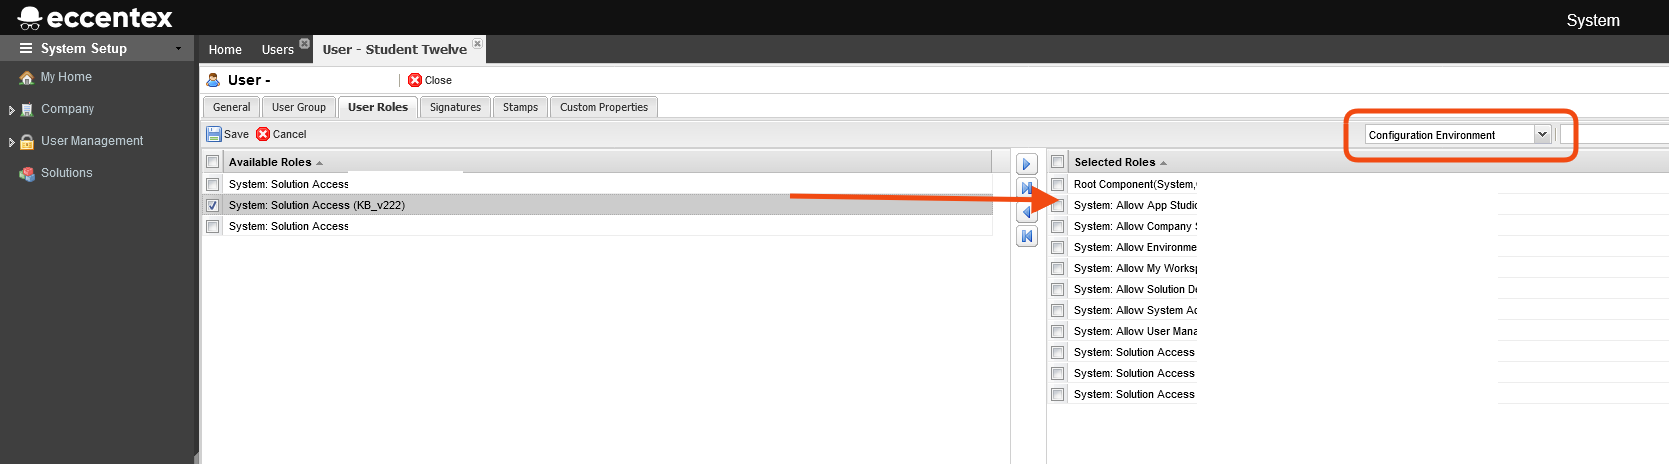
Select the Configuration Environment from the right panel and add the System: Solution Access (<Solution Name>) role to get access to the new KB solution (and to see the icon on the Home page).
You have to re-login to get the new privileges (Logout and the Login).
Execute the initSolution Script
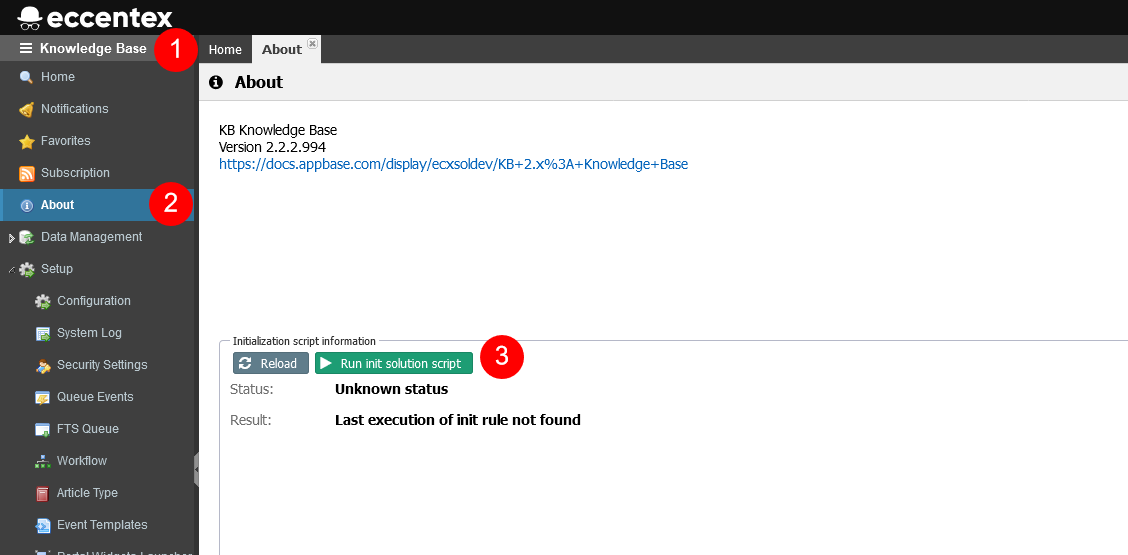
Navigate to the solution runtime (1), open the page About (2), and click the Run init solution script (3) button to initialize the solution.
In the pop-up Warning window, click on the Run init script button.
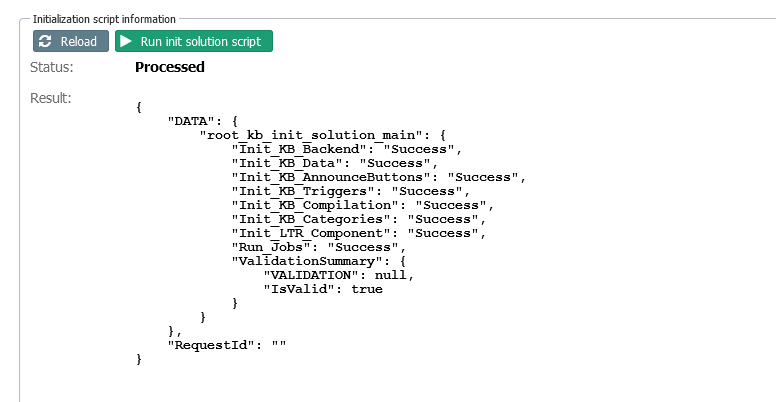
To check the status of the process, update the Initialization script information window using the Reload button.
When the initialization is Processed (is finished), you will see the status under the Result field. Validate that every step ended with a Success status.
Setting the Full-Text Search (FTS/Solr)
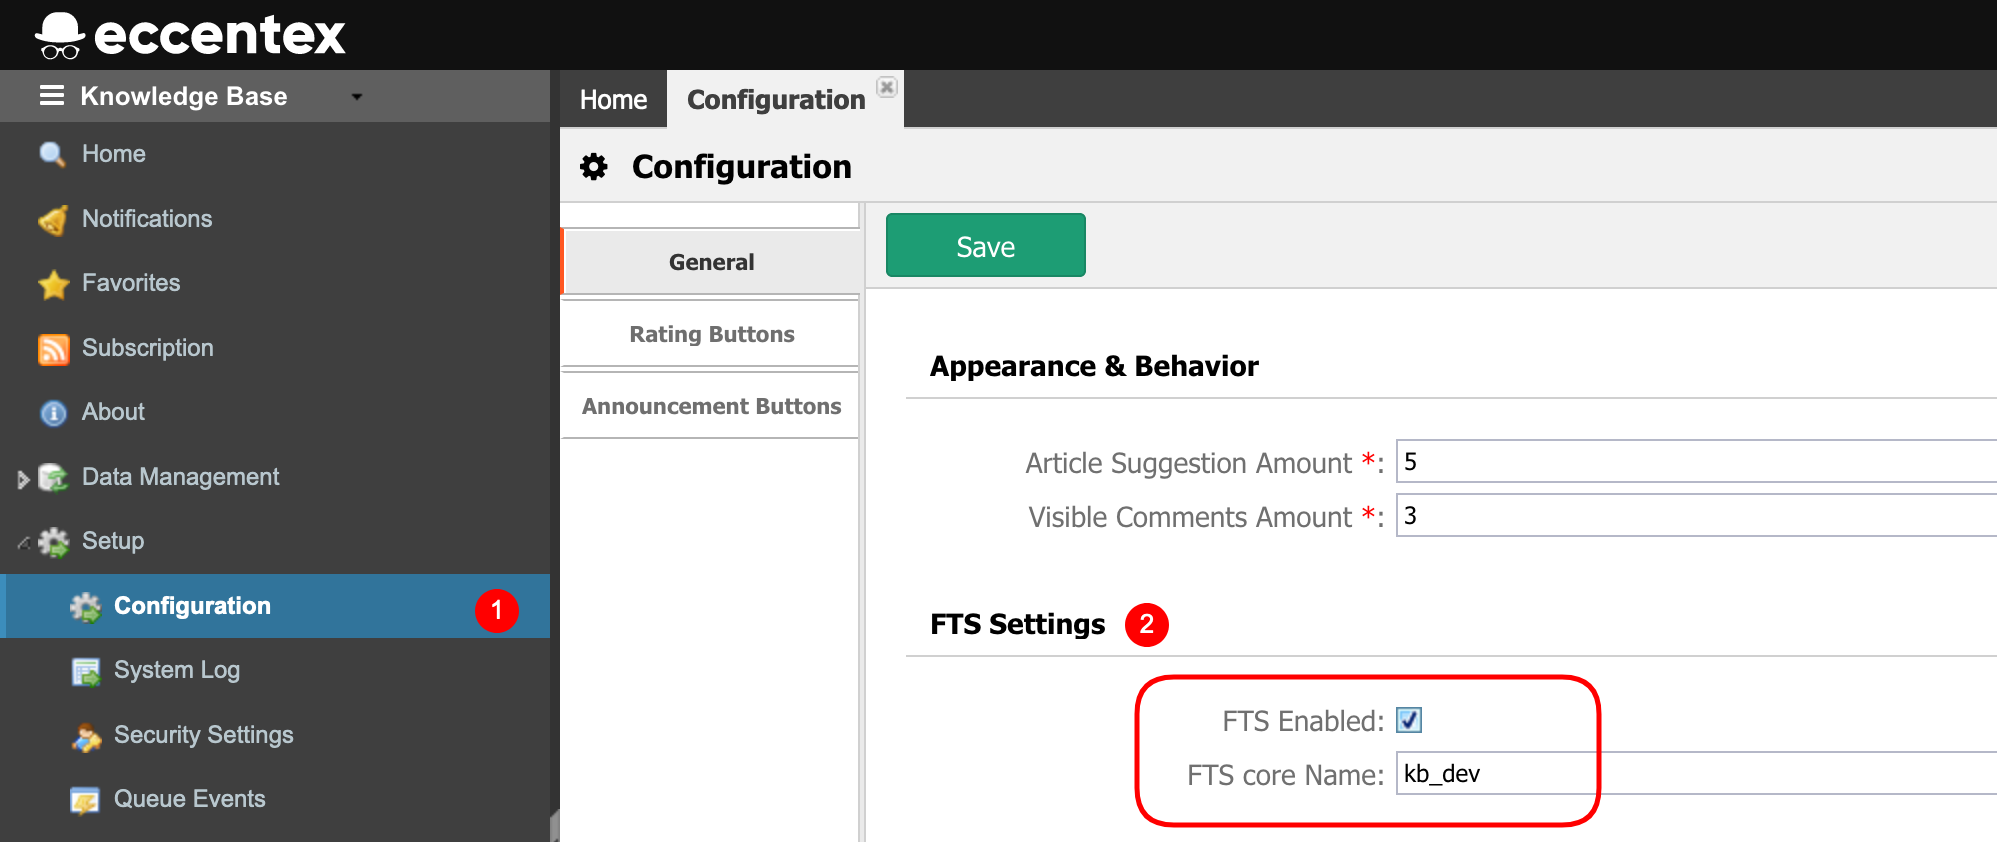
If you are planning to use FTS (Solr) functionality for full-text search go to Setup → Configuration
Check the FTS Enabled and set the FTS core Name.
Save the new setting
On the Solr server run the following steps:
On the Solr server replace the configuration file for your core to file from the zip sol_core_for_kb.zip\kb_dev\conf\schema.xml
Add the following key to the window <delete><query>*:*</query></delete>
Click the button Submit Document
Open the page Code Admin
Select your Solr core (in this example is kb_dev)
Click the button Reload
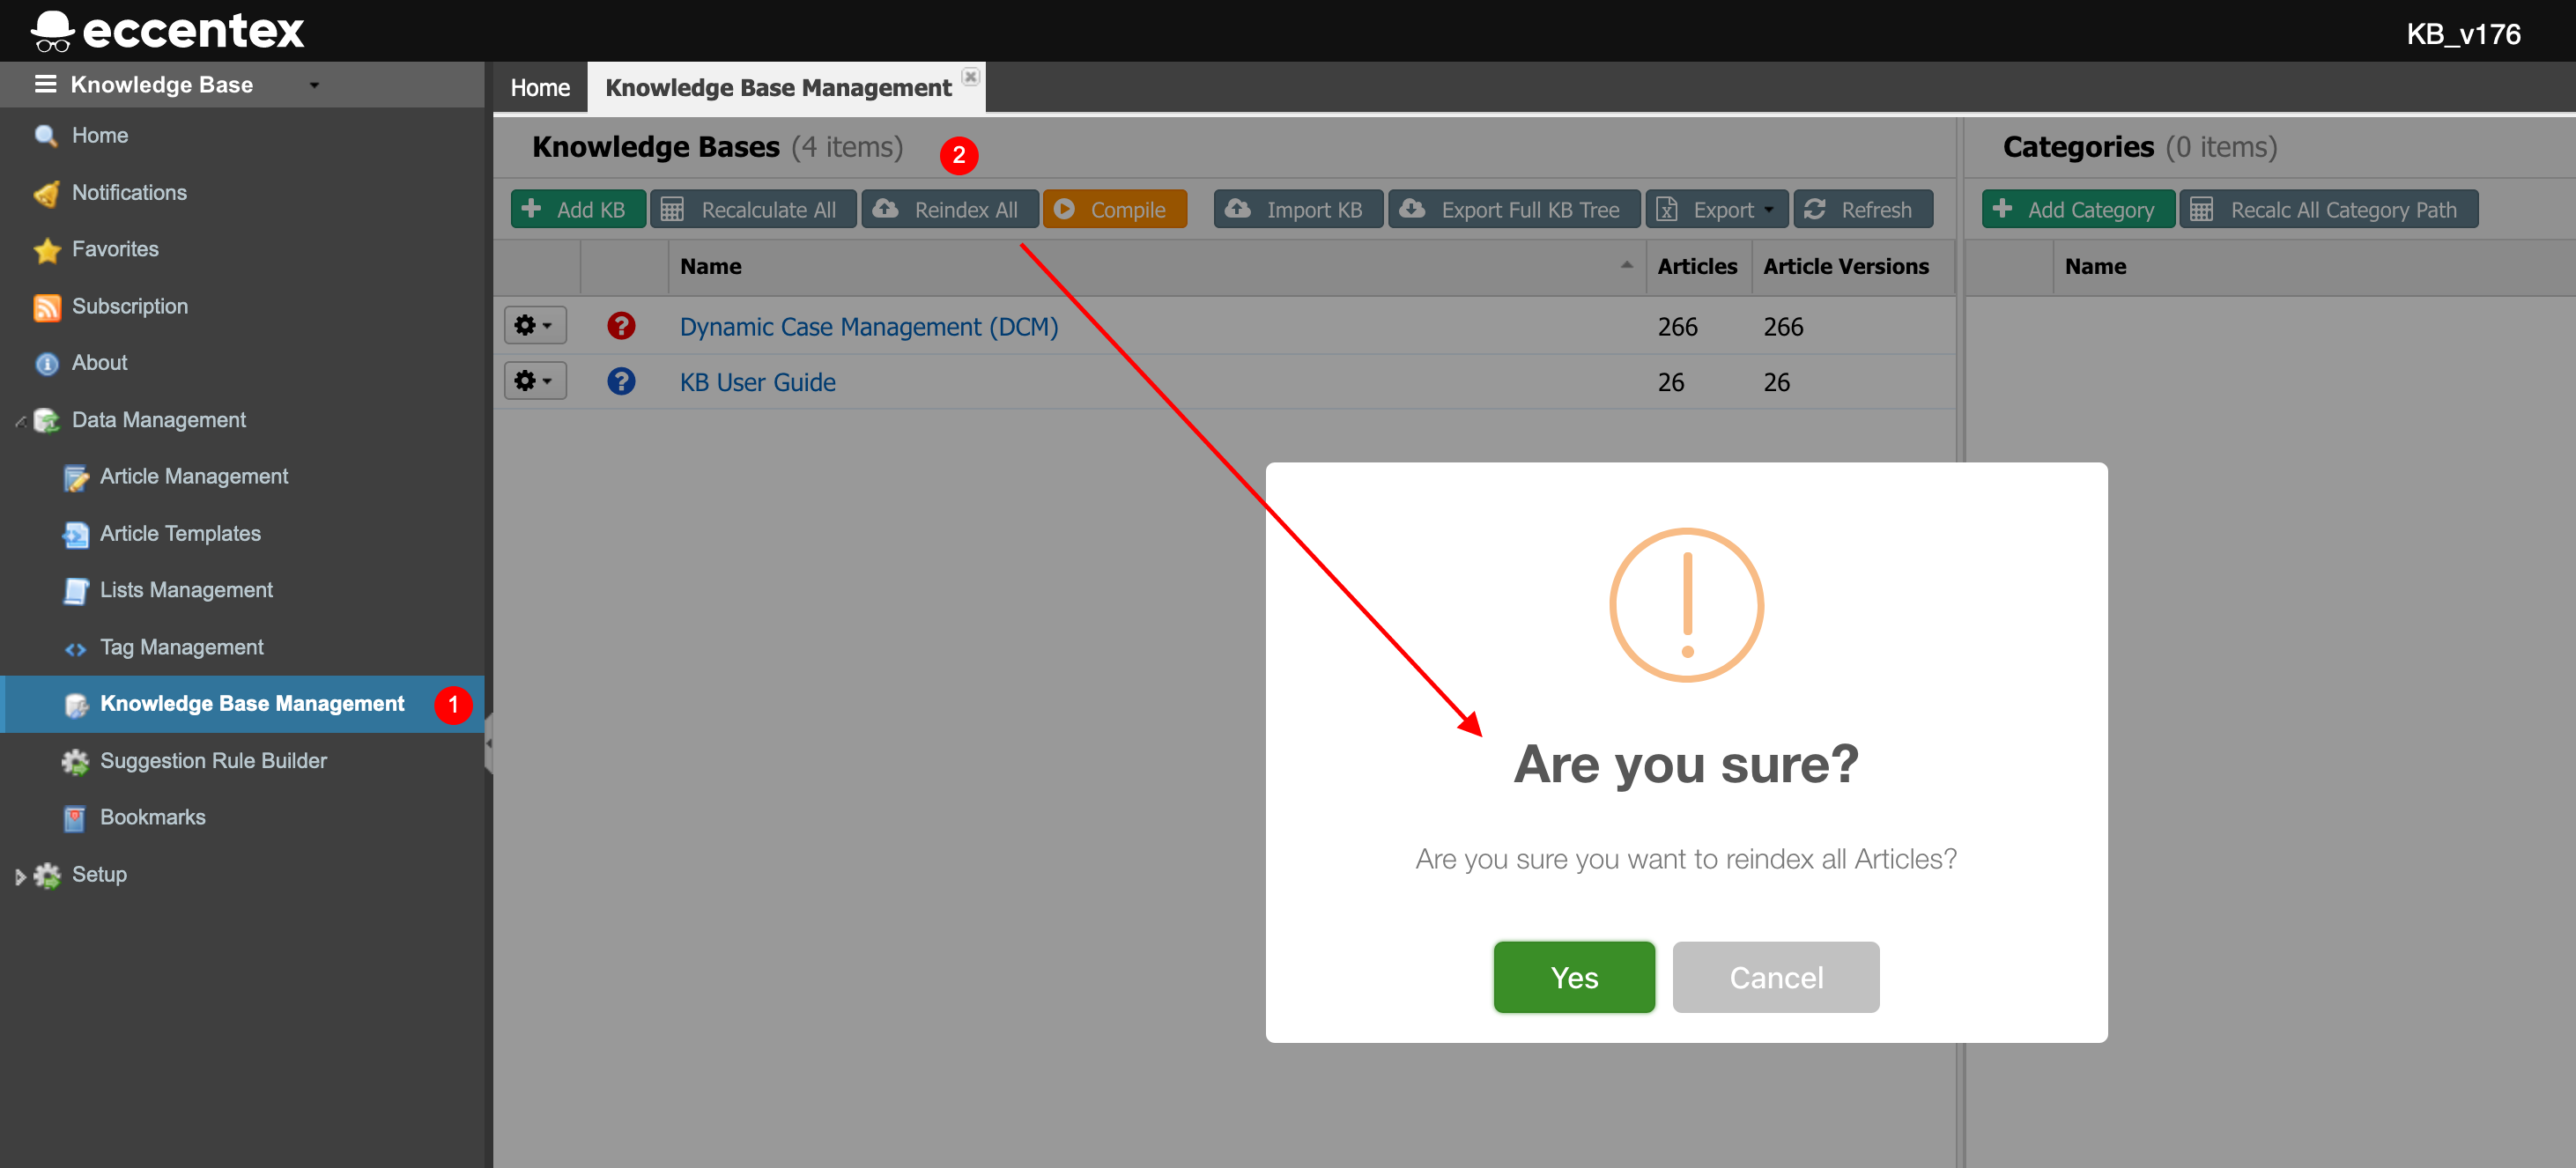
In your solution open Data Management → Knowledge Base Management
Click the button Reindex All to build the indexes. This process may takes a couple of minutes depending on the size of the KBs (number of articles, content, etc.).


.png?inst-v=3aff06cb-098c-48a2-800b-ff41b4b4b47a)