
Upgrading to Knowledge Base v2.x
There are important improvements and new features in the Knowledge Base version 2.x (see details here).
Follow these steps to upgrade your actual KB version 1.x to the latest Knowledge Base v2.2.2.x component.
Export Data of Existing Knowledge Bases
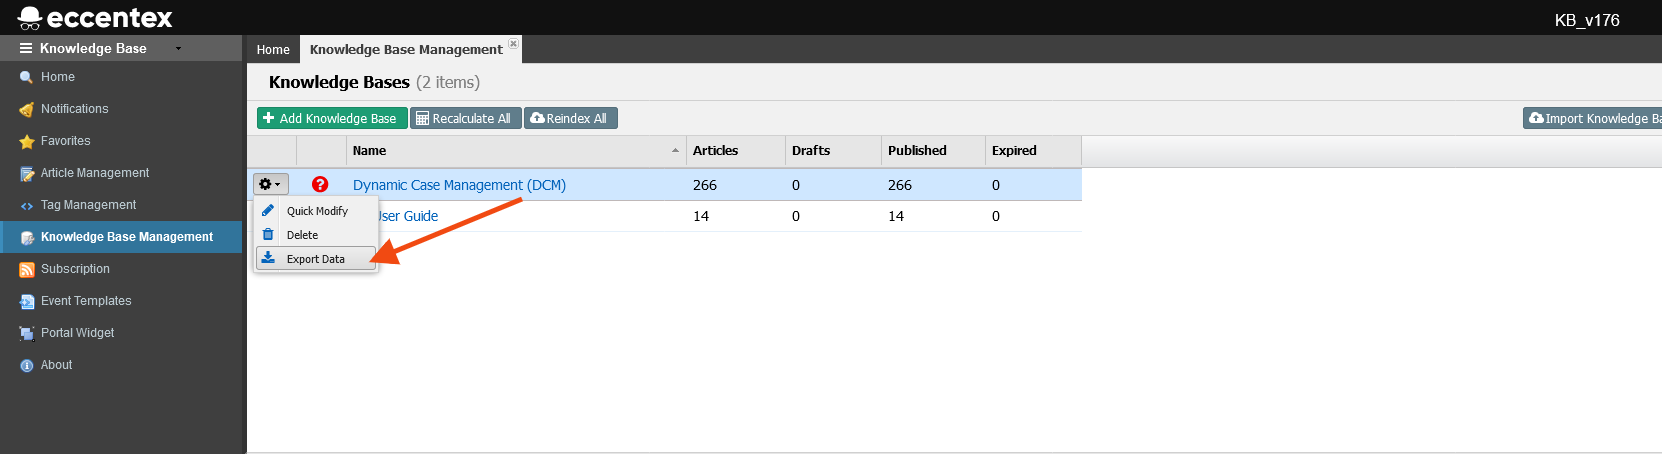
- Navigate to the Knowledge Base → Knowledge Base Management
- For each Knowledge Base in the main grid, create an export file using the Export Data option from the gear button

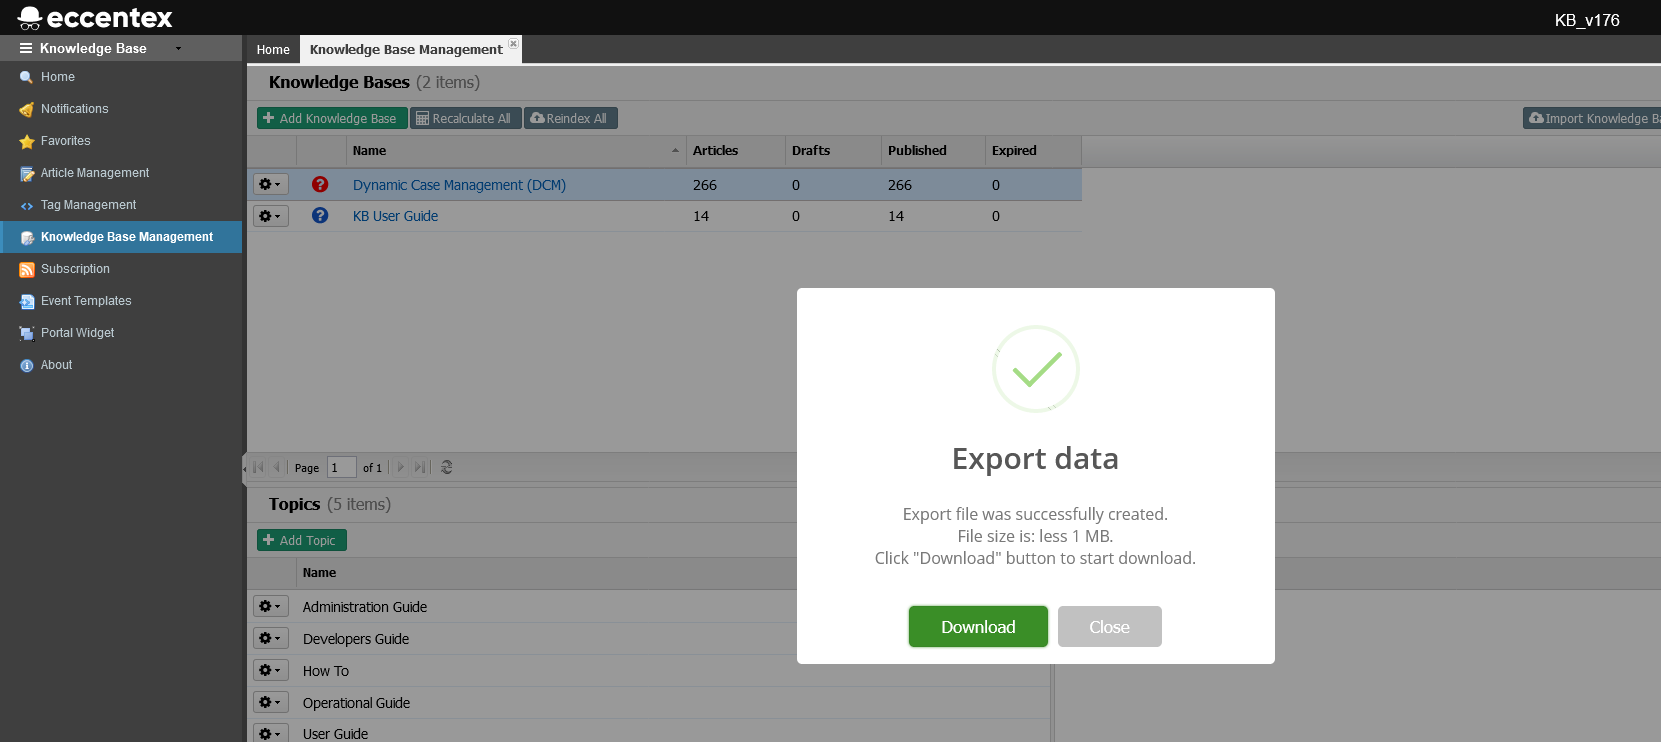
- In the alert pop-up window, confirm the action.
- When finished, download the export file in a local folder.
- The exported file will have a name like KB_2_export_dec526ac_9f72022.zip, the number after KB_ indicates the KB Id, in our example, the Id is 2.
Import the Knowledge Base v2.2.2.x
- To import the KB v2.2.2 solution follows the same steps as in Installing Knowledge Base Solution-Import the Knowledge Base Solution
Deploy Solution
To import the KB v2.2.2 solution follows the same steps as in Installing Knowledge Base Solution-Deploy the New Knowledge Base Solution
Notice that the only difference in the process of deployment is that as this KB solution has already a model deployed (and data) you will need to validate de deletion of the previous schema (DROP operation) by typing the word DELETE before continuing with the Execute SQL step.
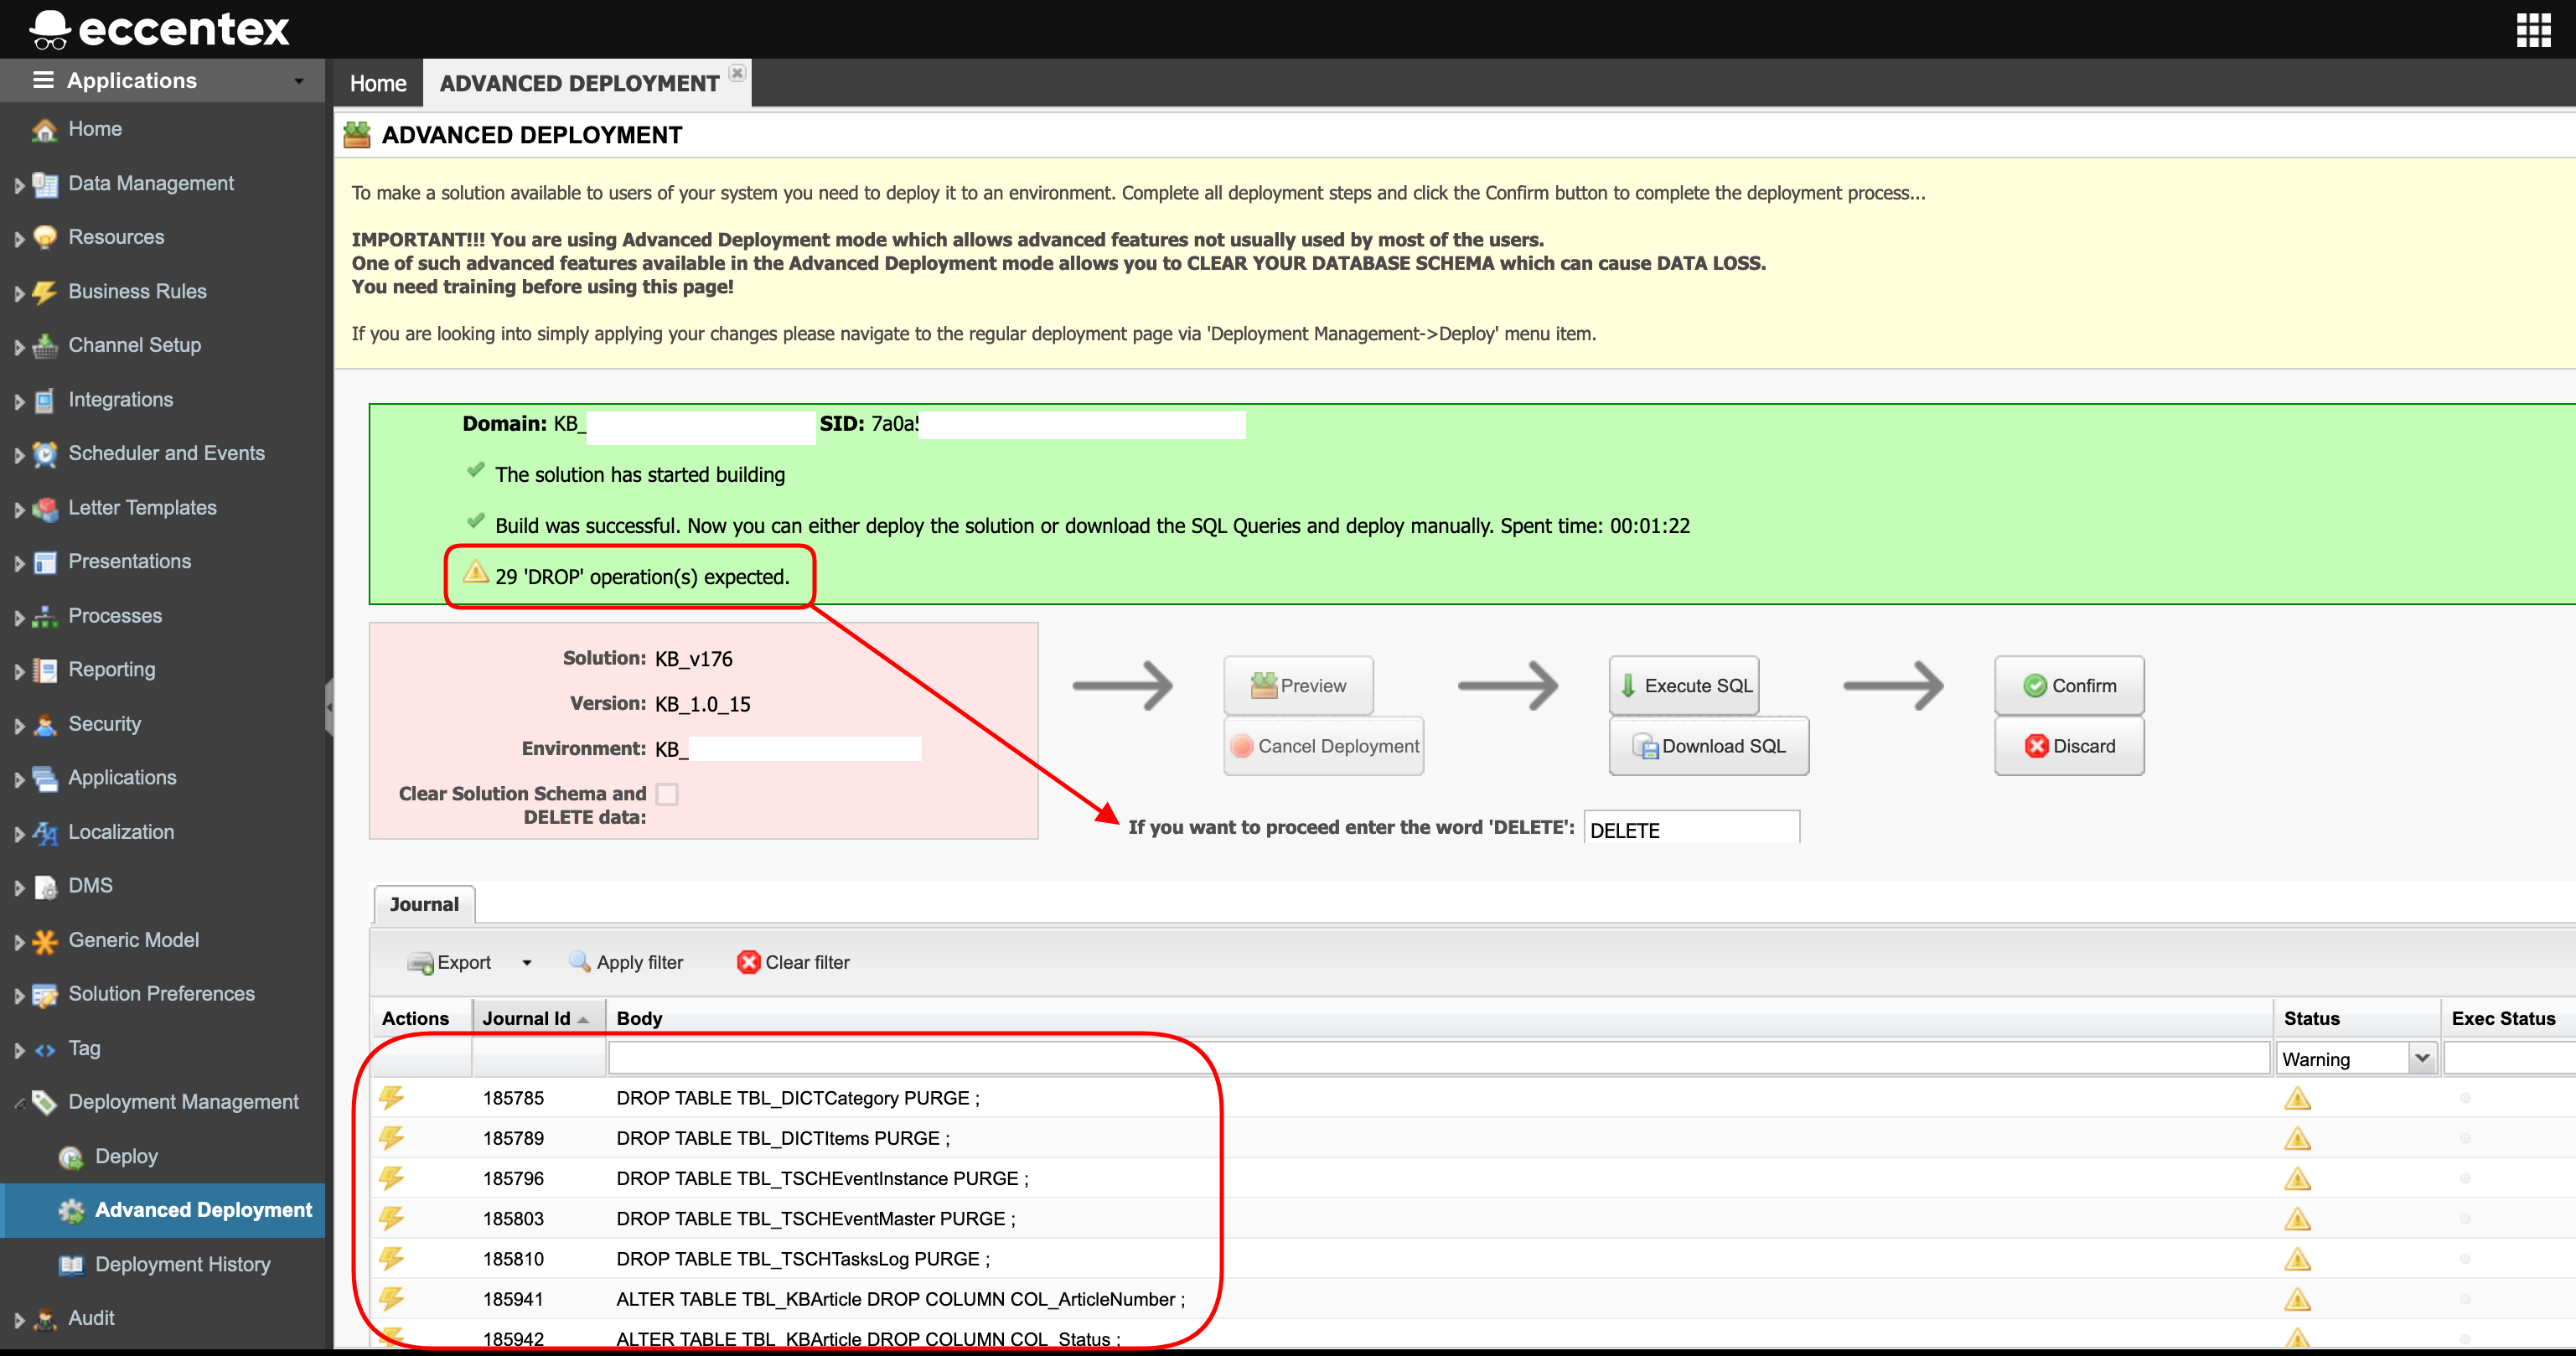
If after the Execute SQL step you get errors like the image below, just Confirm the deploy.

Cleanup Business Data
- Navigate to the Application Studio of your KB v1 solution
- Go to Business Rules → Rules and search for the rule kb_delete_business_data
- Run the Debug Rule and set the parameter CONFIRM to DELETE
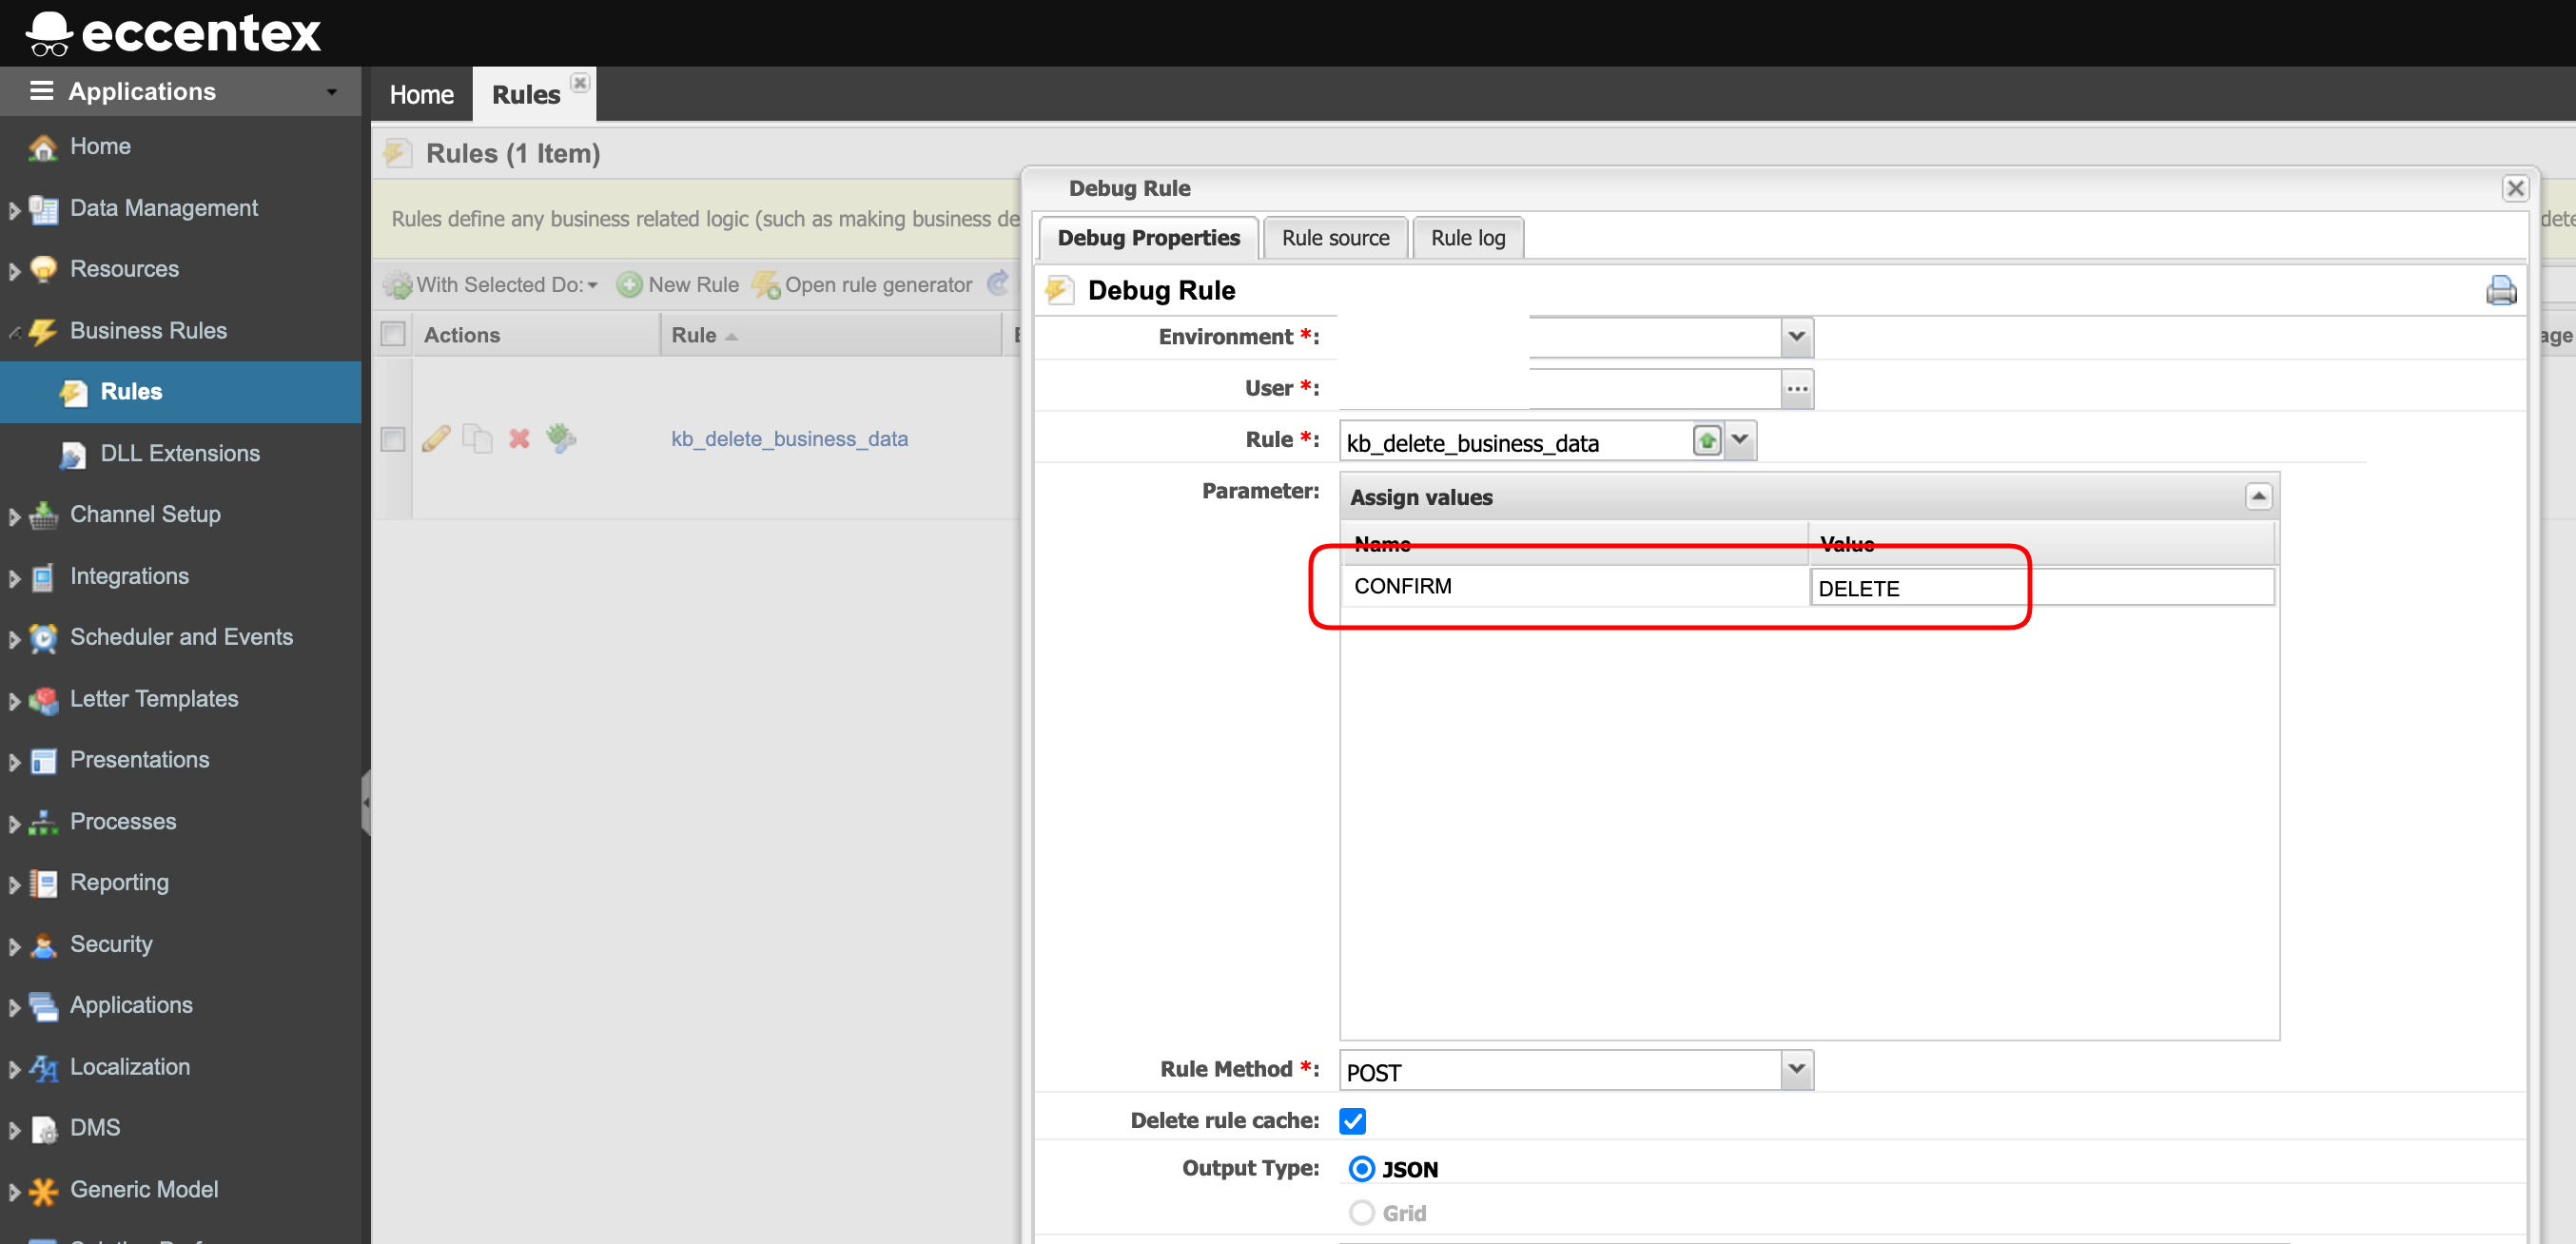
- Validate that the Result doesn't contain any error message.
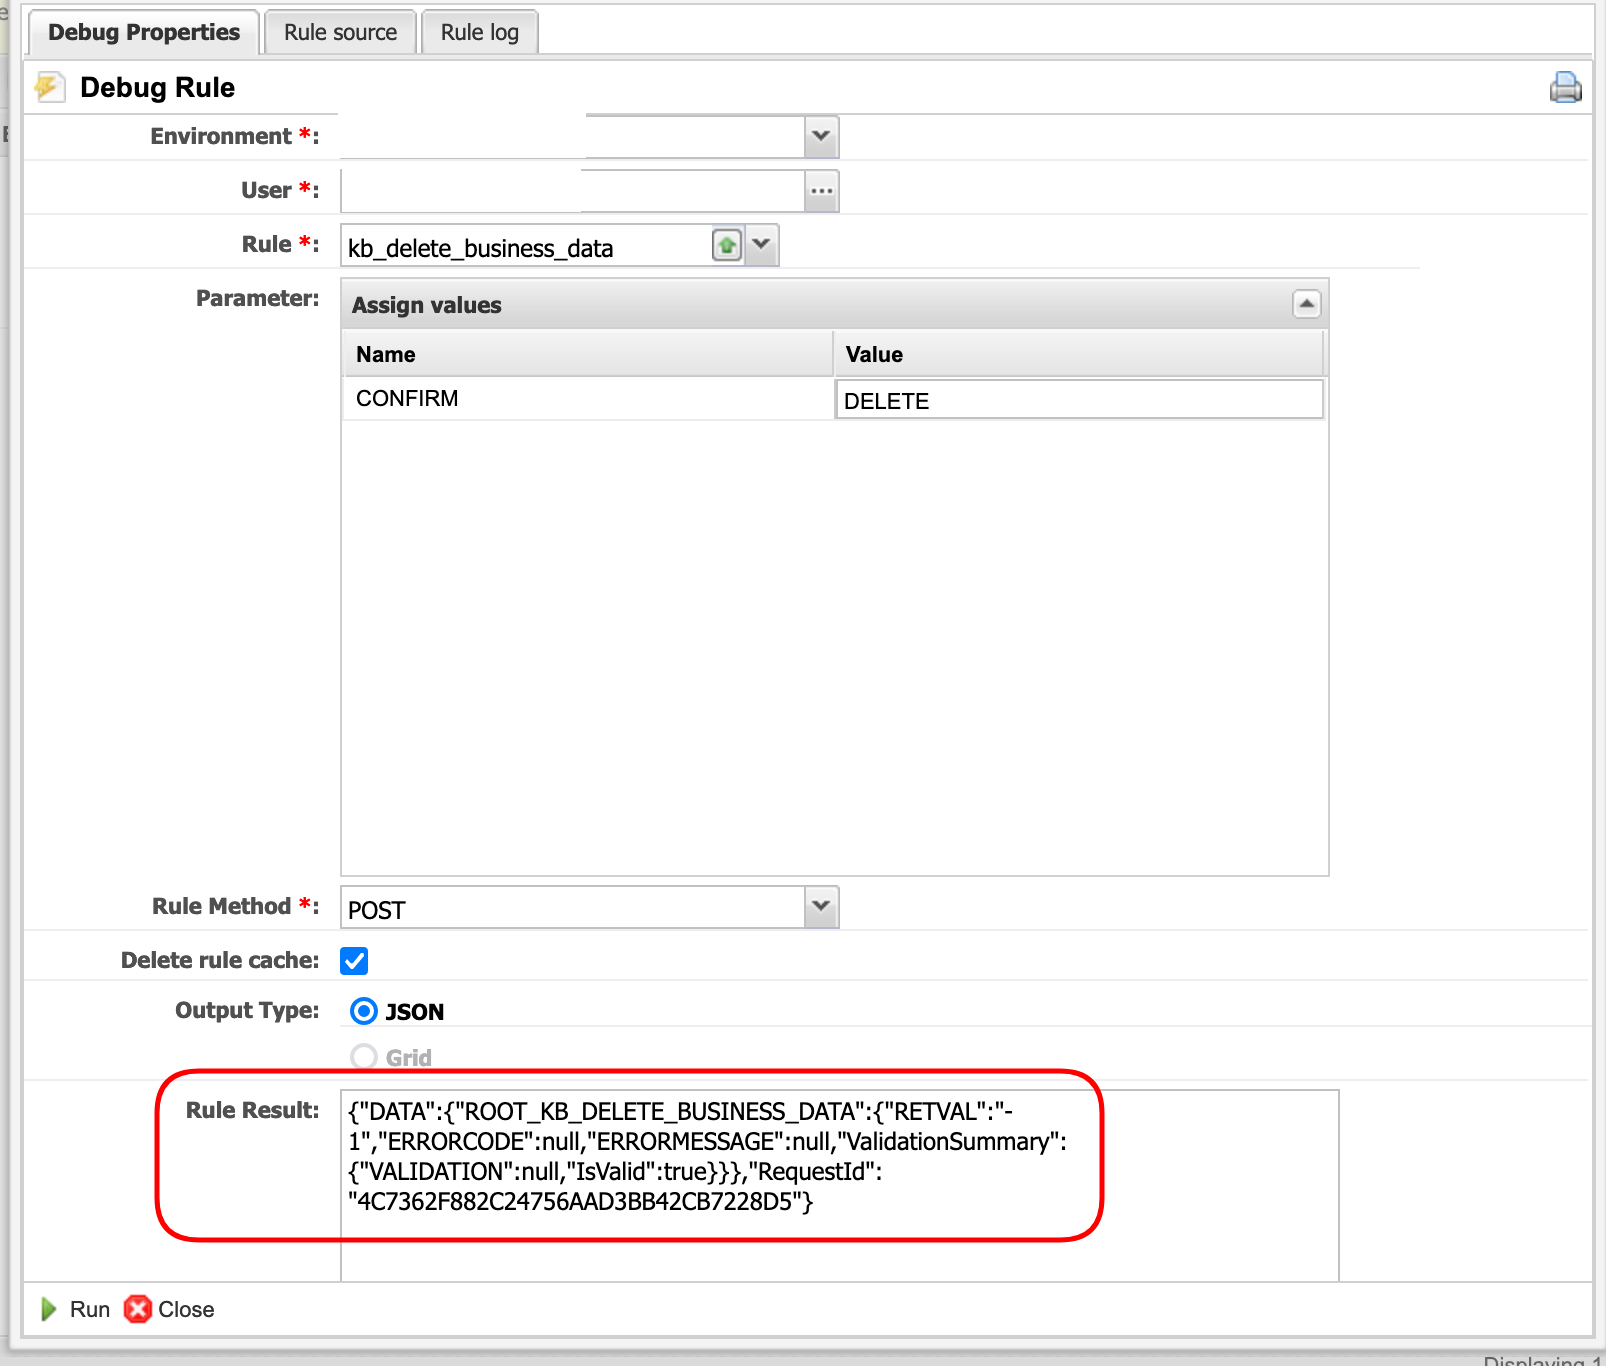
- Close the Debug Rule window.
Execute the initSolution Script
- Execute the initSolution script following the same steps as in Installing Knowledge Base Solution-Execute the initSolution Script
- If the initialization process is finished with no errors go to the next step and proceed to import your KB files.
Import KBs
- Open your Knowledge Base solution
- Go to Data Management → Knowledge Base Management (1) to import the KB files obtained from the export of version 1.x KB's
- For each Knowledge Base backup file, click on the button Import KB
- In the Import Knowledge Base pop-up window select only one backup file (zip format)
- Keep all the options by default and click the Start Import button.
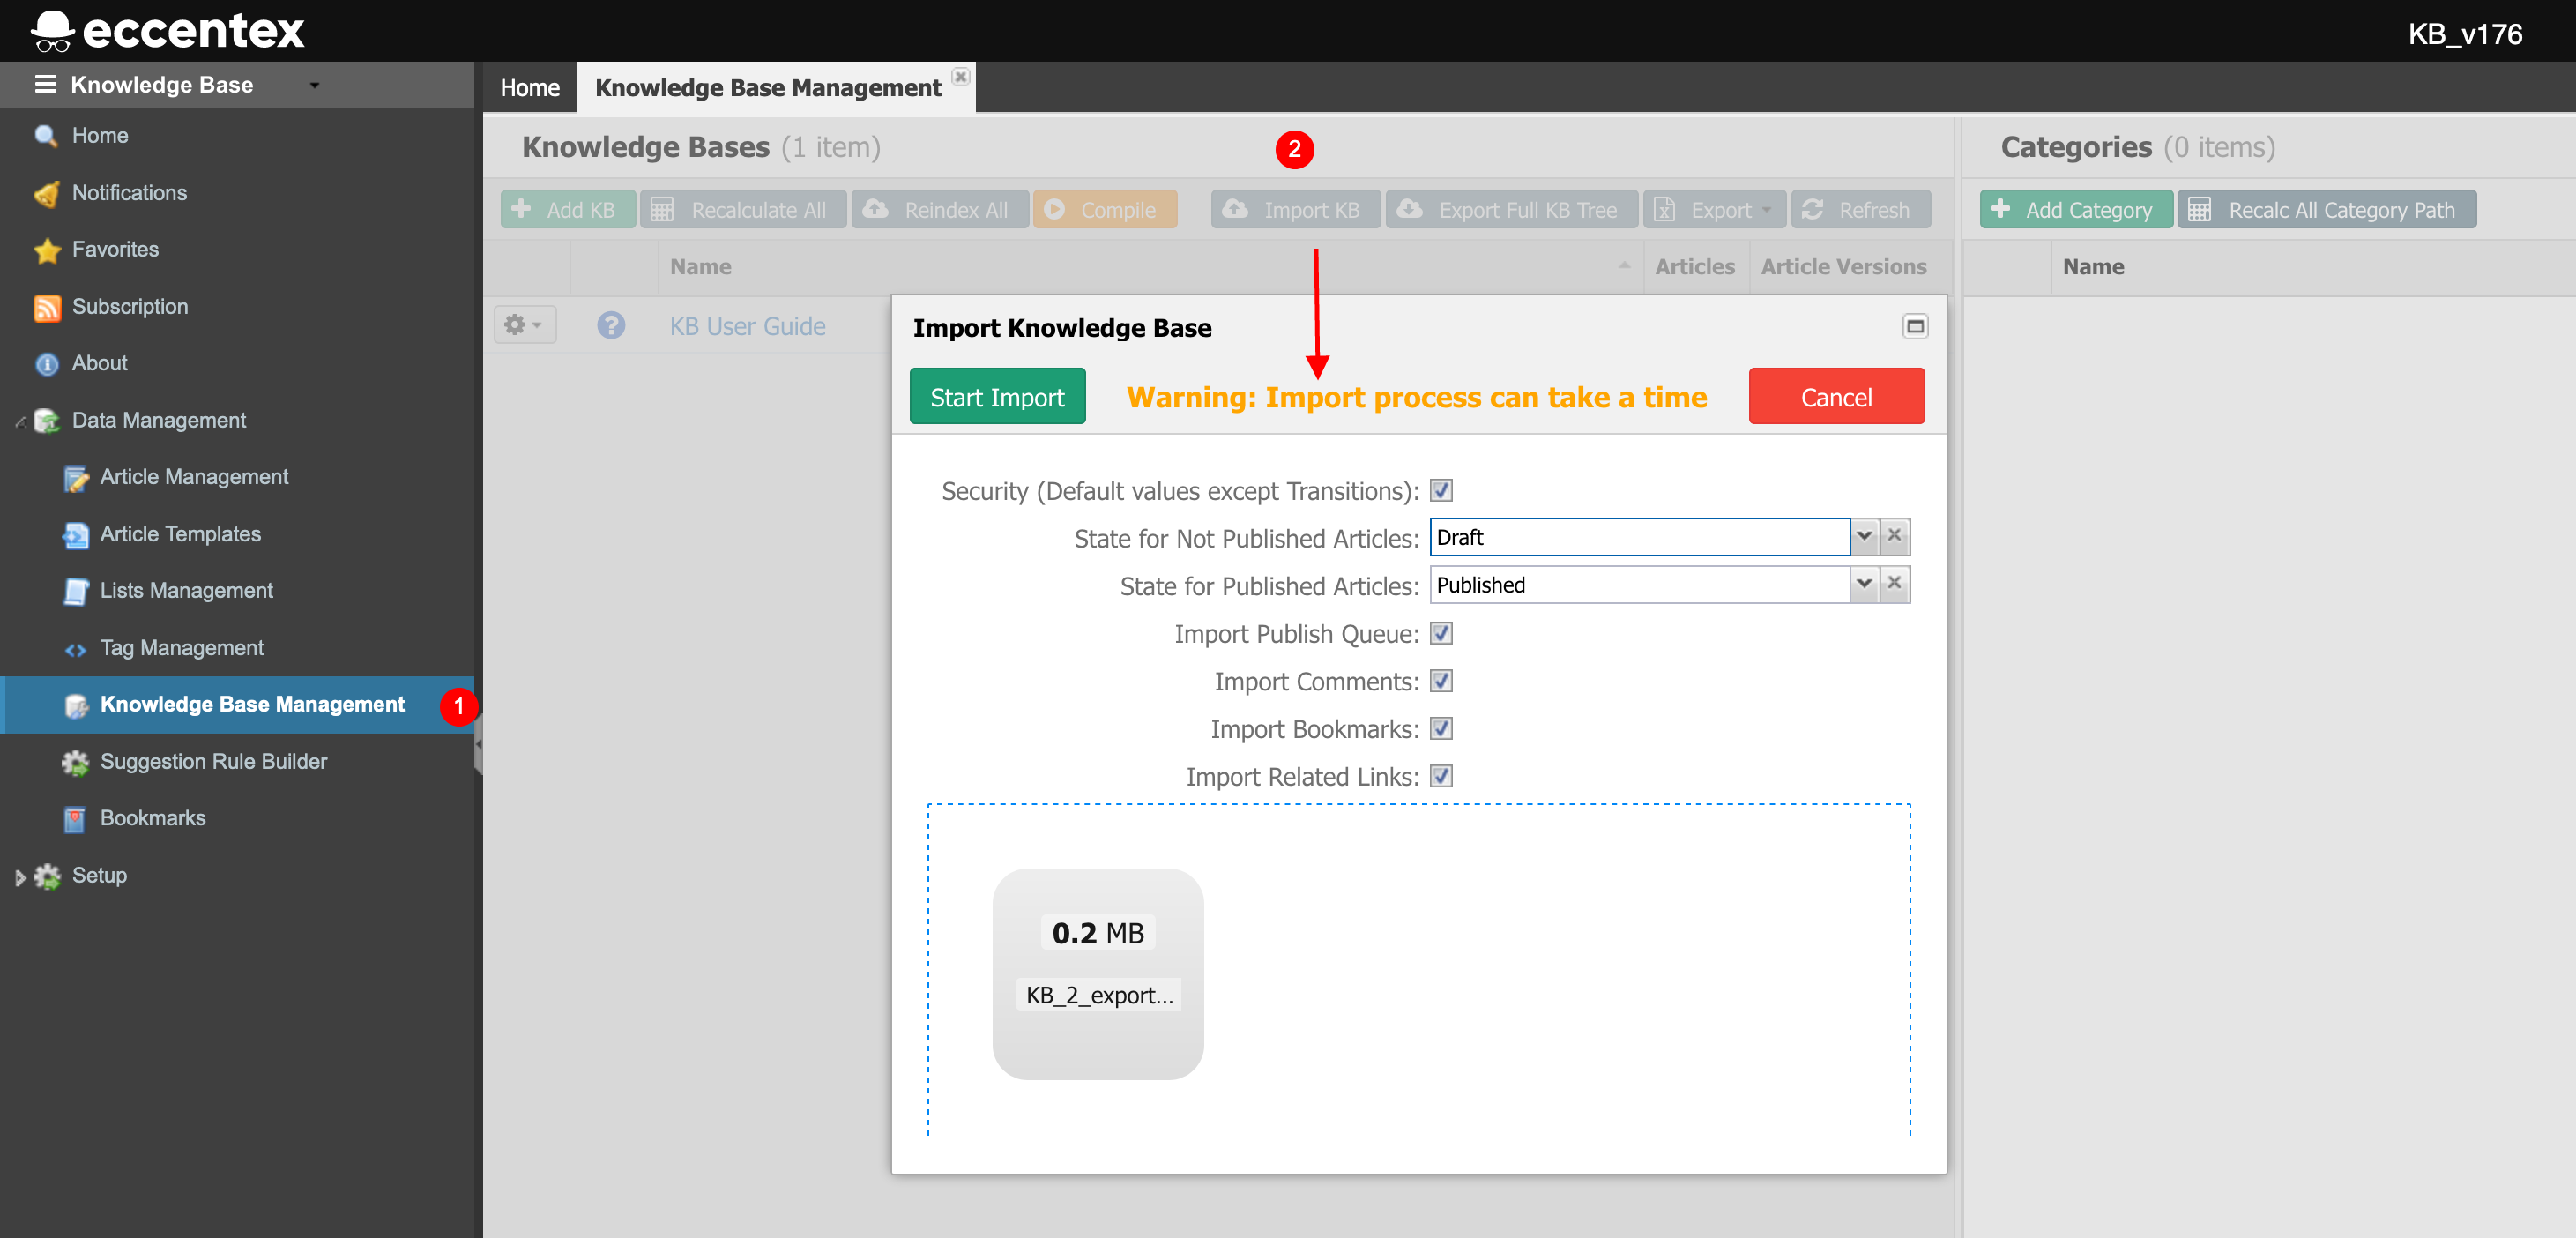
- The import process could take a couple of minutes depending on the size of the file.
Wait until you get the pop-up window with the "A Knowledge Base ____ was imported successfully" message.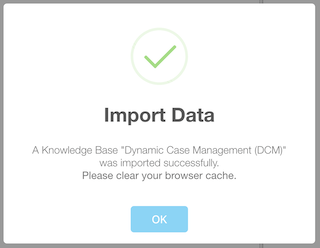
- Repeat steps 3 and 5 for the rest of the backup files if any.
- After importing all the needed KBs reload the grid using the Refresh button.
- Validate that the number of articles is correct for every imported KB.
- Close the Knowledge Base Management window.
- Go to the Home page. If you don't see the KBs already imported click on the Home icon to refresh the list.
- Navigate your imported KBs to check the import was successfull.
Setting the Full-Text Search (FTS/Solr)
- To enable the Full-text Search feature follow the steps as in Installing Knowledge Base Solution-Setting the Full-Text Search (FTS/Solr)