Export/Import Translations
If you need to add many key translations, using a Microsoft Excel spreadsheet to manage the translation equivalents could be better than the web UI. For instance, once the keys have been created, they can be exported as an Excel spreadsheet. An administrator/translator then applies the translations into the spreadsheet and imports them back into the solution.
Follow the next step to download the translation file using the Export operation.
Exporting Translations
- On the top right, navigate to → <<your solution>>
- On the left, navigate to → Setup
- Navigate to Localization → Translations (1).
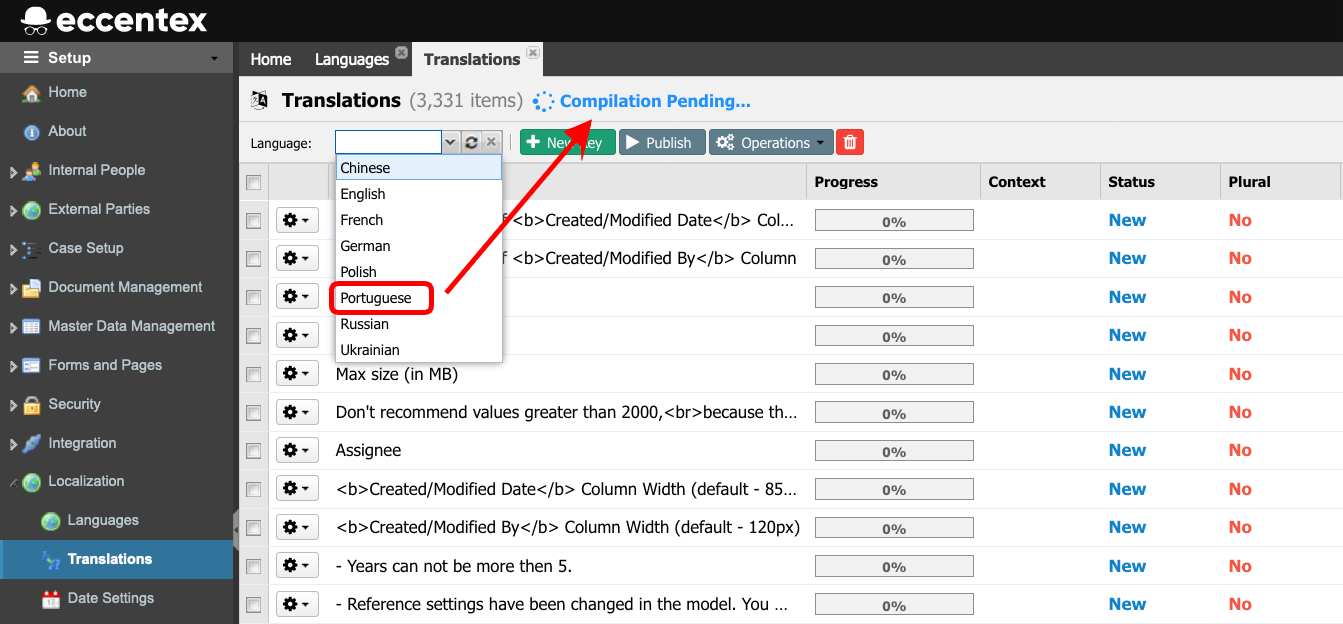
- Select the Language you need to work on. If the compilation is pending, wait until it is completed before exporting.
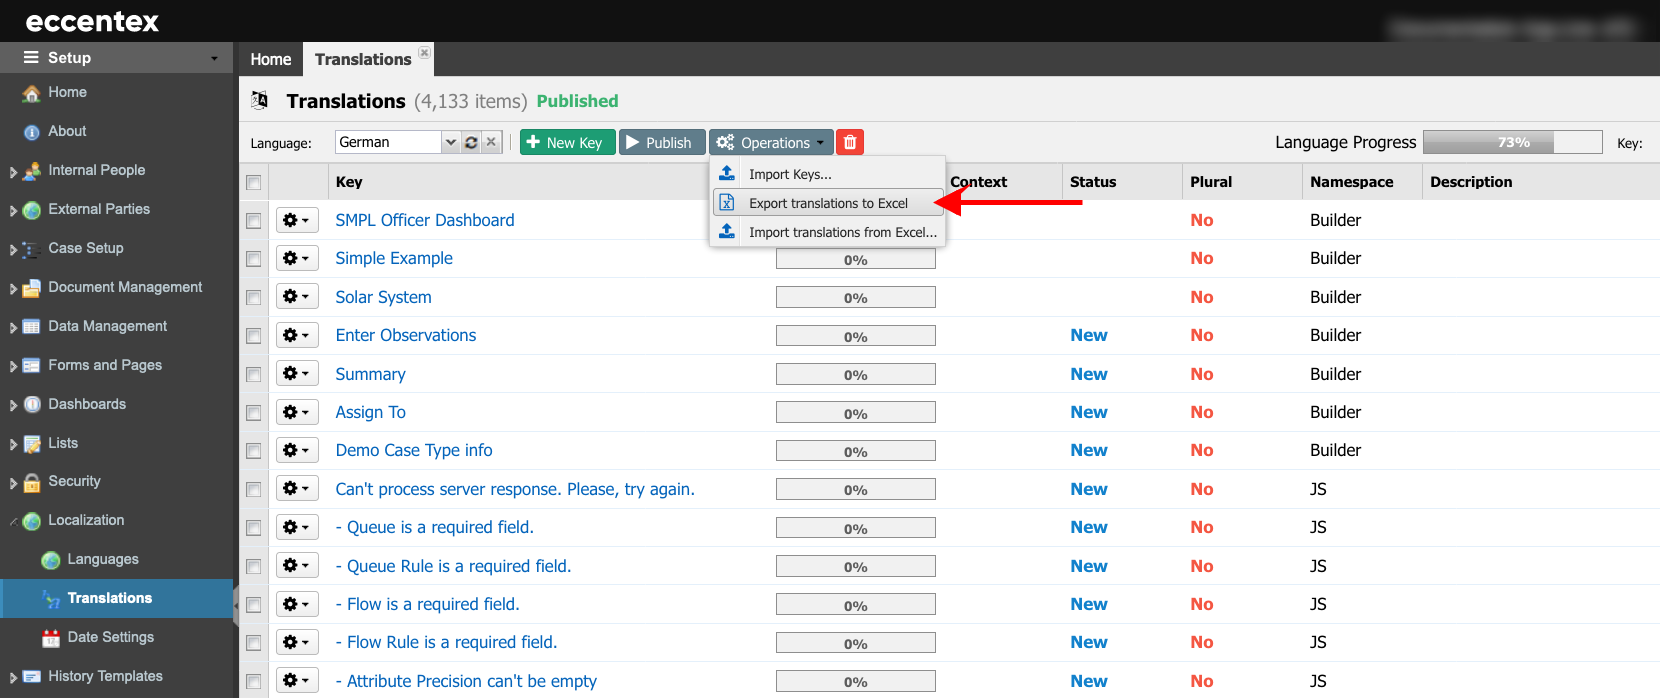
- Select Export translations to Excel from the Operations dropdown list.
- When finished, it will save a compressed zip file named translations.zip in your selected download folder. This zip file contains one Excel per language. For example, en.xlsx, ru.xlsx, and zh.xlsx.
- Unzip the translations.zip file and select the language file you want to edit in MS Excel.
- Select the JS tab and scroll down to find the text key or use Ctrl-F to search for it. In our example, the key is "My Dasboards."
- Then, add the translation in the column VALUE.
Importing Translations
- On the top right, navigate to → <<your solution>>
- On the left, navigate to → Setup
- Navigate to Localization → Translations (1).
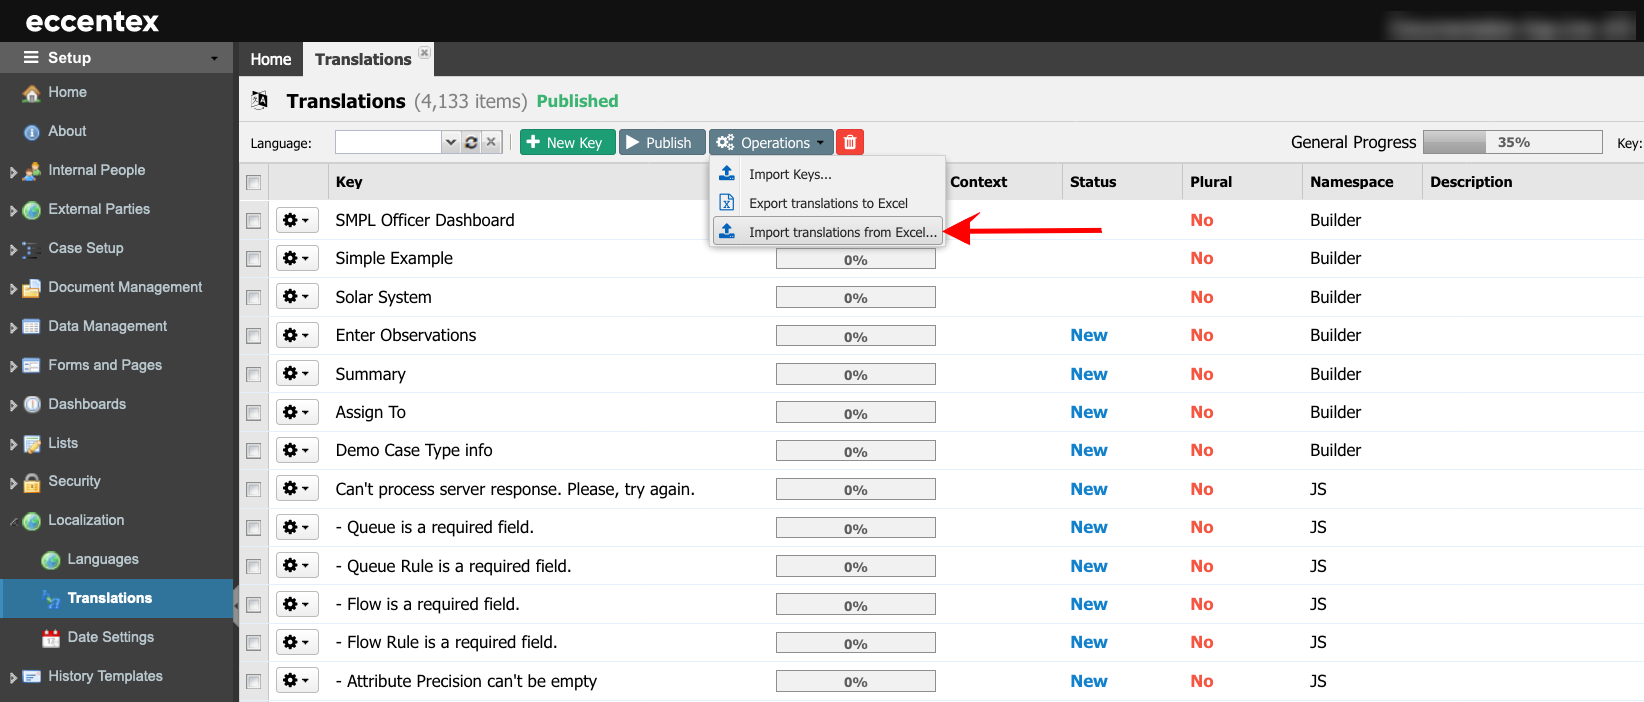
- From the Operations dropdown list, select Import translations from Excel option.
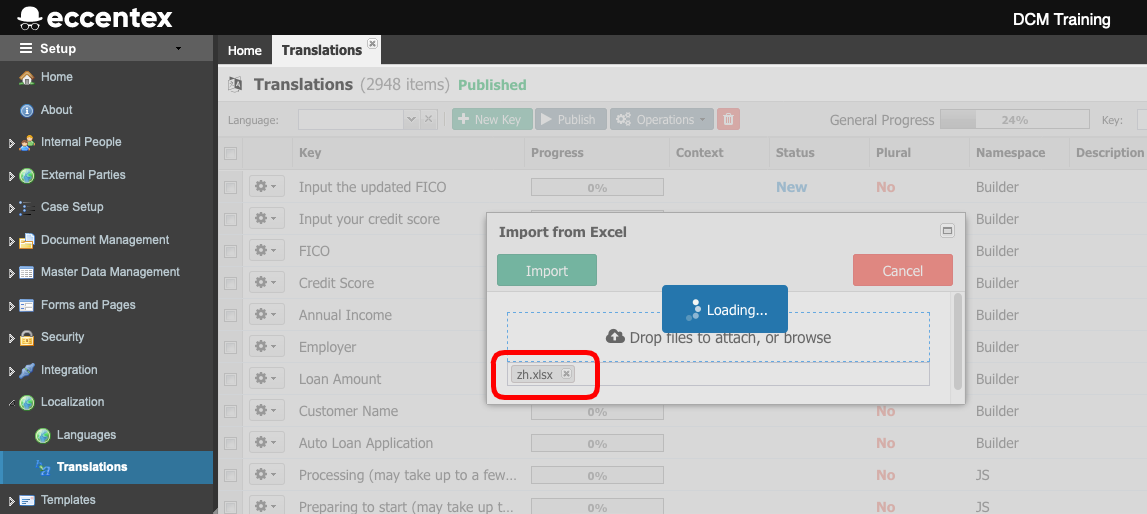
Click on the "Drop files to attach, or browse", Select the language MS Excel file you want to import. In our example, zh.xlsx.
Click on the Import button to start the import process.
Click on the Publish button to compile the translations added.
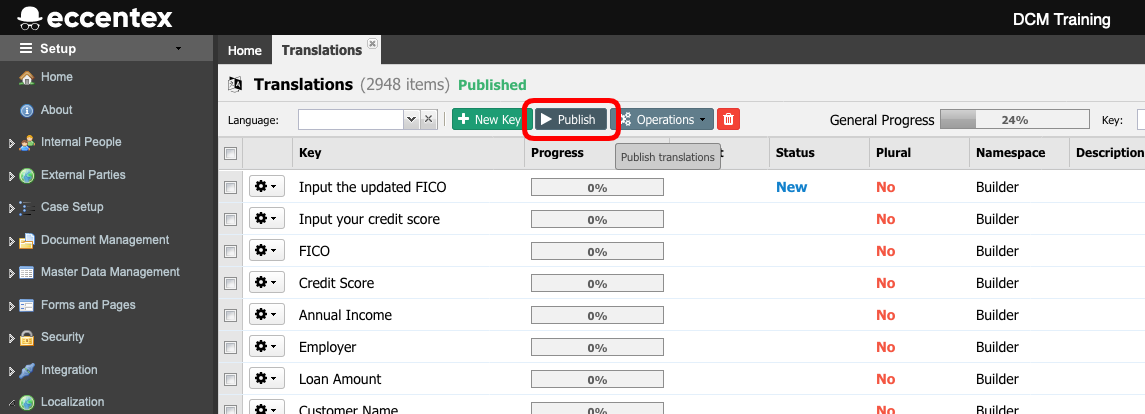
- Wait for the Published status.


