It is possible to add new Widgets that can be displayed on the Dashboard in addition to the standard set of Dashboard Widgets available in the DCM.
The following steps assume the widget to be displayed has already been built or defined. The steps below do not describe how to create the underlying report or visual - just how to display that information in a widget in the DCM.
Steps
On the top right, navigate to → <<your solution>>
On the left, navigate to → Setup
Navigate to Dashboards → Dashboard Widgets.
Click theAdd Newbutton, the green plus button.
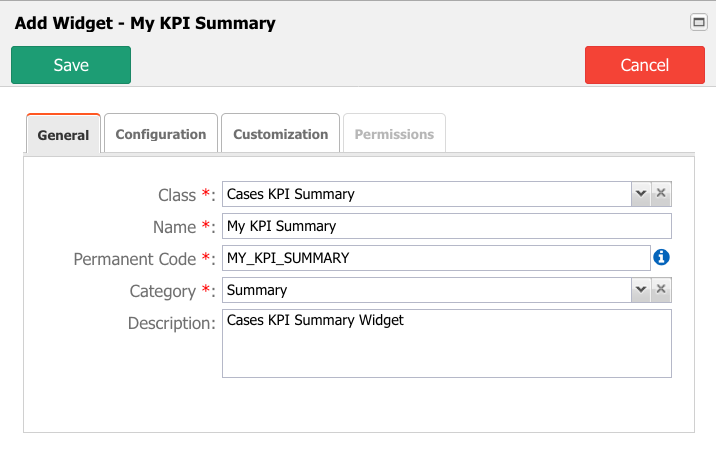
Select the WidgetClasswhich indicates what type of data will be presented in the Widget. For custom-built widgets using the Coded Page feature, you would select Coded Page.
Enter a Name for the Widget.
The Permanent Code field will auto-populate using the fieldName in uppercase and with no spaces. Note you can override the Code value set by the system, but you must ensure no spaces are in the field.
Select aCategory for the widget to be classified. For example, if a custom widget may select Miscellaneous or if the data presented in the widget provides a summary of data, select Summary.
Enter aDescription that other users know what the purpose of the widget is for.
Click on the tabConfiguration, indicate where the widget will get the data. For example, if the widget is to display a Coded Page, select the coded page and provide any parameter on the tabConfiguration.
When completed, clickSaveto create your Widget (orCancelto exit without saving).